I have been crocheting for many years and I’ve learned several techniques. Today I’d like to share some techniques I’ve learned that I hope will make your crochet more enjoyable. These are simple tips and techniques, no rocket science. They are just some I’ve found useful throughout the years and wanted to share them with you. If you have some techniques and tips you’d like to share, please do so in the comments section. I’d love to hear from you!
Gauge…gauge…gauge!
I know I sound like a broken record. I keep telling you to take the time to crochet a gauge swatch, believe me, this simple habit will save you tears and frustration. Yes, you may know how certain yarn and hooks behave if you use them often enough, but if you’re trying out a new yarn or working with a different size hook, a gauge swatch is essential.
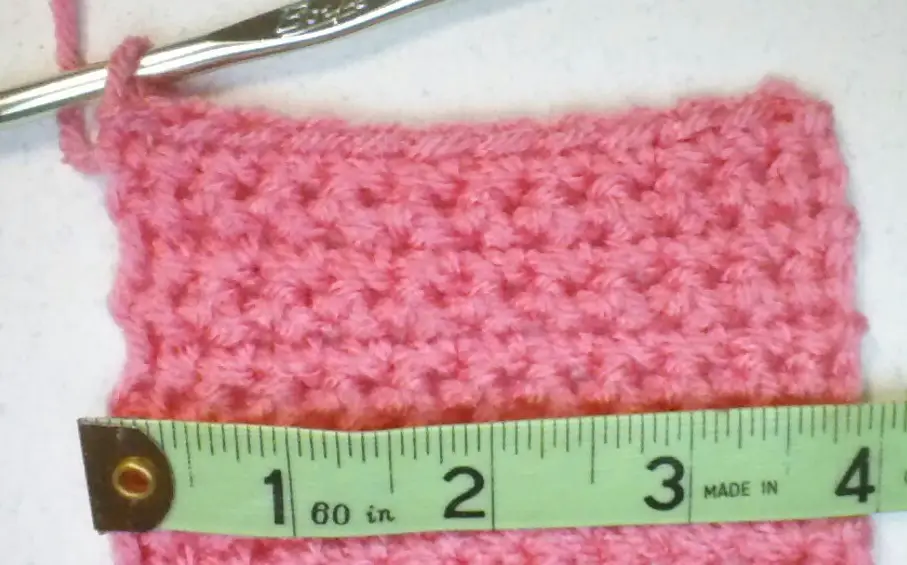
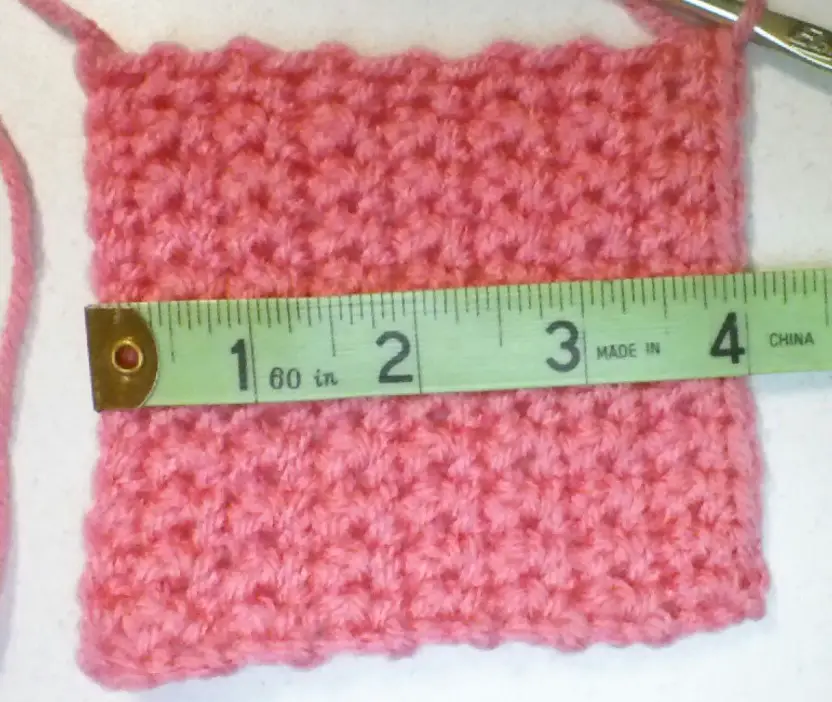
Gauge refers to how many stitches and rows it takes to crochet a 4 by 4-inch swatch using the yarn and hook size called for in your pattern.
12 Stitches
8 Rows
For example, I know a medium weight yarn like Red Heart Super Saver will give me about 12 stitches and 8 rows in a 4 by 4-inch swatch of single crochet using a size I/9 hook. But if I’m using a new yarn and a hook size I normally don’t use, I take the time to crochet up a gauge swatch and compare it to the pattern I’m using. This ensures the finished project is the correct size. You don’t want to put hours into a sweater only to have it turn out too big or too small because the gauge was off.
Know Where to Start and End a Row
One of the hardest challenges I had when I first started to crochet was to keep the sides of my projects from growing or shrinking. This is a common complaint most of us face. When you begin a row, chain the appropriate number of stitches (1 chain for single crochet, 2 chains for half-double crochet, 3 chains for double crochet, and 5 chains for treble or triple crochet) and insert the hook into the next stitch. Do not insert the hook into the base of the chain stitches unless the pattern instructs you to do so. This adds a stitch and your side will begin to grow.
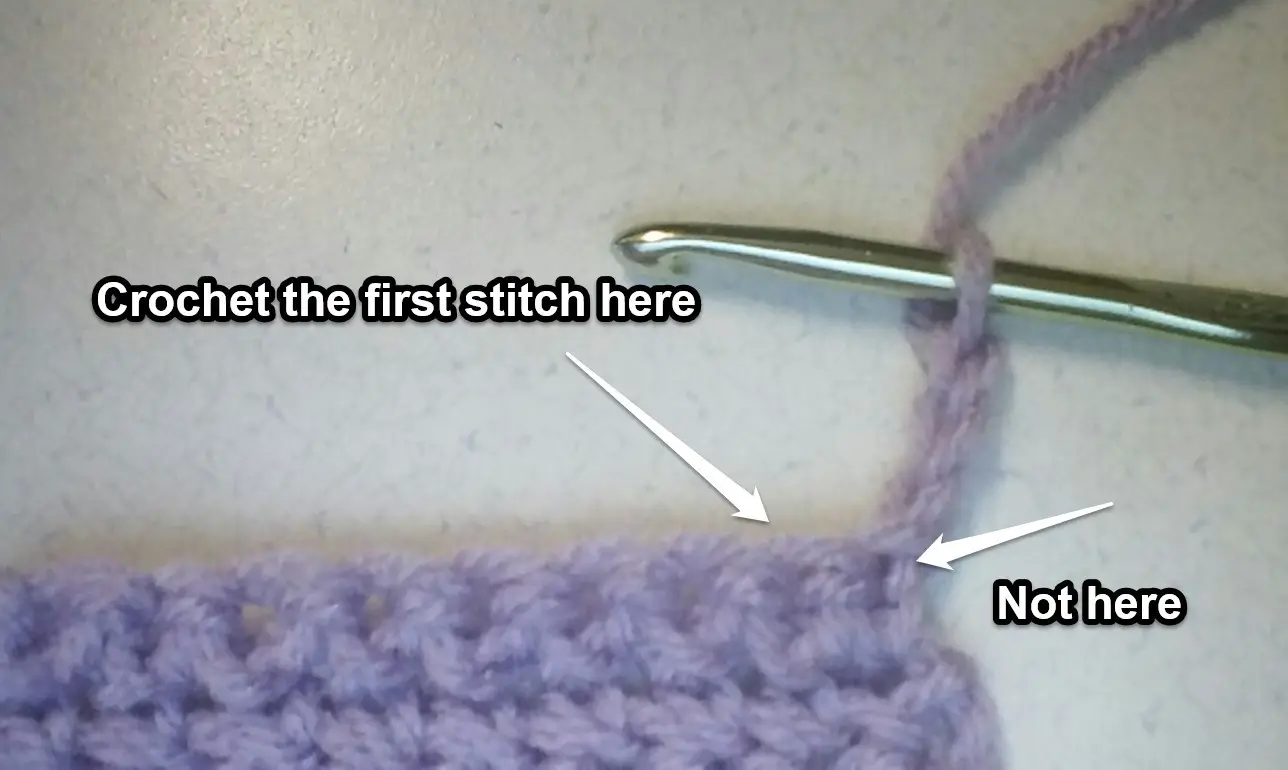
When you reach the end of a row, crochet the last stitch into the last chain stitch of the beginning chain. If you begin and end your rows correctly your sides will stay nice and even. Also, get into the habit of counting your stitches as you crochet. This also prevents your project from growing along the sides.
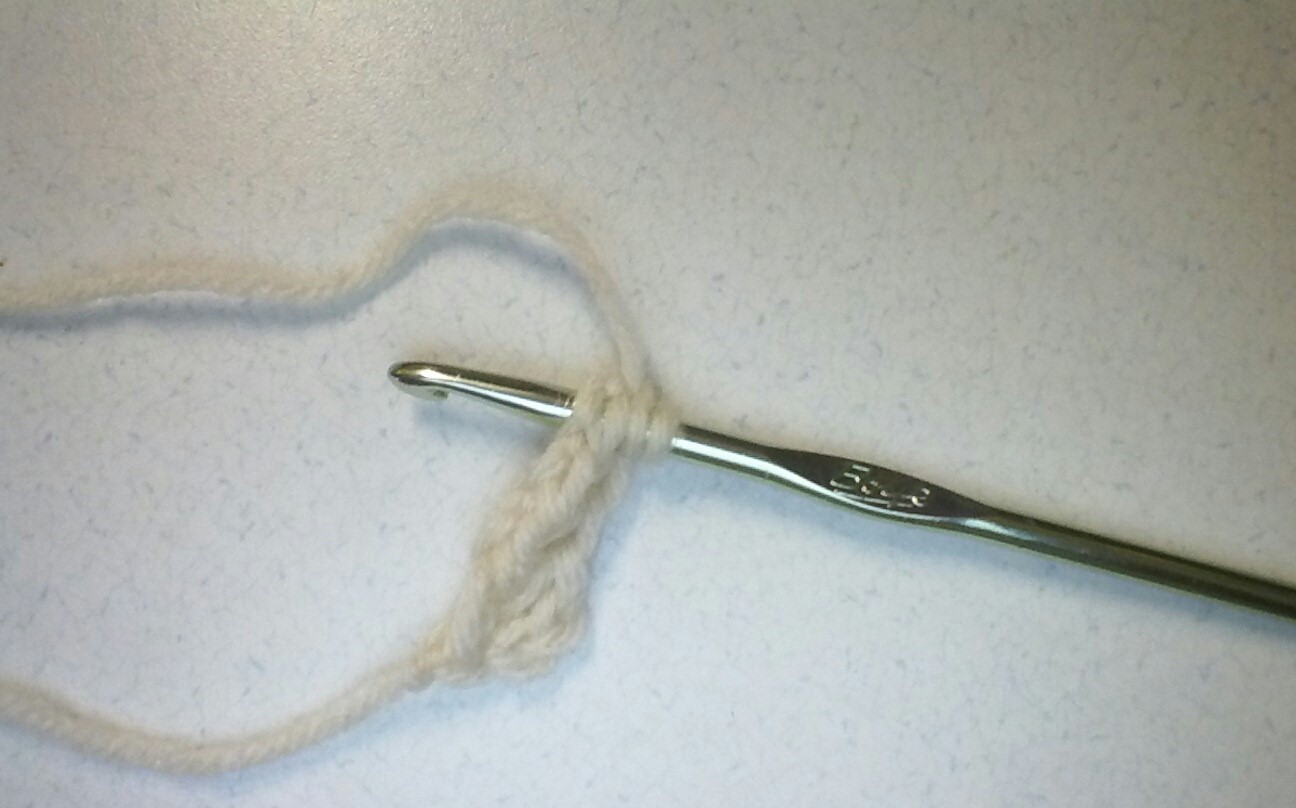
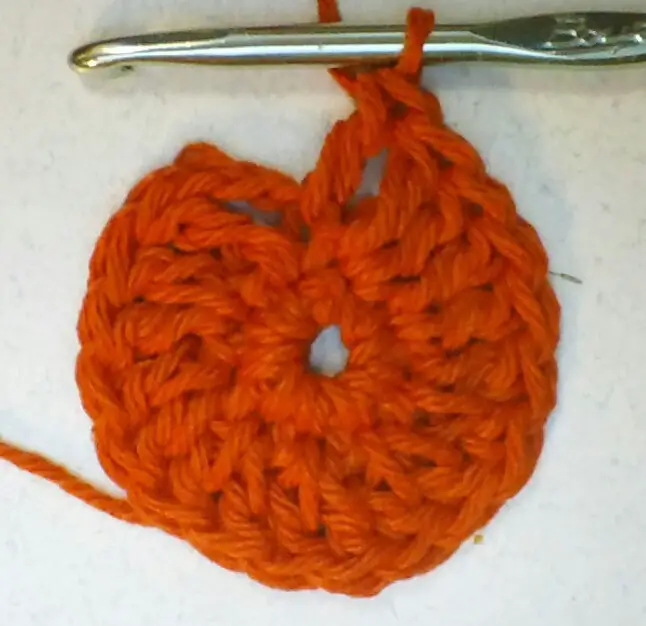
The Magic Ring
This technique is one of the handiest ones I know. When you are crocheting motifs and hats you normally begin with a chain 3 or 4 and join the chain to make a beginning circle. This leaves a small hole in the center of your project. The magic ring enables you to draw the yarn up and close the gap. I think it gives projects a more finished look and it is easy to learn.
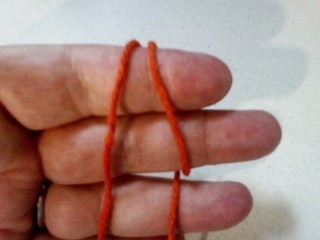
Wrap the yarn around your index and middle fingers with the tail to the left and over your fingers.

Insert the hook under both loops, yarn over, and pull the yarn up through the ring.
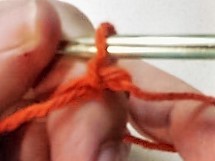
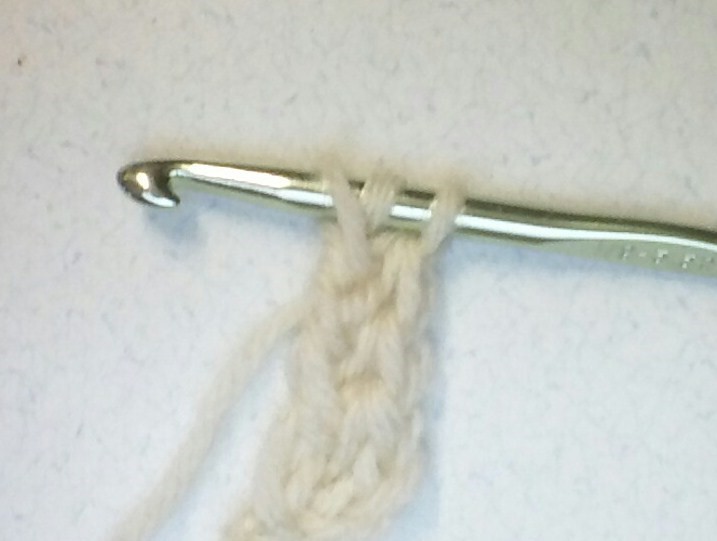
Yarn over and pull the yarn through the loop on the hook completing a single crochet stitch. If you are using double crochet, chain 2 more stitches. Now work the appropriate number of stitches into the ring.
This is what your work should look like before you close the ring.
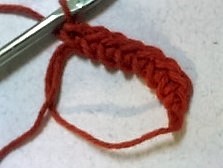
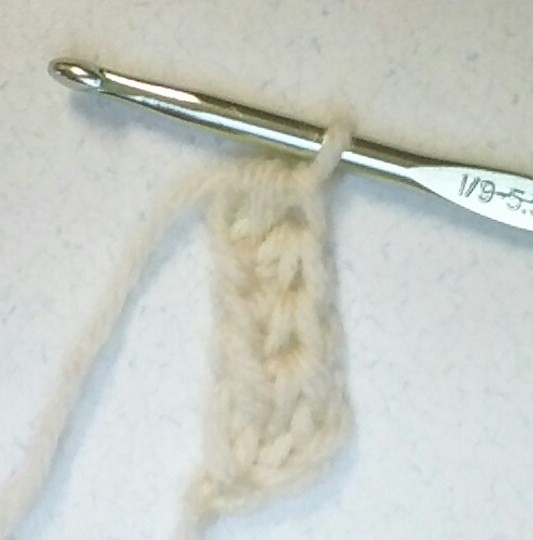
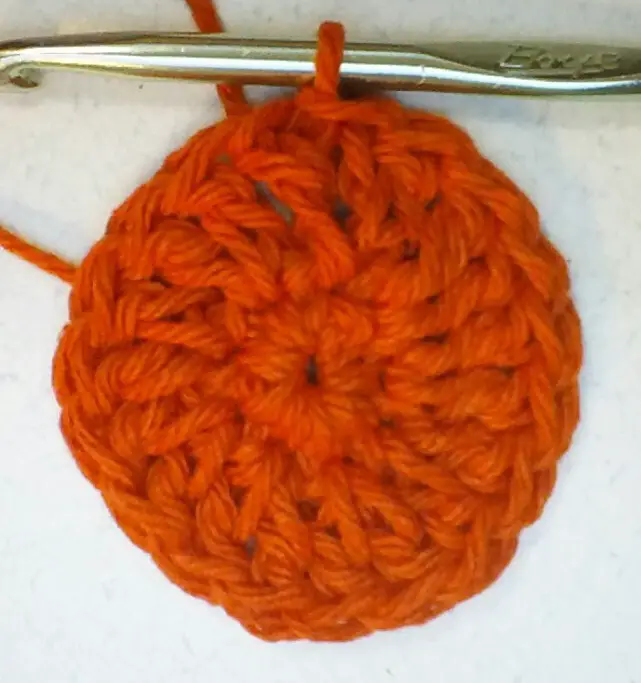
Pull the loose tail to close the ring and slip stitch into the beginning chain stitch (stitches) to secure the ring. Work the pattern as usual. Another benefit of the magic ring is the loose tail is naturally worked into the round of stitches. This makes it secure and you only have to weave it in a bit and snip it.
Foundation Stitches
You can use a larger hook and crochet up your foundation chain so it doesn’t pull the edge of your project, or you can use this handy technique for a nice loose and springy foundation to your projects. Plus, you end up crocheting your first row of stitches. For this example, we’ll be using single crochet stitches.
Chain 2 and insert the hook into the 2nd chain.
Yarn over and pull the yarn through the stitch. Yarn over and pull the yarn through the first loop on the hook. This forms the chain stitch you’ll need for the next foundation stitch. Yarn over and pull the yarn through the two loops on the hook to complete the foundation stitch.
Begin the next stitch by inserting the hook into the chain stitch you just crocheted. Yarn over and pull the yarn through the stitch. Yarn over and pull it through the first loop on your hook. (This is the chain stitch for the next foundation stitch.) Yarn over and pull it through the two loops on your hook. Continue this until you have the appropriate number of foundation stitches.
You can also use double crochet stitches. Chain 3, yarn over, and insert the hook into the 3rd chain. Yarn over and pull through the first loop on the hook. Yarn over and pull the yarn through the first two loops, yarn over, and pull it through the last two loops.
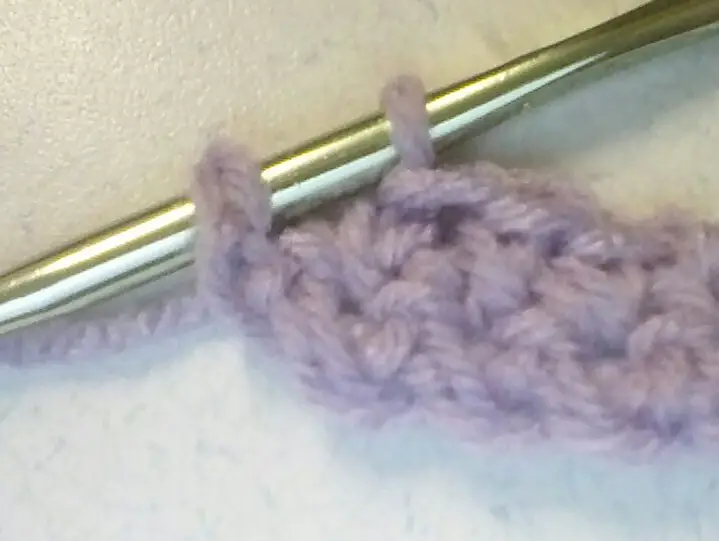
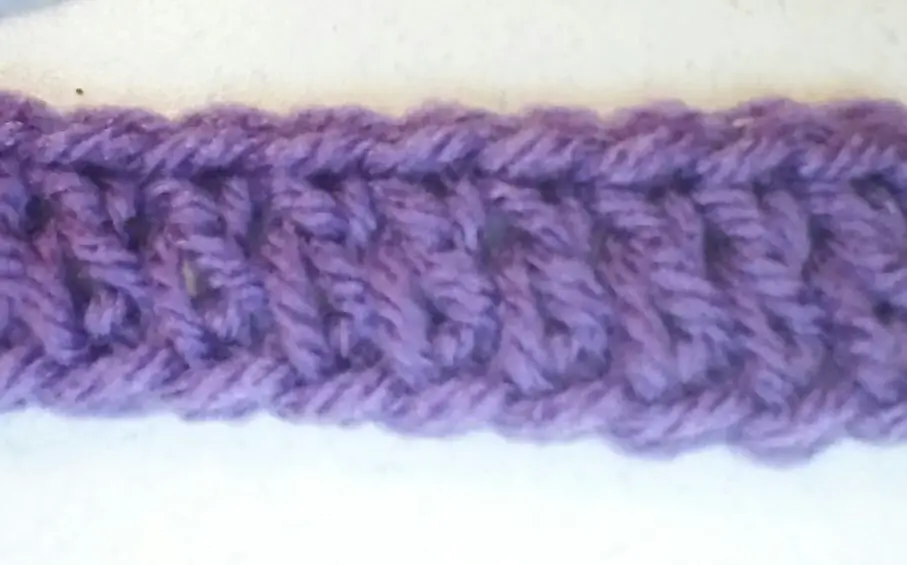
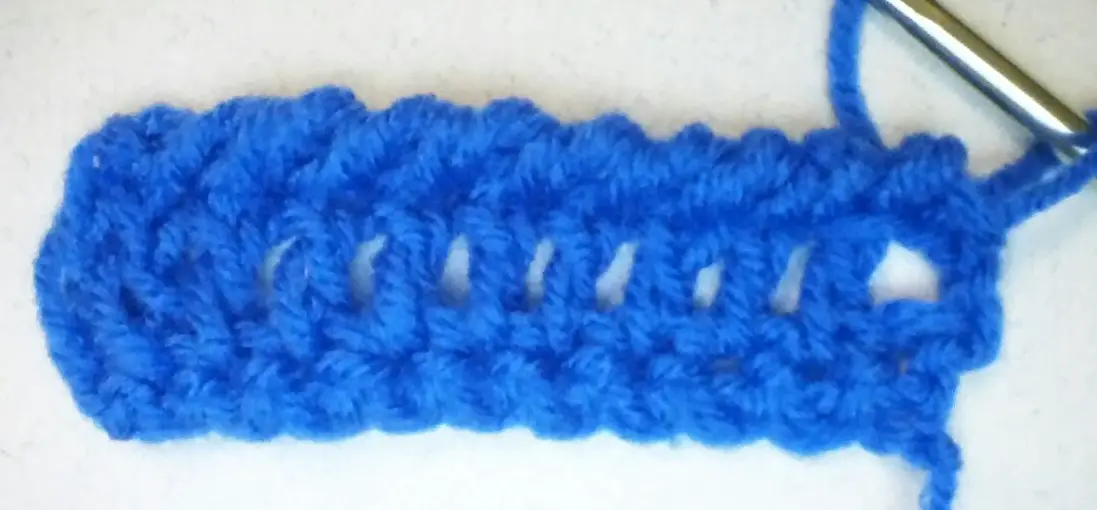
Spine Stitch Foundation
Using the spine of a foundation chain gives you a nice even edge. If you turn a chain on its side, you will see there are bumps along the back of the chain. This is the spine of the chain stitch. You will use the spine stitches to work the first row of your project.

If you are using single crochet, insert the hook into the first spine stitch, yarn over, pull it through, and yarn over and pull through the two loops on the hook to complete the stitch. Repeat across the row working the last stitch into the last spine stitch of the foundation chain. The above image shows double crochet stitches worked into the spine of the foundation chain. Note how even and polished the edge looks.
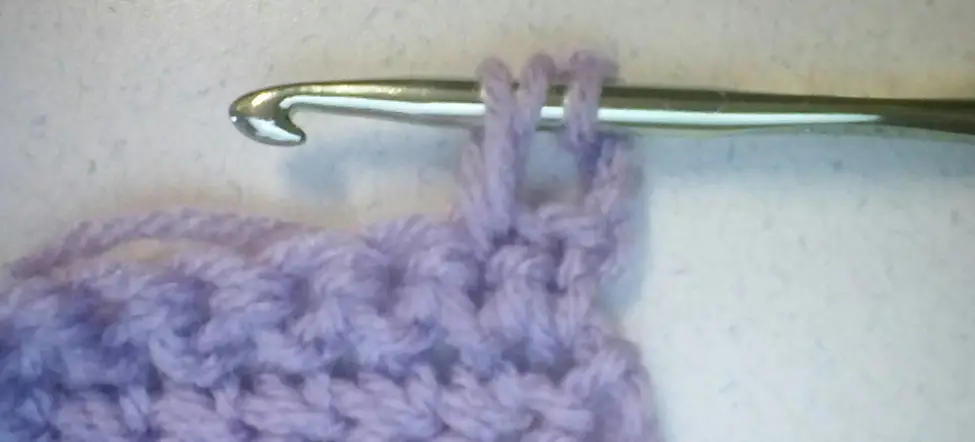
Invisible Join
As you crochet in the round a seam begins to form where you join the stitches. This seam runs diagonally up the fabric and can be quite noticeable. There is a technique that makes the seam virtually invisible. Crochet the round to the last stitch. Work a stitch into the base of the starting chain and join the yarn into the first full stitch. You’ll end up with the correct number of stitches because you’re hiding the starting chain behind the last stitch of the row.
Work an extra stitch into the base of the first chain of the starting chain.
Join the first full stitch after the starting chain. This creates an invisible seam and makes your projects look great.
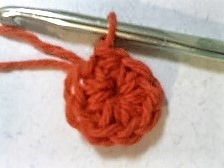
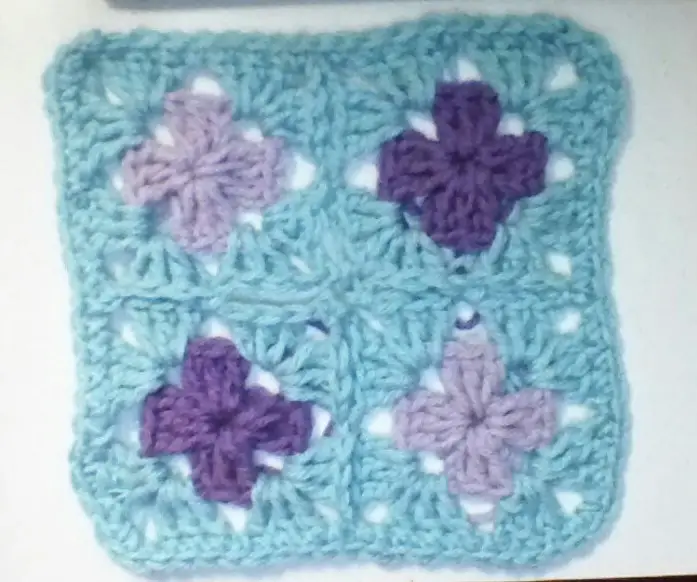
Take the Lean Out of Granny Squares
As you crochet Granny squares you will notice the larger ones have a crooked center. This is natural and caused by the tension on the yarn. If you prefer to have perfectly straight Granny squares, simply turn the square each time you begin a new round. This will prevent the center rounds from being crooked.
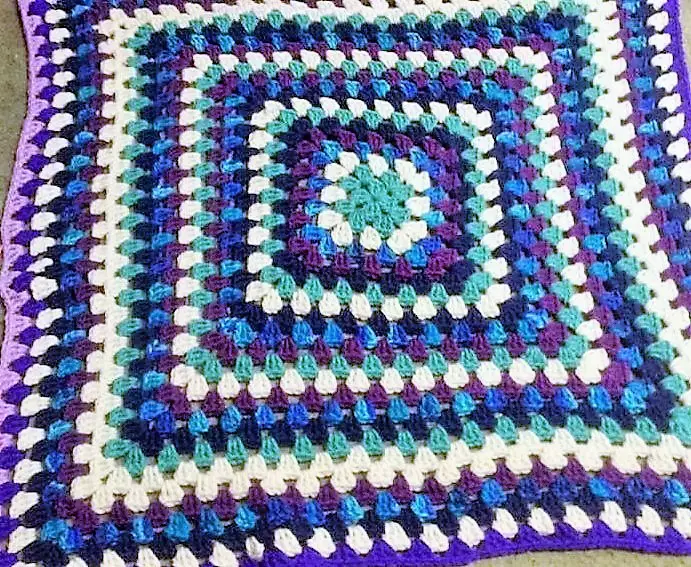
Clean Borders
If you are crocheting motifs or a project you plan on crocheting a decorative border, crochet a round of single crochet in the finishing color before you work the decorative border. This gives you a nice even and clean looking border. Now you can change colors and crochet your decorative border. This technique makes your projects look more professional and polished.
Notice how one last round of single crochet pulls the squares together and evens out the work.
Crab or Reverse Single Crochet Stitch
This stitch is one of my favorites to add a bit of decorative edging without going over the top. I use it a lot on dishcloths and washcloths. It is suitable for almost any project. What you’ll be doing is single crocheting backwards.
Holding the right side toward you, chain 1, insert the hook into the first stitch working left to right. Yarn over and pull the yarn through the stitch. Yarn over and pull it through the two loops on the hook. Insert the hook into the next stitch working from left to right. Continue to work single crochet stitches from the left to the right. Join the yarn into the chain 1 to finish.
The crab stitches create a pretty rope-like border.
Reading and Working Crochet Graphs
Graphs are used for several types of crochet patterns. Intarsia, colorwork and Filet crochet all use graphs. You can even take a counted cross stitch pattern and use it as a graph. Graph rows are numbered beginning at the bottom and going up to the top. The foundation chain is not included in the graph. Odd rows are worked from right to left, and even rows are worked from left to right. This is because you turn your work, not the graph when you reach the end of a row.
Graphs or may not have their rows and columns numbered. Also, the odd rows may be numbered on the right side, and the even rows numbered on the left side. This helps you keep track of the row you are working on and which way you should be reading the graph.
The graph which follows is for a section of Fair Isle crochet. In Fair Isle crochet the colors are carried along the back of the work. As you need a color it is pulled up and worked according to the graph. (We’ll learn more about this technique in a later blog.)
As you can see the graph is 18 stitches across and 12 rows high. If you are working in double crochet you would chain 21 stitches in Color A. Double crochet into the 4th chain stitch and continue across the row to the last stitch. Turn your work. Reading the graph from the right to the left the next row is also crocheted in Color A. Turn your work. Row 3 is read from right to left and crocheted in Color B. Row 4 is read from left to right and crocheted also in Color B. Reading Row 5 from the right to the left here is the written pattern:
Row 5: Ch3, 2 dc in Color A, 1 dc in Color B, 5 dc in Color A, 1 dc in Color B, 5 dc in Color A, 1 dc in Color B, 3 dc in Color A, turn

Continue up the graph until you come to the end. This graph is just part of a larger pattern. To crochet, a larger project just repeat the graph for the specified number of times. You can see how graphs are easier to read than written patterns, especially if there is a lot of detailed colorwork.

End Notes
Thanks for stopping by today. I hope these techniques and tips are useful for you. Do you have any you’d like to share? If so, please post them in the comments as well as any questions you may have. As always, take care and keep on hooking!
If You Enjoyed This Article Please Share and Pin. It is Greatly Appreciated. 🙂


