Hello! Hope you are having a nice day!
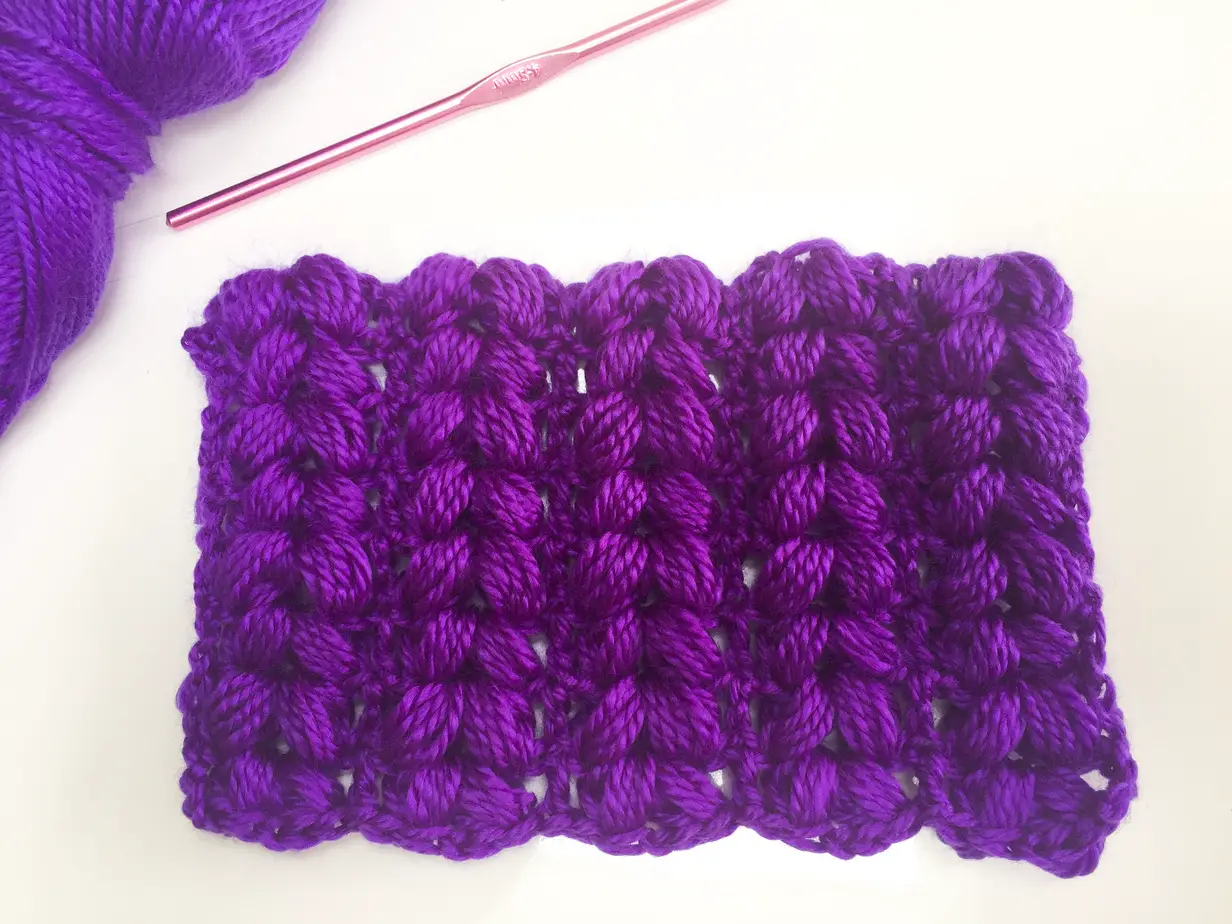
Here I am sharing a pattern for crochet Puff Stitch. This is a very simple and easy to make the stitch. It gives a beautiful raised texture to the garment. In this pattern, I have made the puff stitch in a way that it looks like a leaf. I am sure, based on the arrangement of the puffs, the pattern can look like a flower too. However, I decided to start it simple and keep it simple. This pattern would look really pretty in scarfs, caps and even cardigans. If you plan to gift someone a scarf this Christmas, then don’t hesitate to use this stitch.
MATERIALS USED
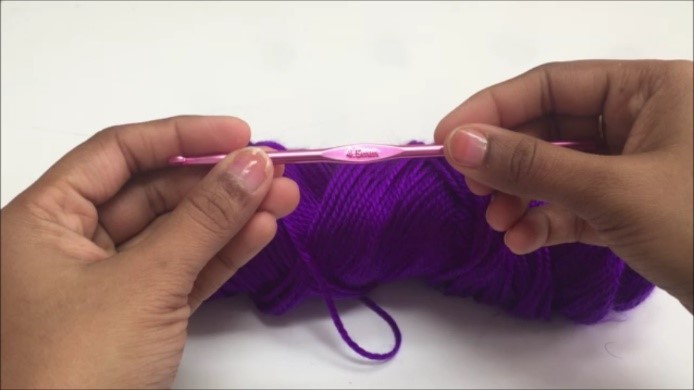
This stitch is very versatile and most of the yarns available in the market can be used to make this stitch. For this pattern, I have used Caron yarn in size 4 mm and a 4.5 mm crochet hook.
- 4 mm Caron Yarn
- 5 mm Crochet Hook
Abbreviations
I have used generally accepted abbreviations in crochet. Following are the abbreviations used:
- DC: Double Crochet
- CH: Chain
- ST: Stitch
- YO: Yarn Over
Pattern
To begin the pattern, I started off with the first ring and then started making chains.
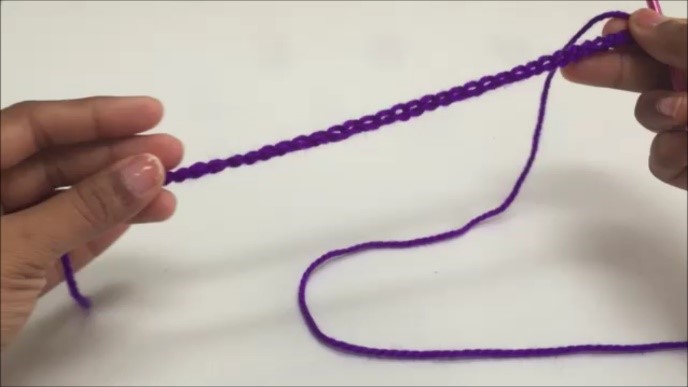
Row 1: Make a Chain in multiples of 6. Here is a chain of 36 stitches which gave 5 repeats.
Row 2: Make Ch3, *Skip 5, Make Puff St in St6, Ch1, Make Puff St in St6, Skip 2, DC in St9* repeat through the length of the chain.
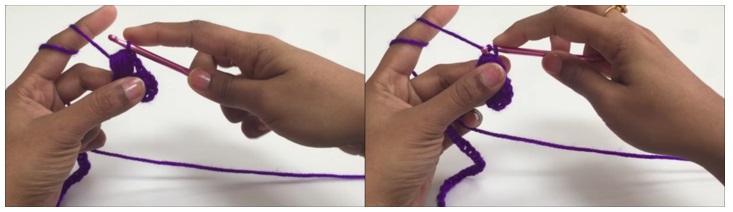
Puff Stitch – *YO, Insert hook in St6, pull yarn long enough to match the Ch3 height* x 5, YO pull through all the loops, Ch1.
Explanation
After making the chain of 3, skip a total of 5 stitches. Do a yarn over and pull the yarn from stitch 6 like shown below. Ensure that when you pull the yarn, it is long enough to match the height of the chain 3 that was made before. Otherwise, the puff will be shorter than the row height.
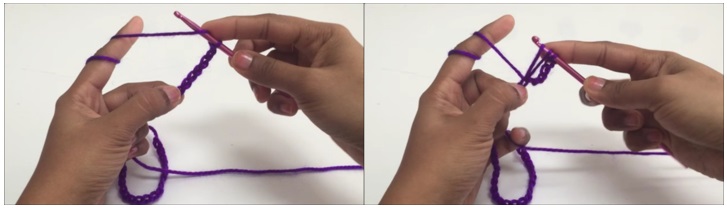
Do yarn over again and pull yarn from stitch 6. Repeat this step for a total of 5 times. Frankly, a puff stitch can be made with 3 loops, or 5 loops or 7 loops or even more. Here I have chosen 5 loops. You can choose the number of loops based on the yarn that you use so that the puff gets the right volume.
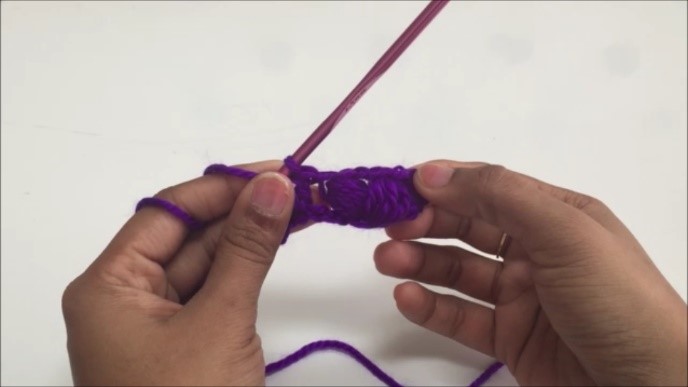
Then do a yarn over and pull through all the loops.
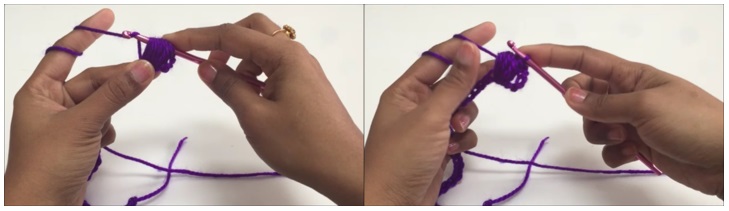
Now do a chain 1 to secure all the loops together. This will keep the 5 loops in place.
Then do another chain 1. This will create enough space between the puff that you just made and the puff that you are going to make. Now we will do another puff stitch in the same stitch 6.
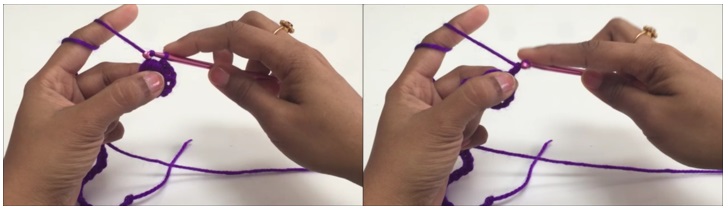
Start with a yarn over and pull the thread from stitch 6. Repeat this step 5 times in total. Pull through all the loops.
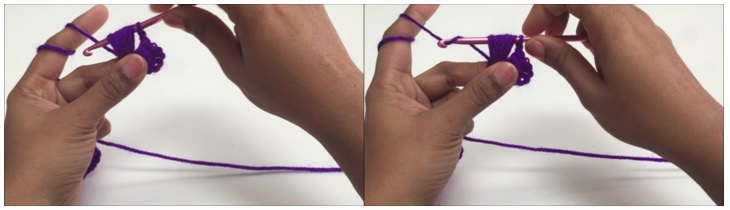
Do a chain 1 to secure all the loops. Now do another chain 1.
Skip 2 stitches. Do a double crochet in stitch 9.
Skip 2 stitches. Make a puff stitch in stitch 3. Make a chain 1. Do another puff stitch in same stitch 3. Skip 2 stitches and do a double crochet in stitch 6.
Repeat this pattern until the length of the chain.
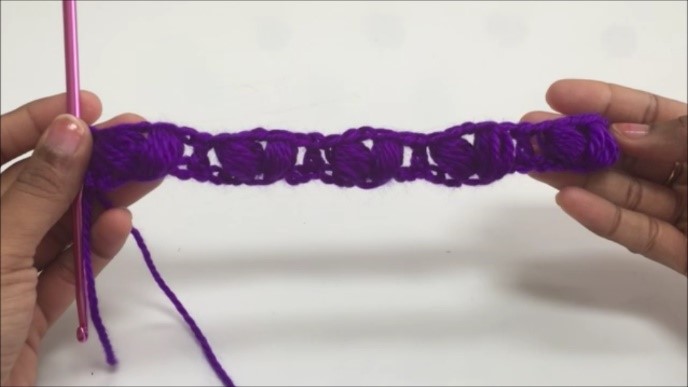
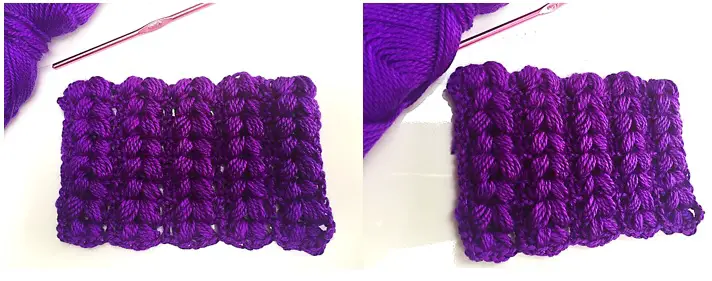
Row 2 and onwards are the same as row 1. Repeat Row 1 until the desired length of the garment is achieved.
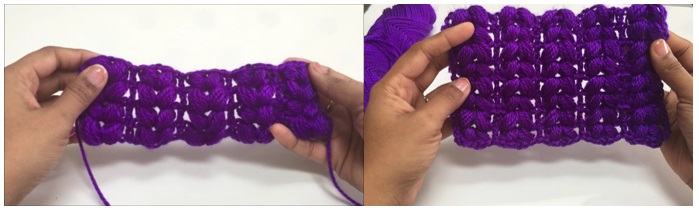
It is very important to do a yarn over before you start the puff stitch. It is also very important to secure all the loops using a chain after completing the puff stitch. In my coming tutorial on puff stitch, I will try to arrange the puff stitches in such a manner that the pattern looks like a diamond.
Thank you so much for going through this tutorial! Hope you have a nice day!


