Hello and welcome to today’s blog! I like to use scraps of yarn from my stash to make little motifs. Today I’ve come up with some free crochet motif patterns to share with you. I hope you enjoy them.
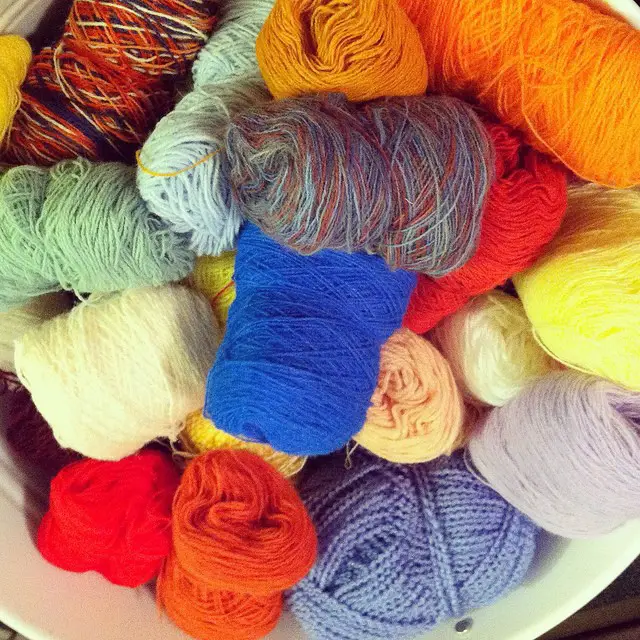
What’s in your stash?
I really enjoy designing crochet patterns and sharing them. It’s a lot of work, and a lot of ripping out stitches, but the end product is very satisfying. If you’ve never tried your hand at crochet pattern design. I would encourage you to try.
Sometimes I just get an idea and take my hook and experiment. Some crochet designs are happy accidents. I will be trying a stitch and make a mistake, but like the mistake better. Inspiration can come from anywhere. Many times I look on Pinterest for inspiration. Other times I will look at vintage patterns and design something similar to make it my own. I get emails each day with new stitches to learn and find inspiration from them.
Like I said, it can be hard work and you end up ripping out your work several times until you get the stitch count right or work out a tricky part of the pattern, but I love doing it.
Feel free to sell anything you make with my patterns, just please share the link to this blog if you want to share the actual pattern.
You’ll need small amounts of yarn from your stash. I used a size I/9 hook, but you can use any size hook. Just remember the size of the hook will affect the size of your finished motifs.
For these patterns, I used Premier Home cotton/poly yarn. I really like to work with this yarn. The cotton/polyester blend makes it easy to handle. The cotton content absorbs water and makes it perfect for washcloths and dishcloths as well as scrubbies for the face and body. The colors I used are Lime Green, Citrus, White, and Gray Splash.
You don’t need to know any complicated stitches or techniques for these patterns, so they are perfect for beginners as well as more advanced crochet artists. Here are the main stitches we will be using for the motif patterns. You can also find these and other stitches and techniques in my Crochet Tutorial #1 – Basic Crochet Stitches.
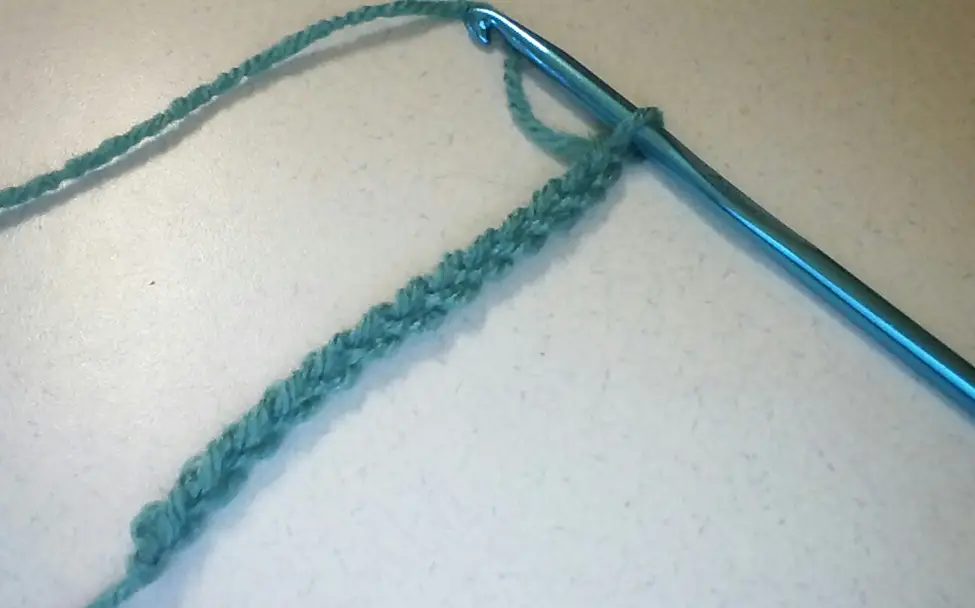
Chain Stitch
Create a slip stitch and place it on the hook. Draw the yarn through the loop on your hook. This is a chain stitch.
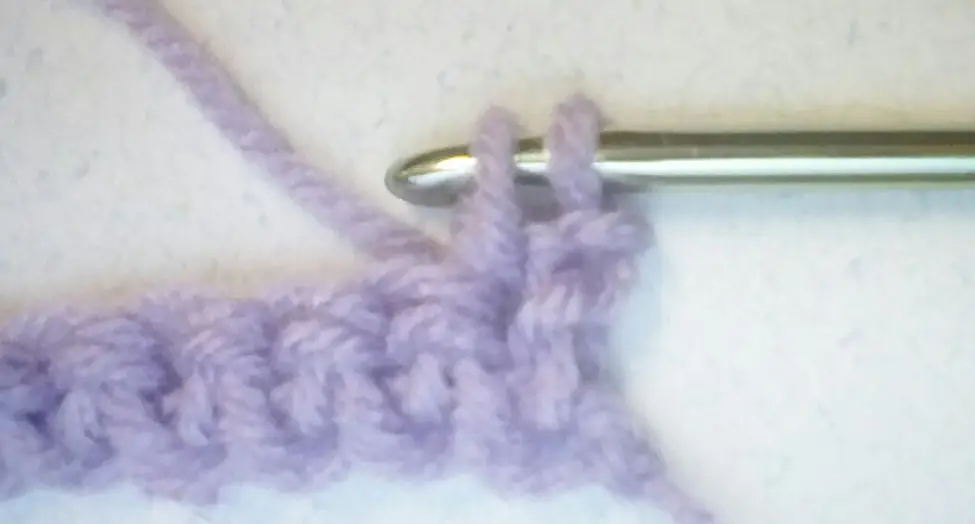
Single Crochet
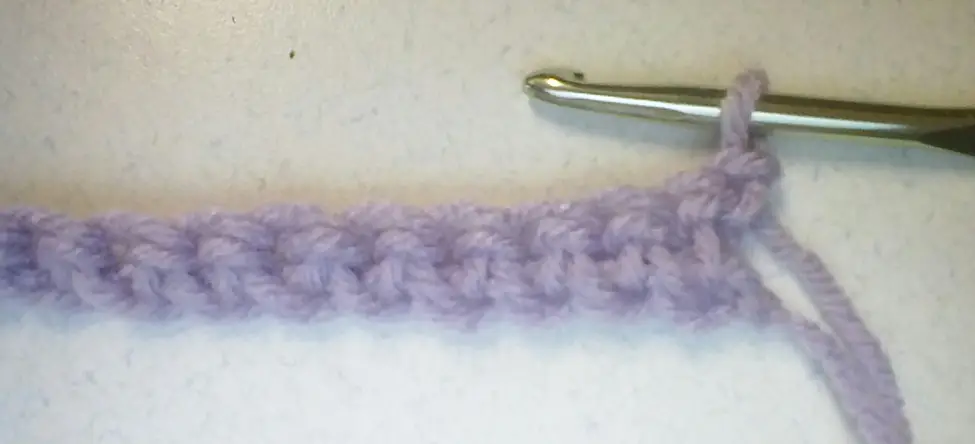
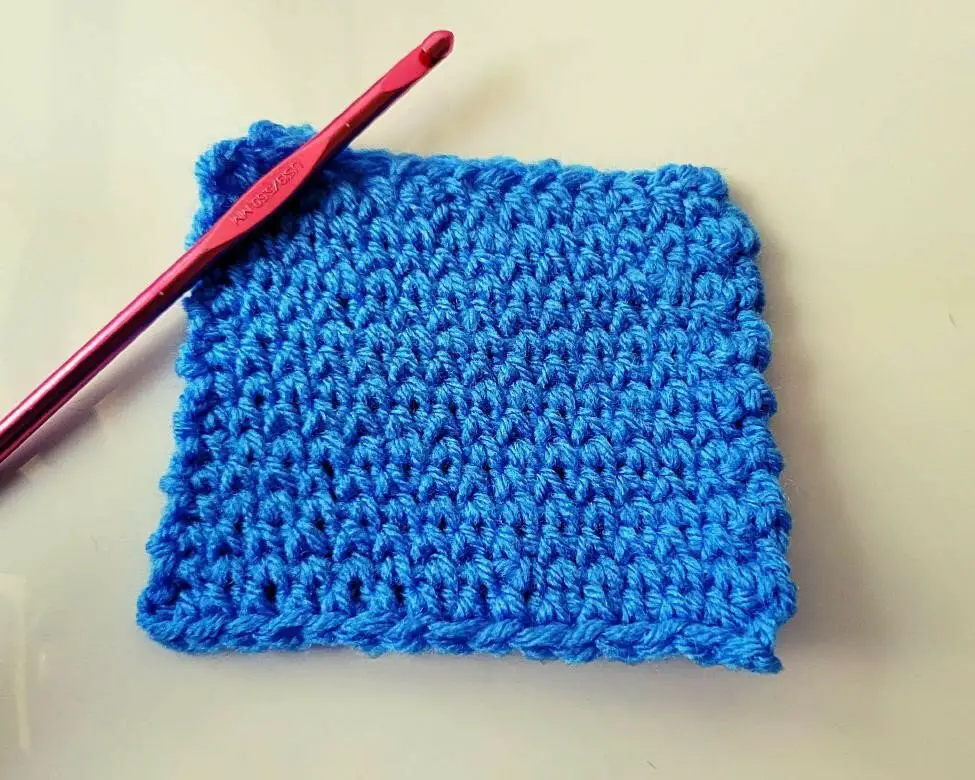
Begin a new row with chain 1. Insert the hook into the next stitch, not into the base of the chain 1. Draw the yarn through the stitch. You now have 2 loops on the hook. Draw the yarn through both loops to complete the stitch. Insert the hook into the next stitch and continue across the row. Work the last stitch into the chain 1 of the previous row. Turn your work and chain 1 to begin a new row.
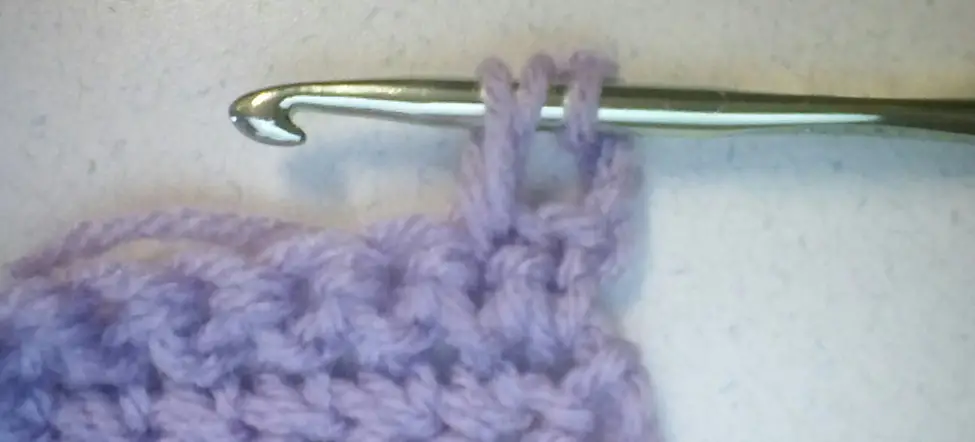
Double Crochet
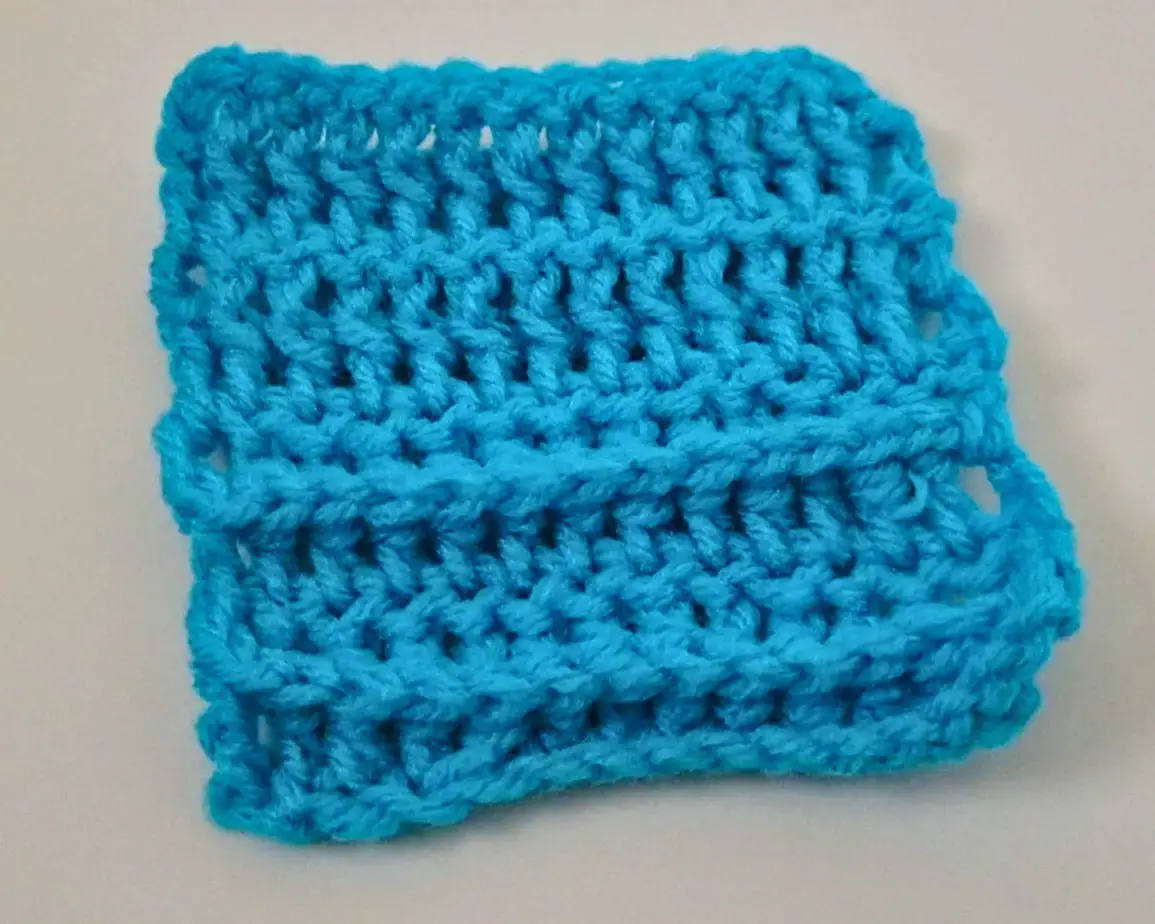
To begin a double crochet row chain 3. This counts as the first stitch. Yarn over the hook and insert the hook into the first stitch. Yarn over and pull the yarn through the stitch. You will have 3 loops on the hook. Yarn over and pull through the first 2 loops. Yarn over and pull through the last 2 loops to complete the stitch. Work across the row and work the last stitch into the 3rd chain stitch of the previous row. Turn your work and chain 3 to begin a new row.
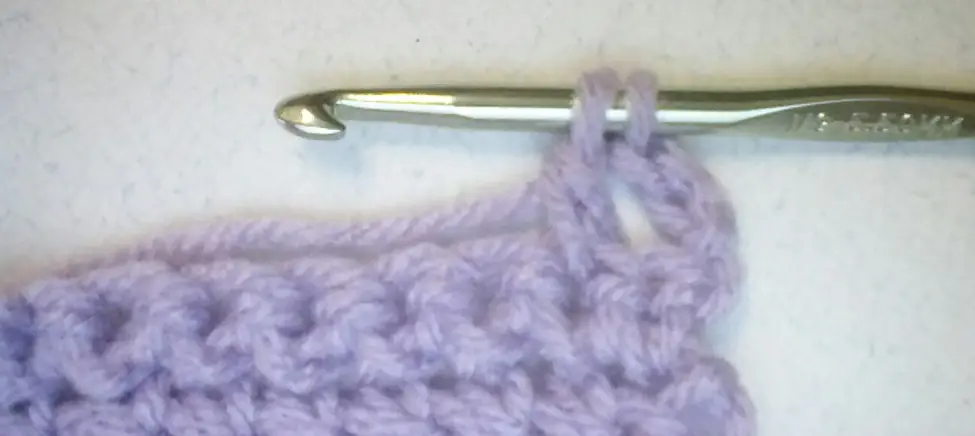
Reverse Single Crochet
The reverse single crochet is also known as the Crab stitch. Working left to right, insert the hook into the next stitch to the right. Yarn over and pull through, yarn over and pull through the 2 loops on the hook. Continue to work from left to right.
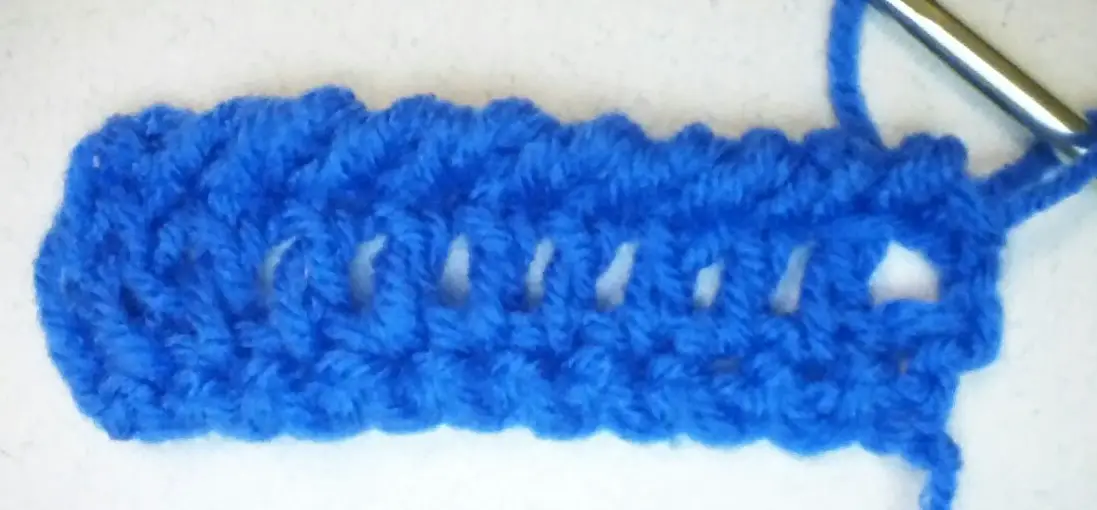
Magic Ring
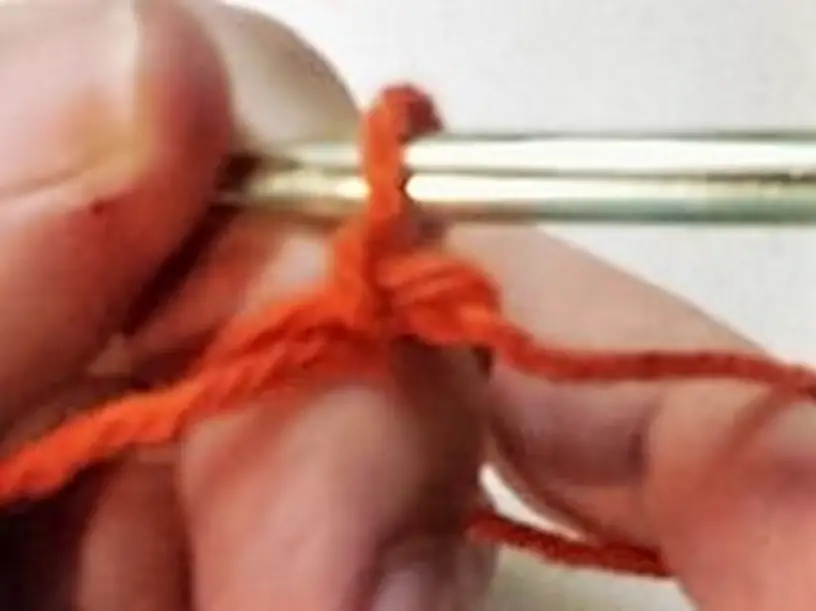
Begin by wrapping the yarn around your index and middle finger of your left hand. The loose tail should be draped over your fingers and held toward you.
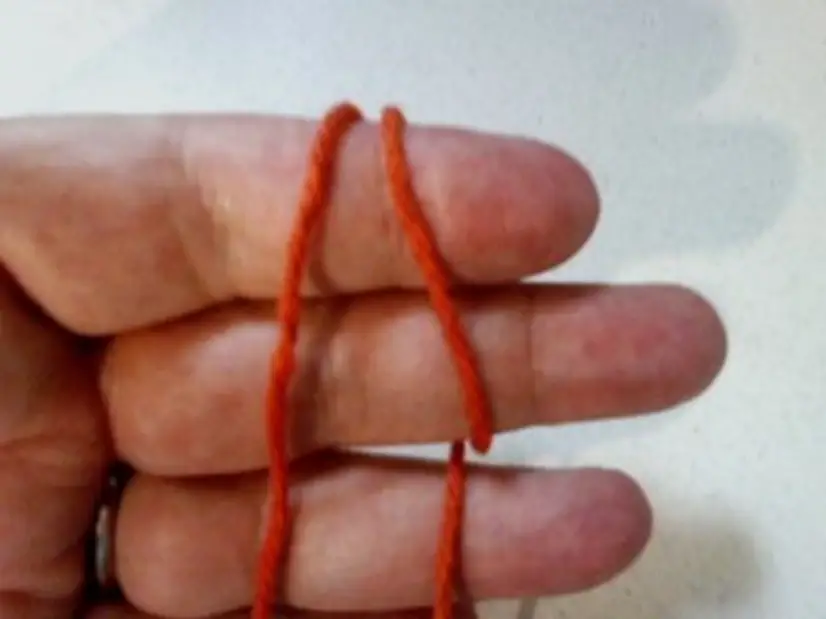
Insert the hook under the right-hand loop which is draped over your index finger. Grab the yarn and pull it through the loop.
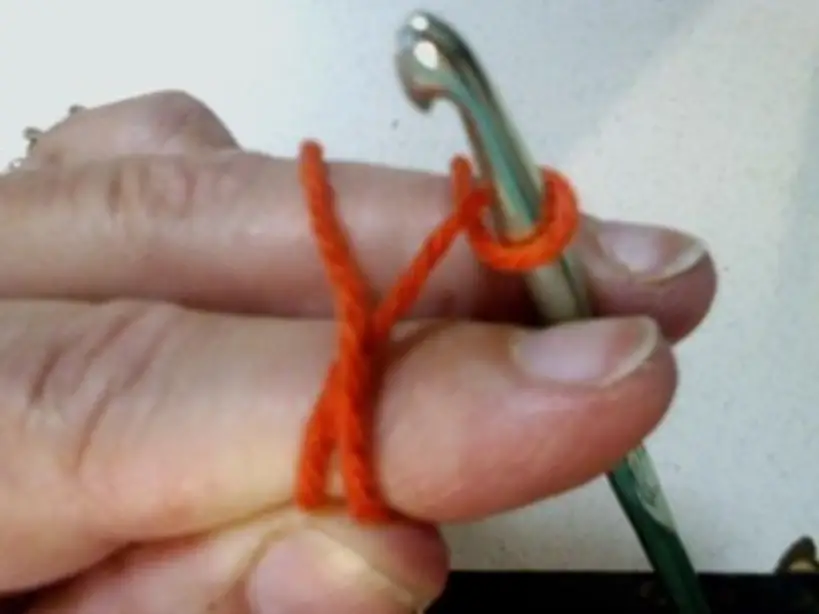
Yarn over and pull it through the two loops on your hook. This is the first single crochet. You can also use double crochet stitches to form a magic ring.
 \
\
Continue to work your first round of stitches into the center of the ring. Be sure to capture both strands of yarn which form the loop into the stitches.
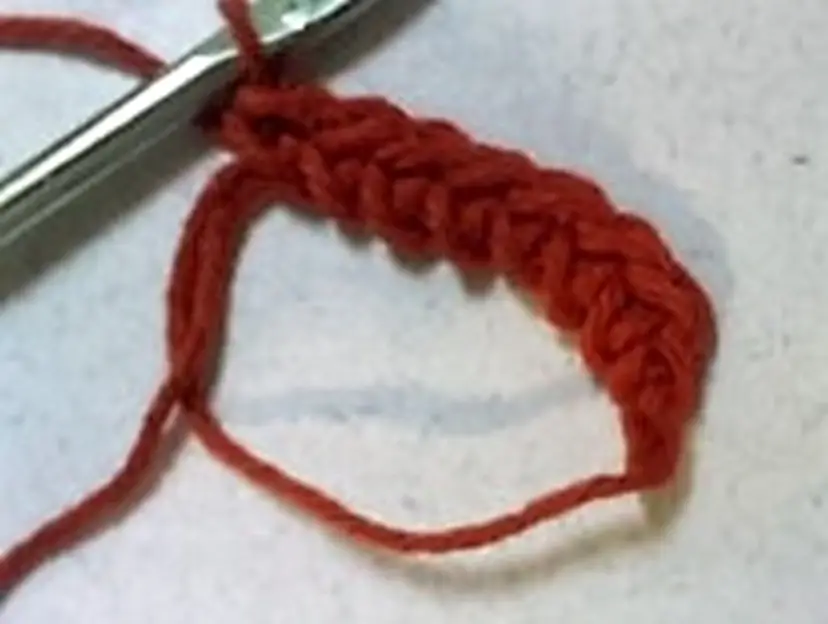
Once you have the correct number of stitches pull the loose yarn to close up the ring. Join the ring with a slip stitch and you have your first round of stitches.
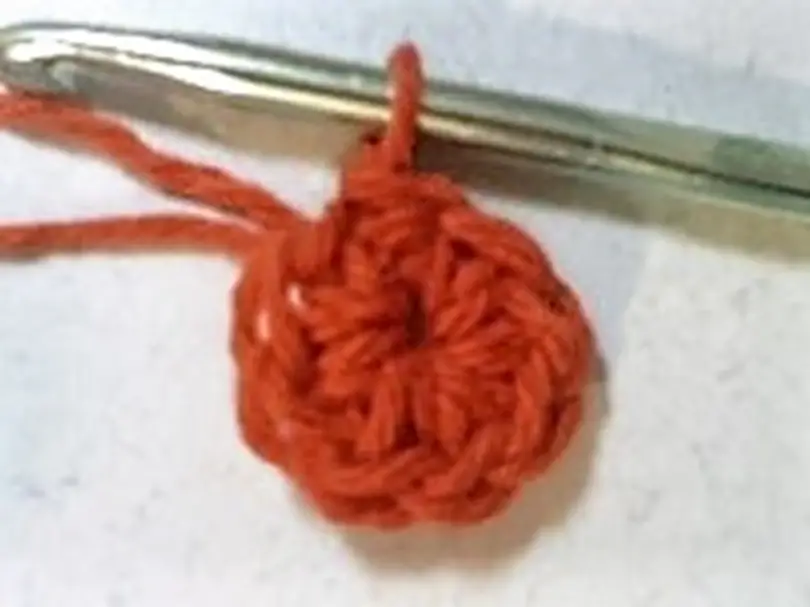
Check out my tutorials on color and intermediate stitches and techniques. Be sure to check back as I plan on adding more tutorials soon.
Crochet Tutorial #2 – Working with Color
Crochet Tutorial #3 – Intermediate Stitches and Techniques
Pansy Motif
This is a pretty little motif which reminds me of an African flower motif. I worked up a solid color and one using more than one color. You can see how the different colors really make the pattern pop.
Stitches used
Chain – ch
Slip stitch – sl st
Single crochet – sc
Double crochet – dc
Create a magic ring
Round 1: ch1, 10 sc into ring
Round 2: ch3, 2dc into each st, join in 3rd ch
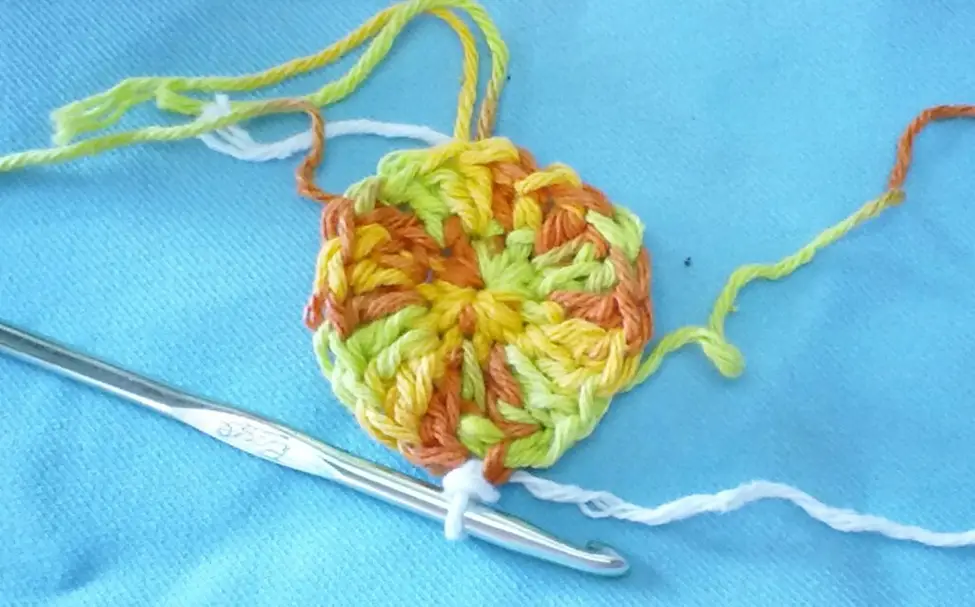
Round 3: *ch1, sk 1 st, 5dc, sk 1 st, sl st, ch1* rep around, join in ch1
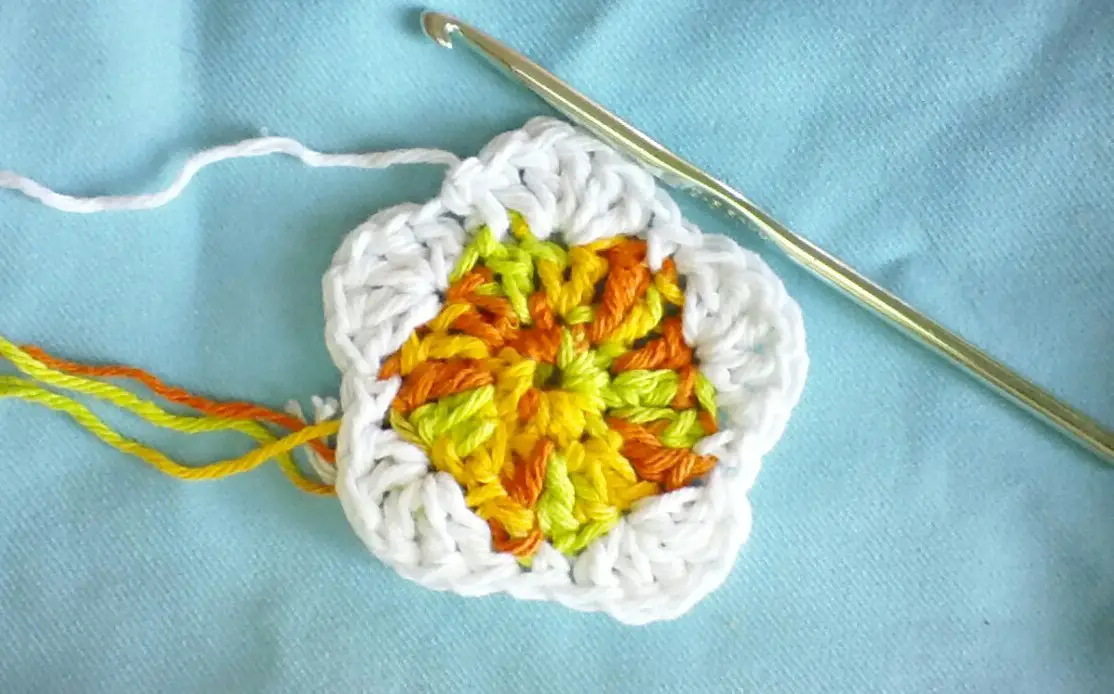
Round 4: ch4, *dc, ch1* rep around, join in 3rd ch
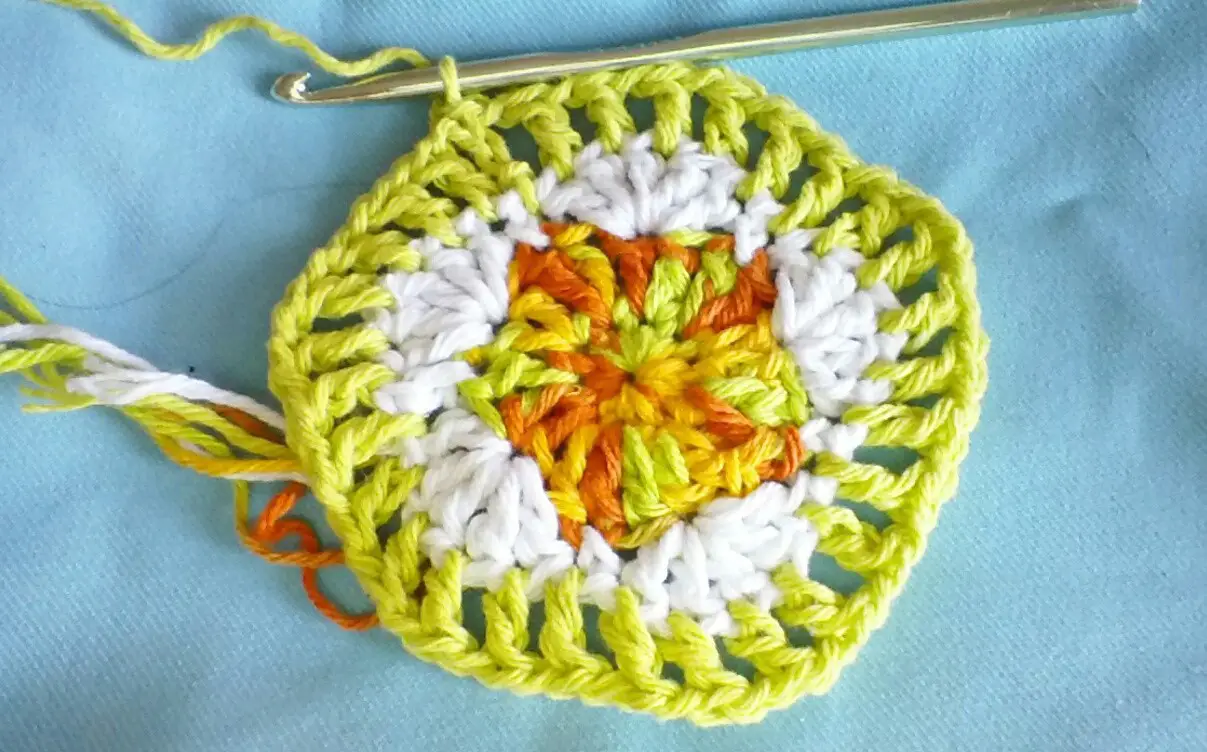
Round 5: ch1, rev sc around, join in ch1, cut tails and weave them in
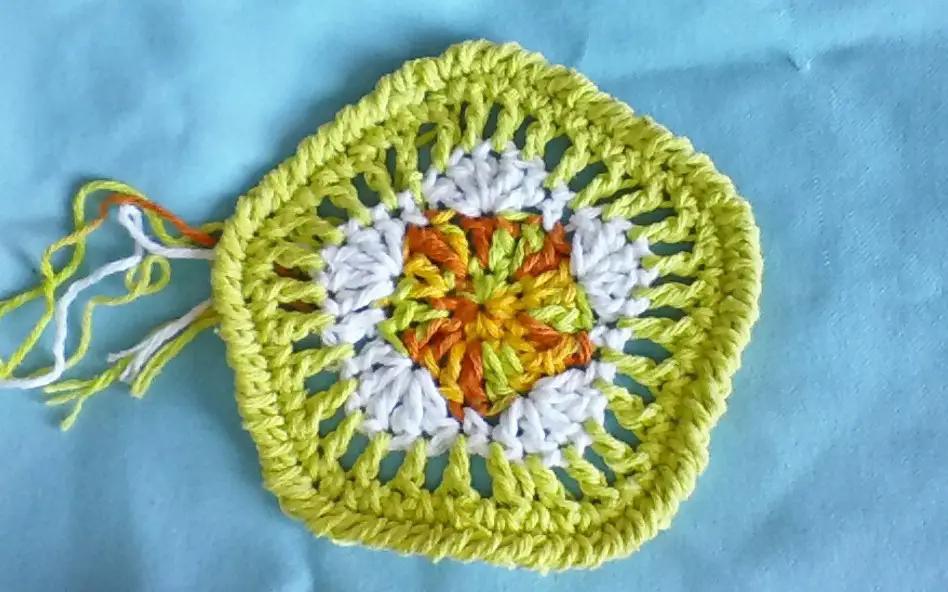
I also made one in a gray marble color.
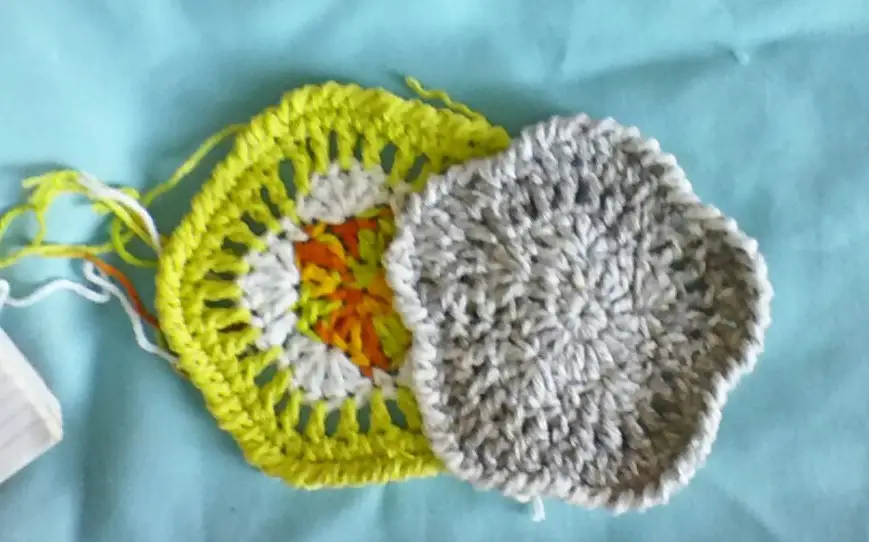
I used an I/9 hook on the multi-color motif and a size H/8 hook on the gray motif. You can see how the hook sizes affect the size of the motif.
7 Petal Flower Motif
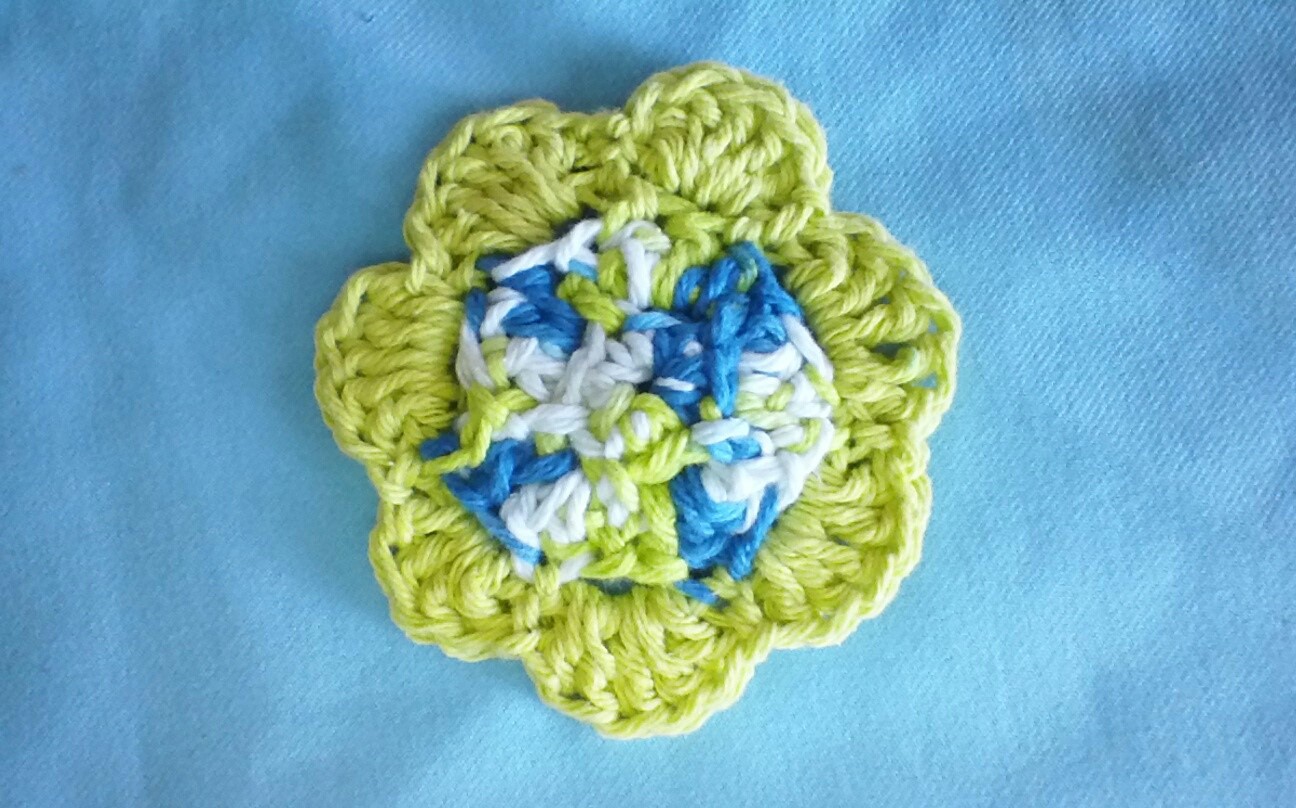
This motif was inspired by the flowers of spring. I grew up in the Midwest and we knew spring was close when the crocuses would push their way through the snow. This motif reminds me of those hardy flowers. I can imagine joining these motifs to create lovely afghans, curtains, and other projects. Let your imagination be your guide when you choose the colors.
Stitches used:
Chain st – ch
Single crochet – sc
Skip stitch – sk
Slip stitch – sl st
Double crochet – dc
Create magic ring, ch1, 8 sc into ring
Round 1: ch3 *sk 1, sc, ch3 sk 1, sc* rep around, join in 3rd ch st
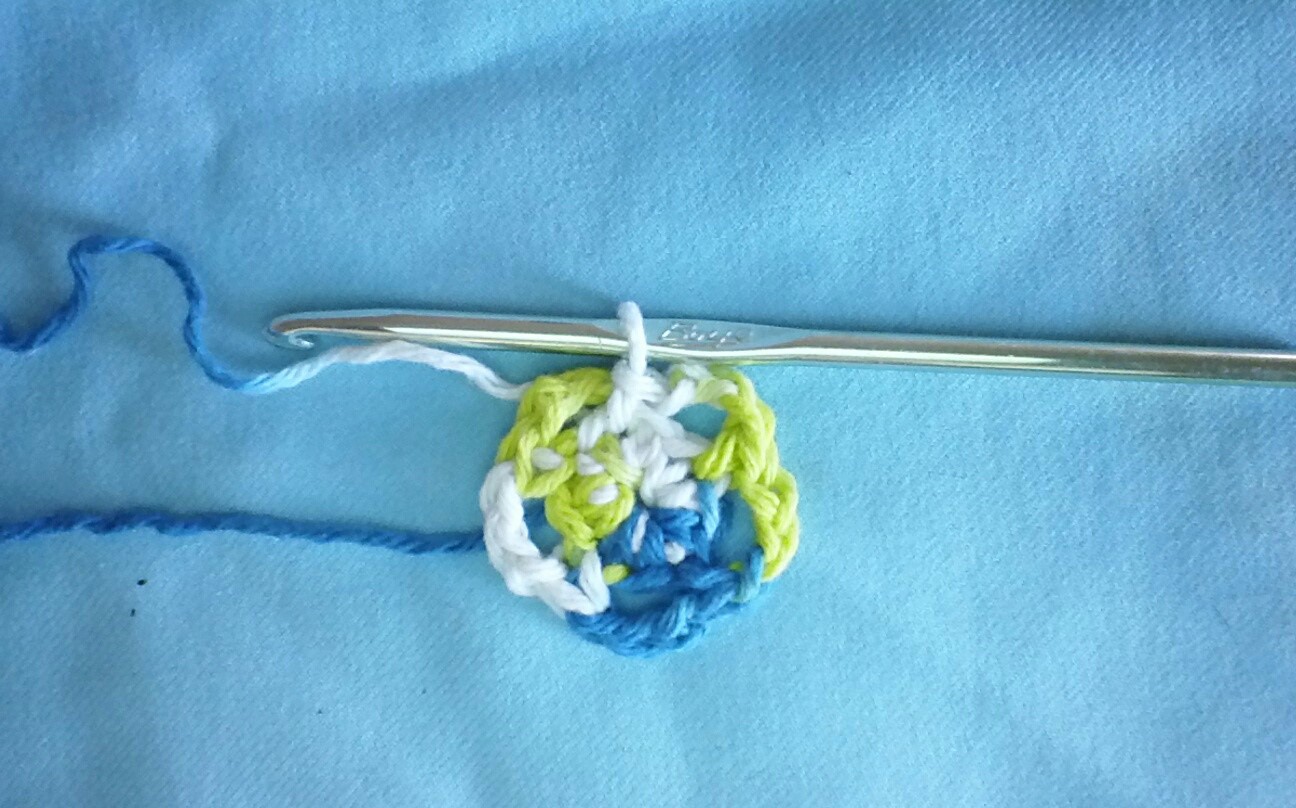
Round 2: ch3 *3 dc into next ch3 sp, sl st into ch1 sp* rep around, join in 3rd ch st
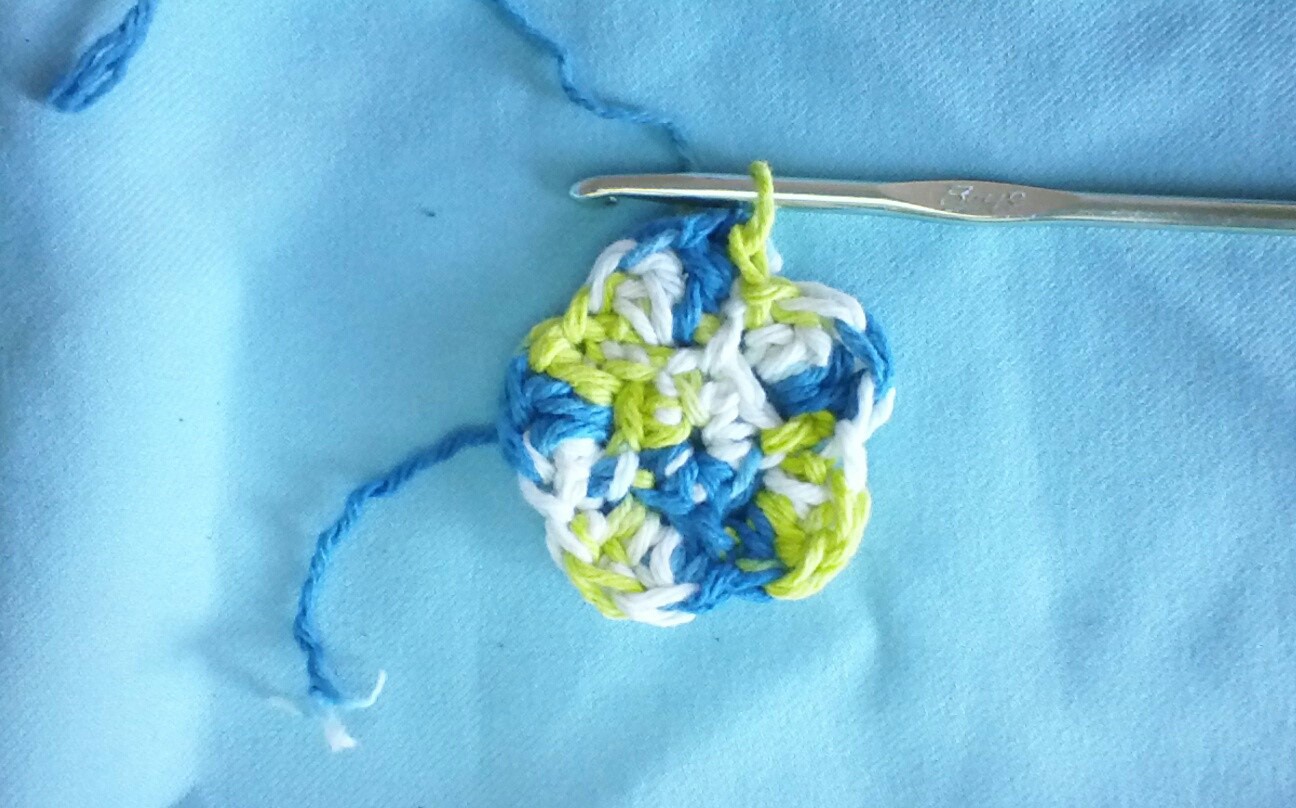
Round 3: ch1, *5ch, sl st into sl st* rep around, join in ch1
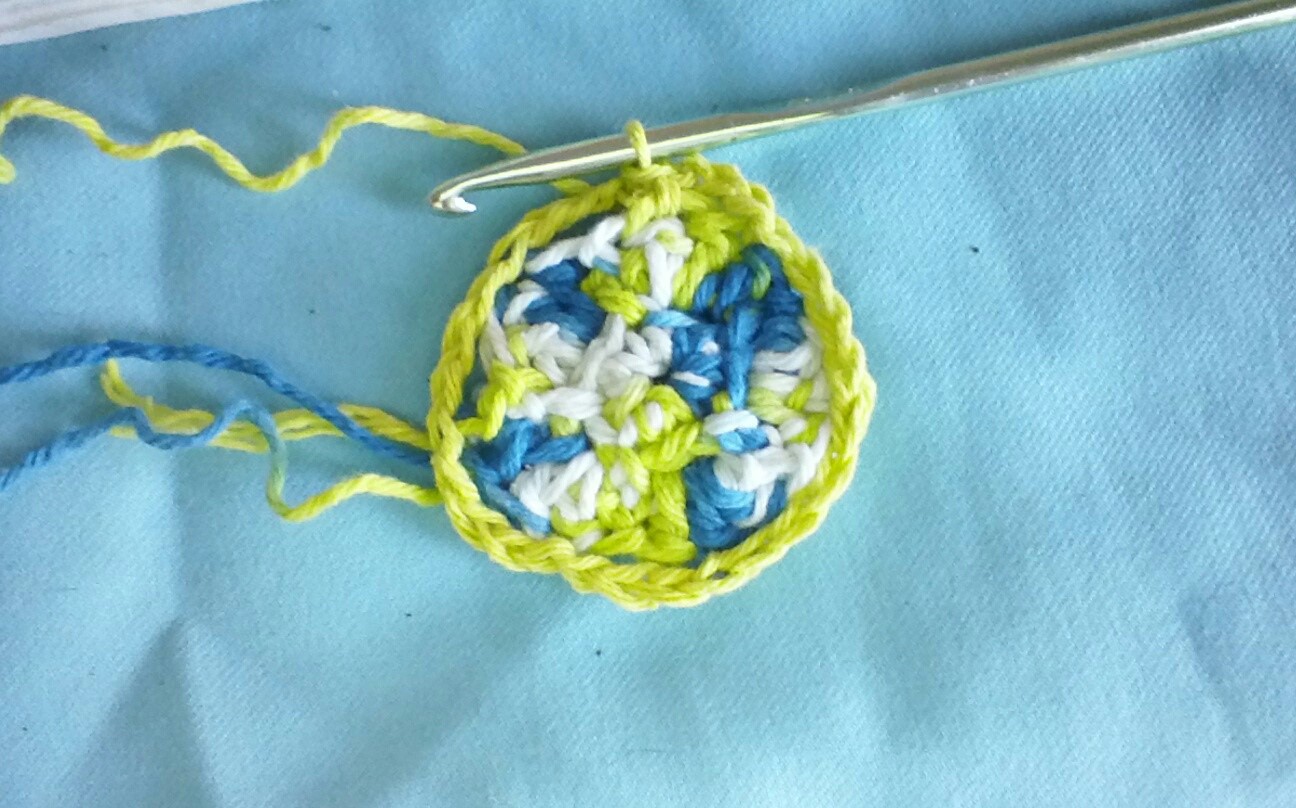
Round 3: sl st into ch3 sp *5 dc into ch3 sp, sl st into sl st* rep around, join in sl st
Wagon Wheel Motif
This is my interpretation of a classic motif. I like to make several of them for coasters and give them as gifts. If you crochet them with a smaller hook they would also make good face scrubbies. Work three or four up, add some artisan soap, a candle, place them all in a pretty box or basket, and you’ve got a thoughtful gift.
Stitches used in this pattern:
Chain – ch
Slip stitch – sl st
Single crochet – sc
Double crochet – dc
Ch4, sl st in 1st ch to join
Round 1: ch4 *dc, ch1* rep around join in 3rd ch st
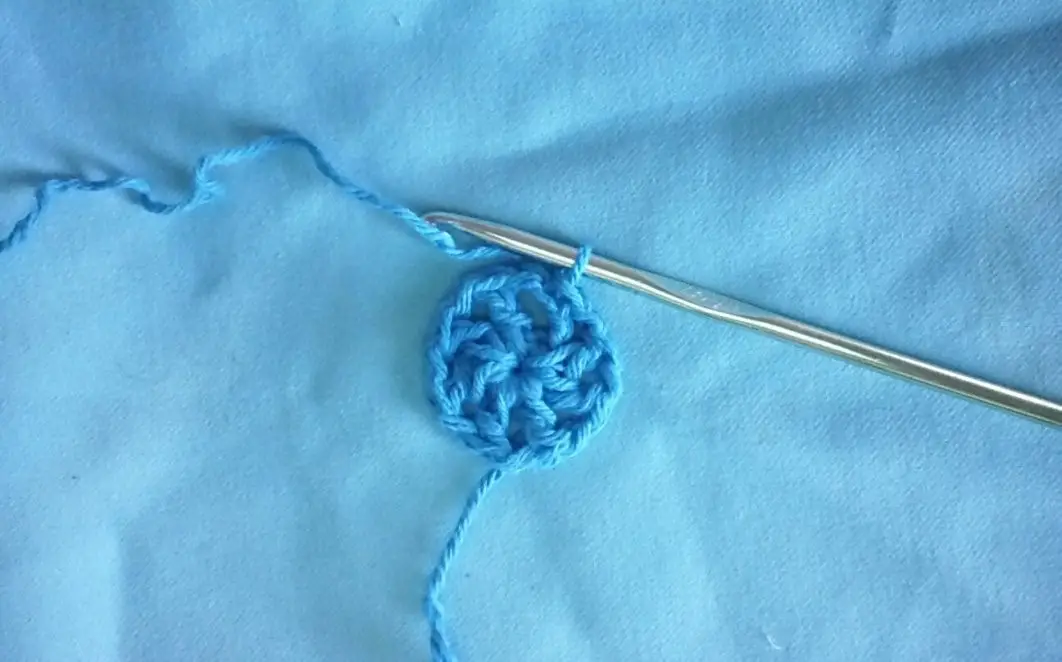
Round 2: ch4 *2dc into ch1 sp, ch1* rep around, join in 3rd st
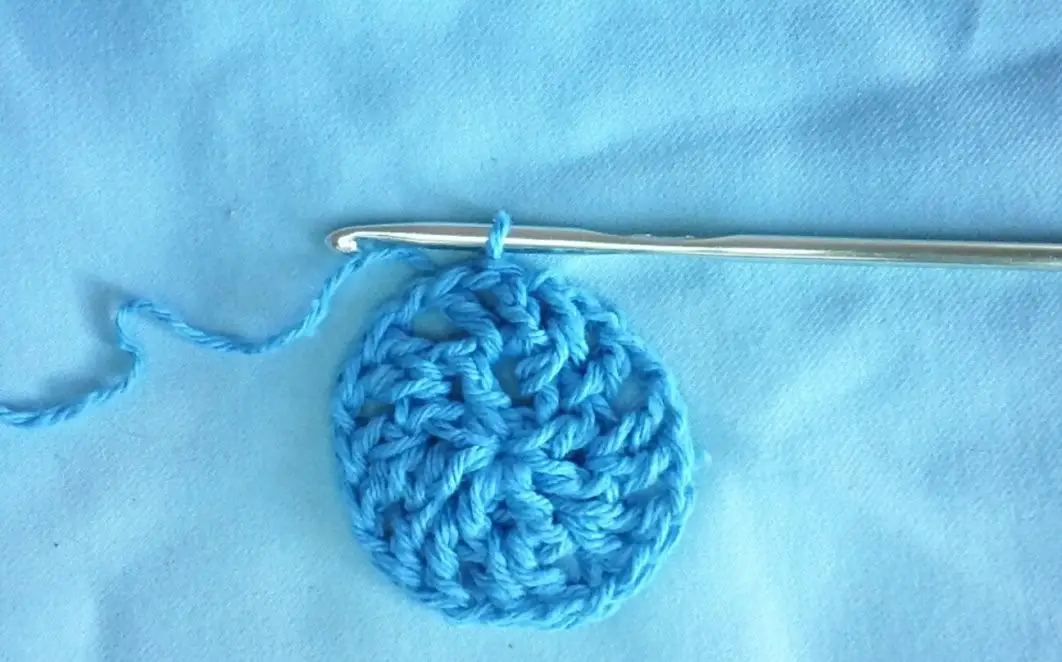
Round 3: ch1 *2sc into ch1 sp, sc into dc sps* rep around, join in ch1.
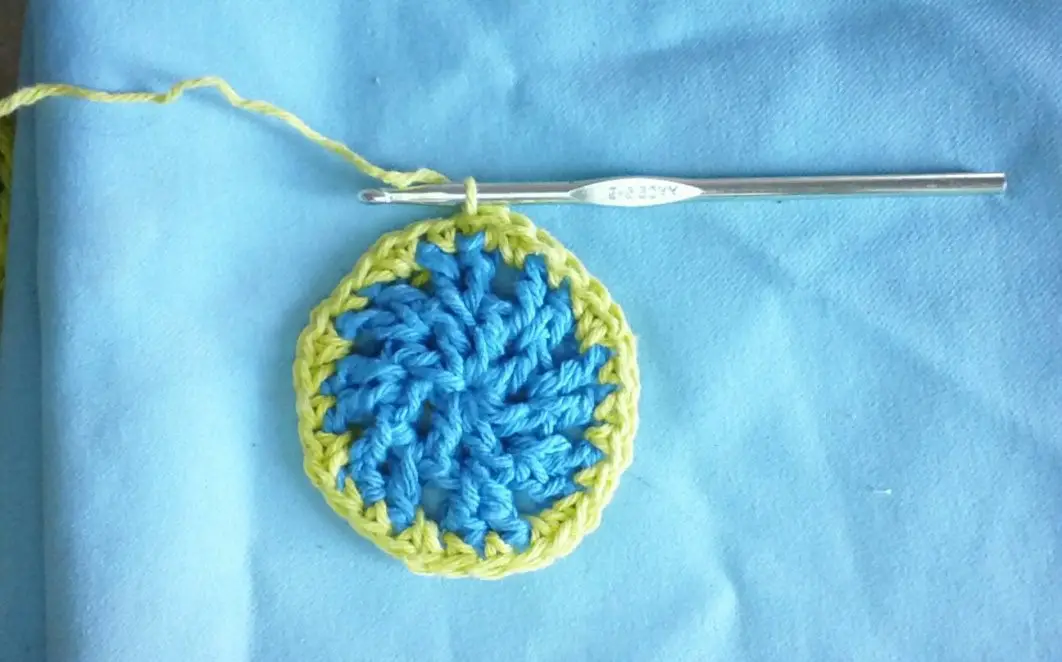
Round 4: ch3, dc into same sp *ch2, sk 2 sts, 2dc into next st* rep around, ch2, join in 3rd ch
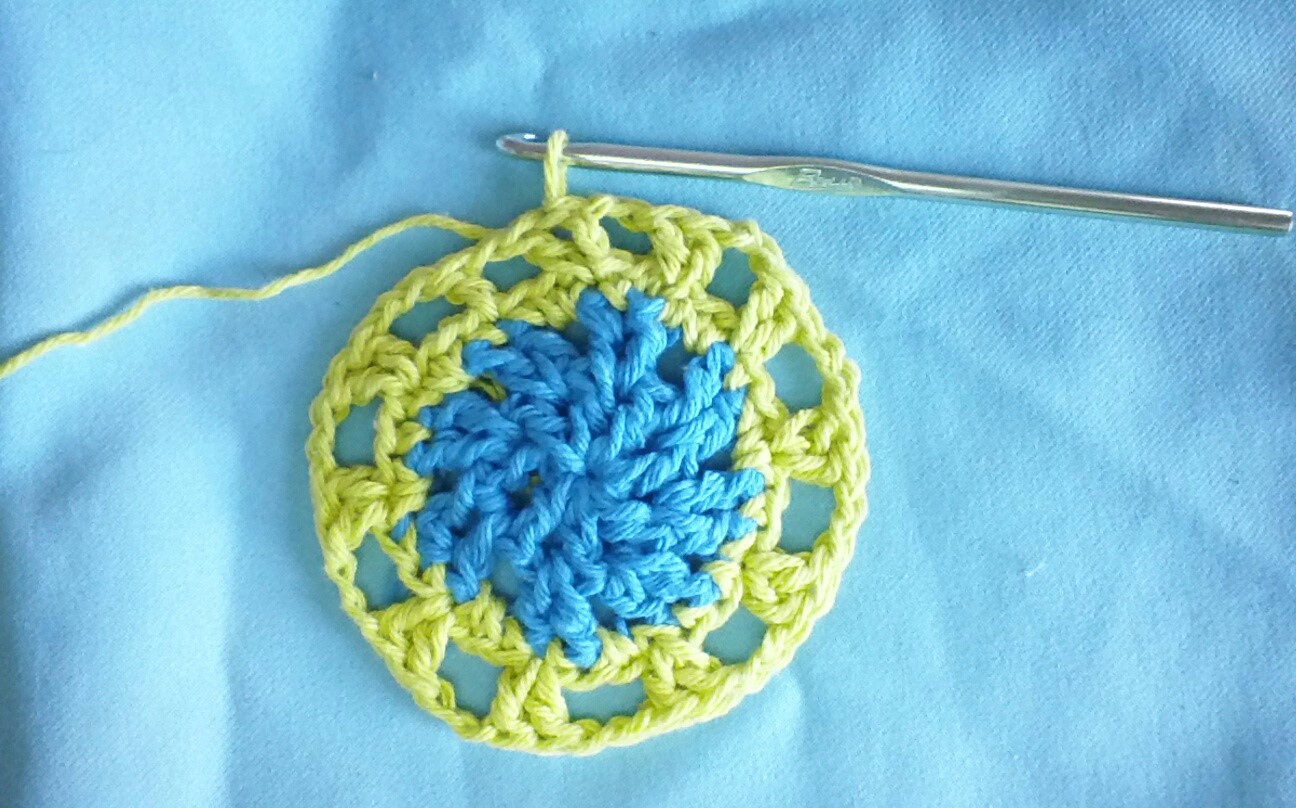
Round 5: ch1, sc around, join in ch1
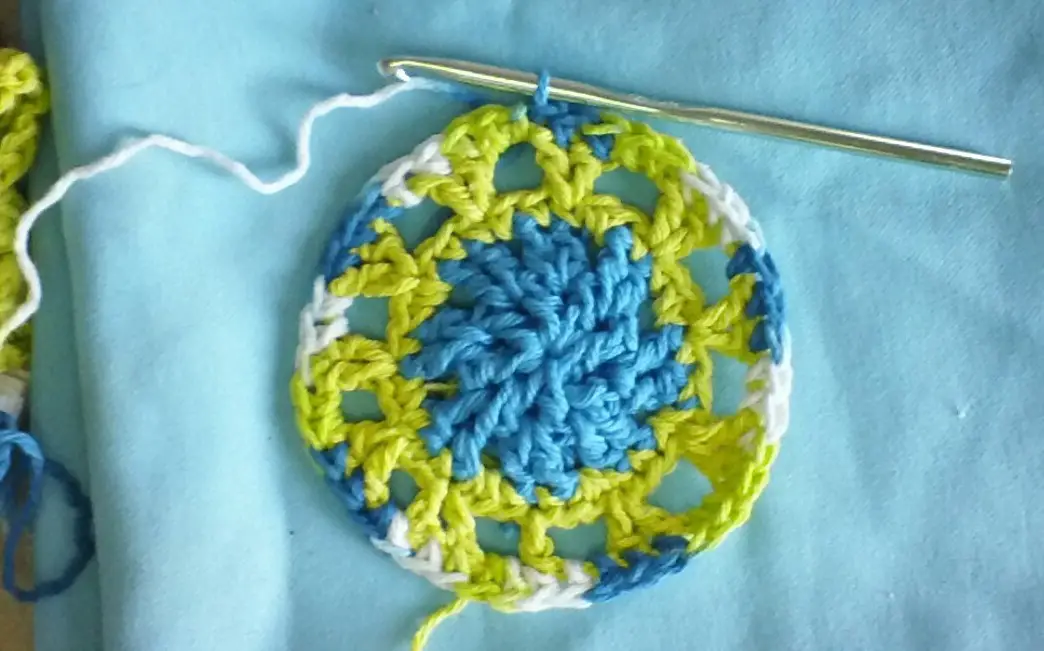
Spiked Granny Square
This is a twist on the classic Granny square. Long (spike) double crochet stitches are used to add texture and interest. Scatter these Grannys in an afghan or blanket to add a bit of variety. The pattern starts and finishes like a traditional Granny square. The long double crochet is used in Round 2 instead of the second chain stitch in the corners.
Stitches used in this pattern:
Chain stitch – ch
Slip stitch – sl st
Double crochet – dc
Long double crochet – ldc
A long double crochet is worked just like a double crochet, but the hook is inserted into the center of the square.
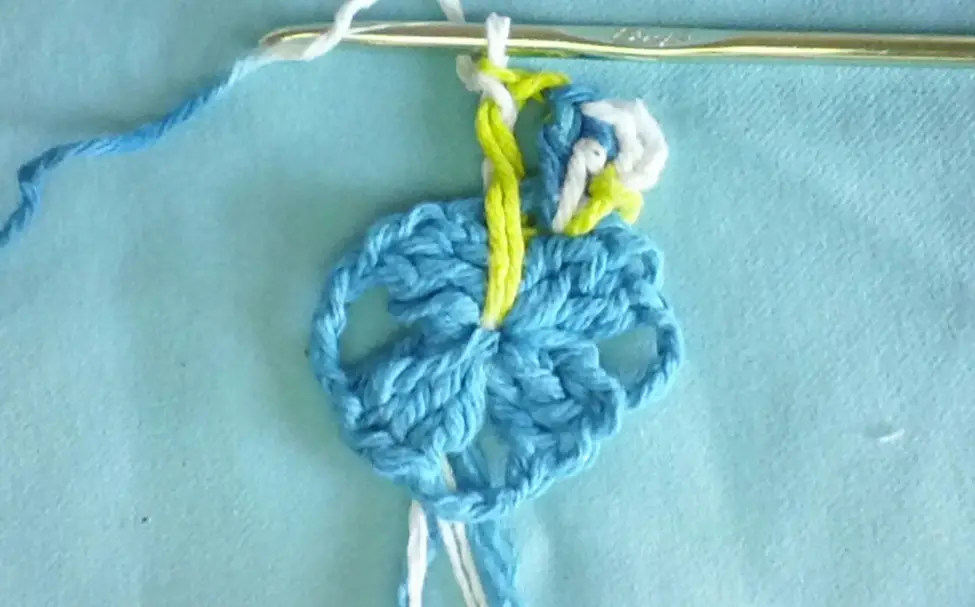
Ch 4, sl st into 1st st to join
Round 1: ch3, 2dc into ring *ch3, 3dc into ring* rep three times total, sl st into 3rd ch
Round 2: ch3, 2dc, ch1, ldc, ch1, 3dc into ch3 sp, *3dc, ch1, ldc, ch1, 3dc, ch1* rep into each ch3 sp around, join in 3rd ch st
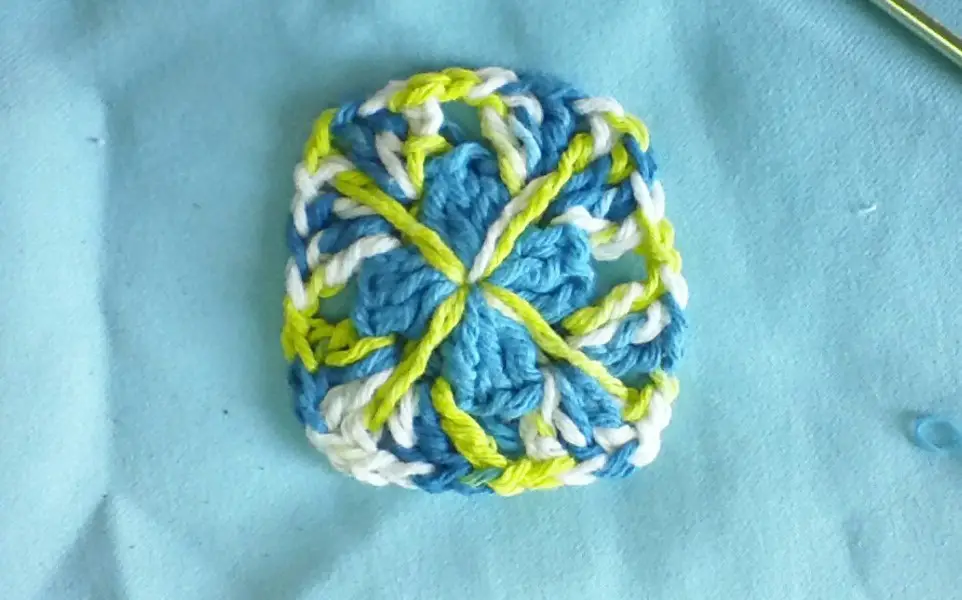
Round 4: ch3, 2dc, ch3, 3dc, ch1into next ch3 sp *3dc, ch1 into next ch1 sp, 3dc, ch3, 3dc, ch1 into next ch3 sp* rep around, join in 3rd ch, cut tails and weave in
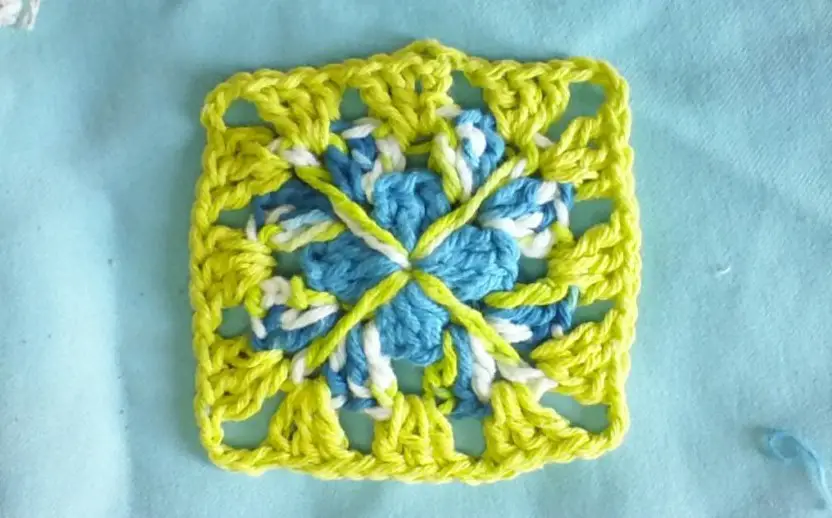
If you found this article helpful and you learned how to make a few cool Motif Patterns, you will probably love our article All about Granny Squares where you can learn some of the most popular Granny Square Patterns.
End Notes
Thanks again for stopping by today. I hope you have enjoyed working up these crochet motifs. I have made every effort for the patterns to be easy to read and easy to work. Please let me know if you find any mistakes, or if you have a question. I will make every effort to answer you as soon as I can. Do you have a suggestion on a future blog? Please let me know, I’d love to hear from you.
Until next time, take care and keep on hooking!
If You Enjoyed this Article Please Share and Pin. It is Greatly Appreciated. 🙂

