The crochet shell stitch is a classic stitch and is perfect for beginners! It is easy to learn and is a beautiful stitch that is sure to impress! This stitch is very versatile and can be used for any of your favorite crochet projects. It can be used for blankets, hats, scarfs, and for anything in between! So, get ready to learn a new stitch that will soon become a new favorite!
This stitch can be done with any size hook depending on the project size that you are trying to achieve. Smaller hooks will give you a tighter smaller look to your project while the larger hooks will give you a looser larger look. Make sure that when selecting a hook size, it is compatible with your yarn. Yarn will often have a hook size guide printed right on the label. This is just a guide for the size hook to use. If you use a smaller hook then it is listed on the label, it might be hard to get the proper stitches as the yarn will be too big for the hook. If you use a hook that is larger than is listed, it might make the stitch look loser and it might have a bit of a gaping look to it.
What I will be using for this stitch
- Size H hook (5mm)
- Medium weight yarn
Stitches that you need to know for this pattern are
Ch – Chain
Sc – Single crochet
Dc – Double crochet
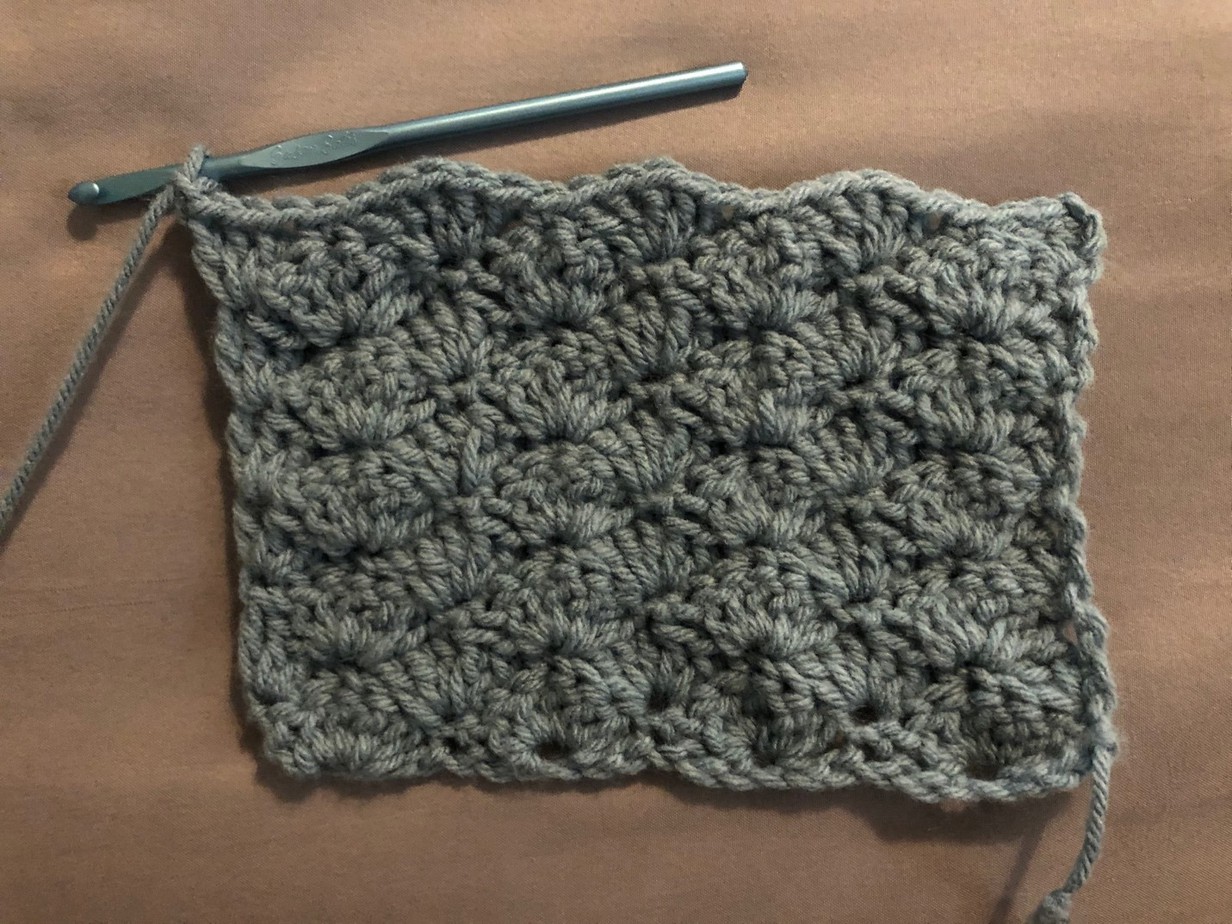
This pattern is a simple test swatch that we will be working on. This is a great way to try your hand at new stitches without having to commit to a large project before you know if you like or understand the stitch that you are about to do. You can use any yarn that you would like and will only need around 20 yards when doing this test swatch. Once you fall in love with this stitch you can go onto larger projects!
Even though this is just a pattern for a test swatch the pattern can be manipulated to be turned into a bigger pattern for bigger projects like a blanket or a scarf. The pattern is worked in a chain 6 + 1 pattern. This means that depending on the size you want; you will have to chain in multiples of 6 with an addition of one extra stitch at the end of your last 6.
How the pattern can be manipulated
6 + 1
Pattern
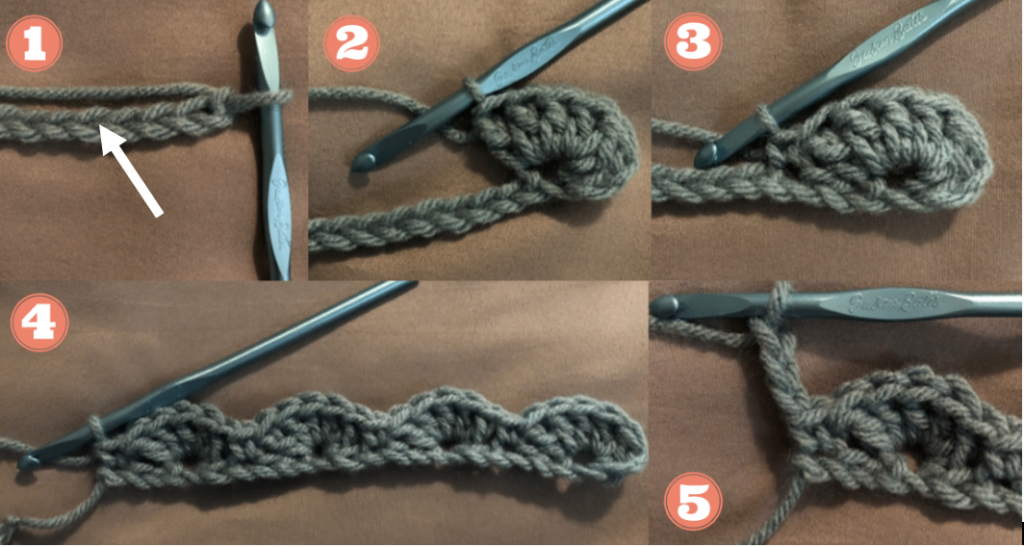
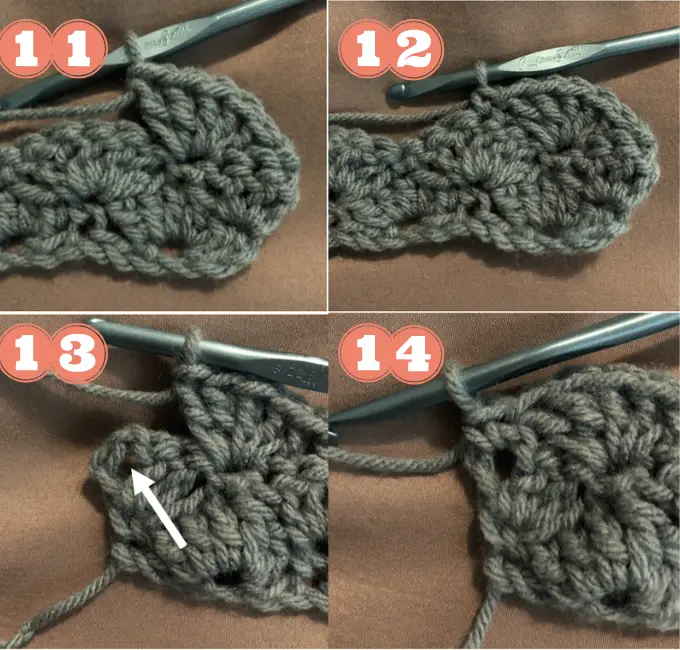
There is a visual representation of each part of the pattern below the instructions for each row.
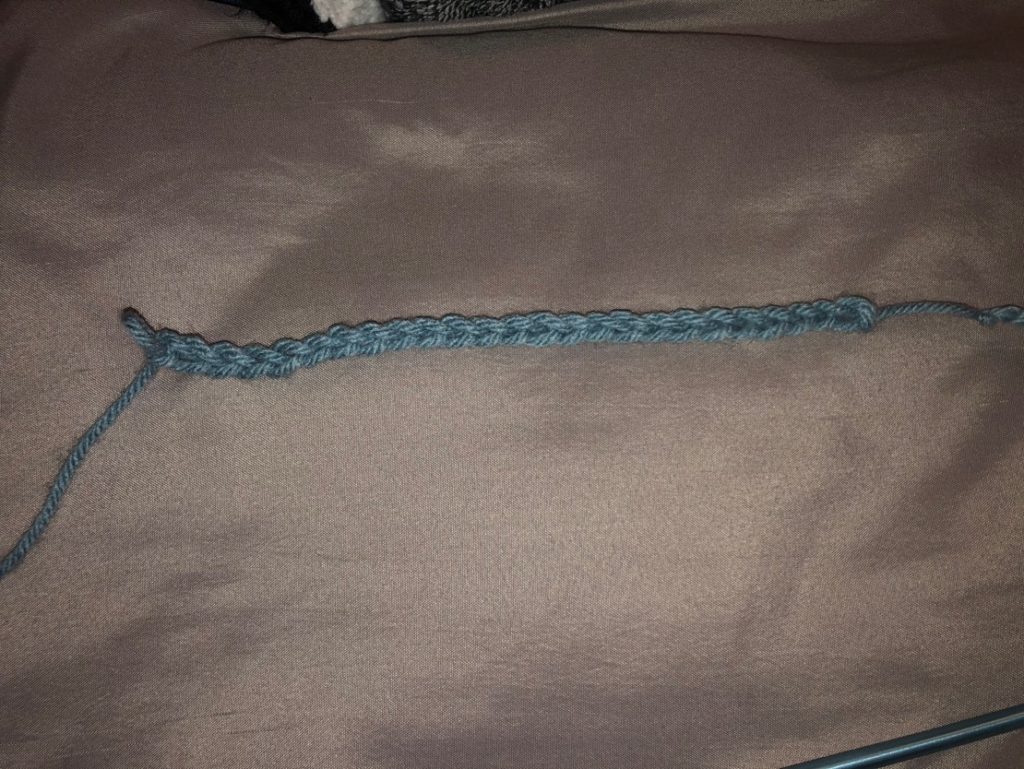
Start by chaining (Ch) 19.
Row 1:
5 Dc in the 4th ch from the hook. *Skip the next two ch spaces. Sc in the next ch space. Skip the next two ch spaces. 5 dc in the next sc space. Repeated from * to the end of the row. At the end of the row sc in the last ch space. Ch 3 (this counts as 1 dc for the next row). TURN.
Row 2:
Make 2 dc in the same stitch as the ch 3. * Skip the next two stitches. Sc in the next stitch. Skip the next two stitches. 5 dc in the next stitch. Repeated from * until the end of the row. At the end of the row finish with 3 dc in the last stitch space. Ch 1. TURN.
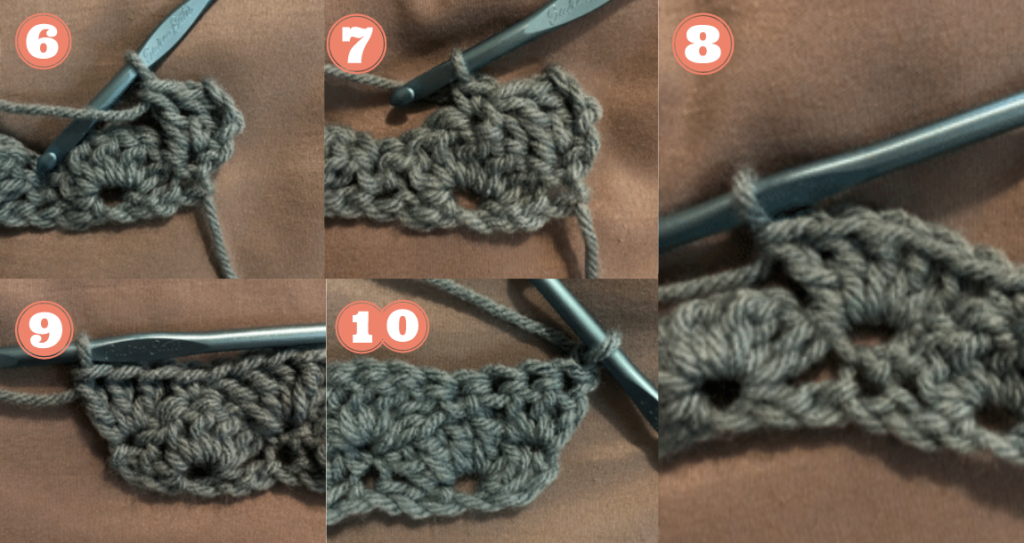
Row 3:
*Skip the first two stitches. 5 dc in the next stitch. Skip the next 2 stitches. Sc in the next stitch. Repeat from * until the end of the row. At the end of the row sc in the last stitch. Ch 3. TURN.
Continue with rows 2 and 3 until the end of the project or until the desired length. Fasten off to finish the project and cut the yarn.
If this was a bigger project or if you wanted to keep the test swatch you would then have to weave the ends of the yarn back into the finished project. This can simply be done with a yarn needle.
Another way that this stitch is so versatile is that it can be increased or decreased to achieve different looks. For example, the space that has the five double crochet stitches can be increased or decreased to give the shell stitch a different look! Once getting the hang of the traditional shell stitch this might be fun to look into trying a different variation of the shell stitch pattern!
This pattern only has the two main different rows that alternate all the way throughout the pattern, making it simple to both learn and execute. Hopefully, by now you completely understand this stitch and you are eager to get going with it! It is a great stitch to use for any new project you might be excited to get started on! Good luck!


