Learn how to do the granite crochet stitch with this easy tutorial! This versatile stitch can be used for a variety of fun projects.
I don’t know about you, but in my early days of learning to crochet, I was so excited to move on to more advanced projects. I wanted to do something that looked really cool… but I also struggled with complicated patterns.
So when I came across the granite crochet stitch I was super excited. It’s simple enough that beginner crocheters can pick it up easily, but it has just enough texture and interest to make your project stand out.
In this tutorial, I’ll walk you through step-by-step how to do the granite crochet stitch. I’ve even included pictures and a video to help you follow along.
Let’s get to it!
What is the Granite Crochet Stitch?
The granite crochet stitch, also known as the moss stitch, woven stitch, or linen stitch, is an easy textured stitch that’s perfect for beginners.
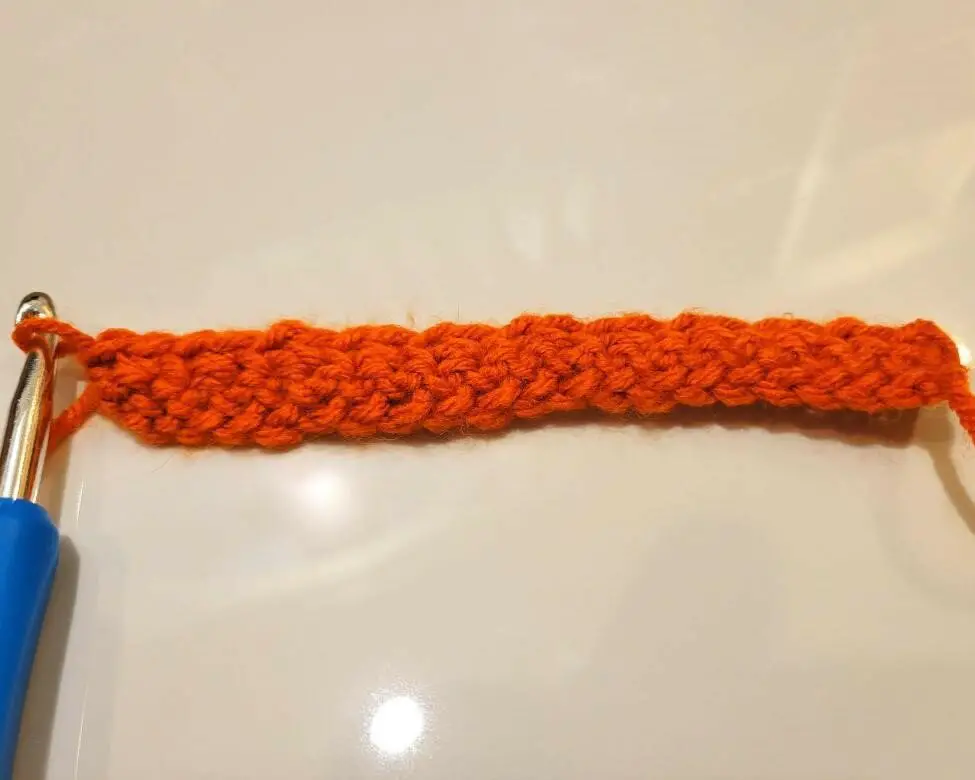
It’s created by working single crochet stitches and chain stitches across each row. By alternating the order of chain stitches and single crochet stitches and working in the chain space it creates a pretty design with a nice drape to it.
Project Ideas
The granite crochet stitch is great for beginner projects. The finished pattern is flexible enough to use for a variety of projects, but not so loose that you get gaps or holes showing through.
Here are some projects that would work well with this pattern:
- Blankets
- Hats
- Purses
- Scarves
- Dishcloths
- Coasters
- Sweaters
- Booties
- Granny squares
Granite Crochet Stitch Pattern Notes
Here are some notes and information to help you follow this pattern for the granite crochet stitch.
Supplies Needed
- Yarn: you can use any yarn weight. For this tutorial, I used Craftiss Acrylic yarn in orange.
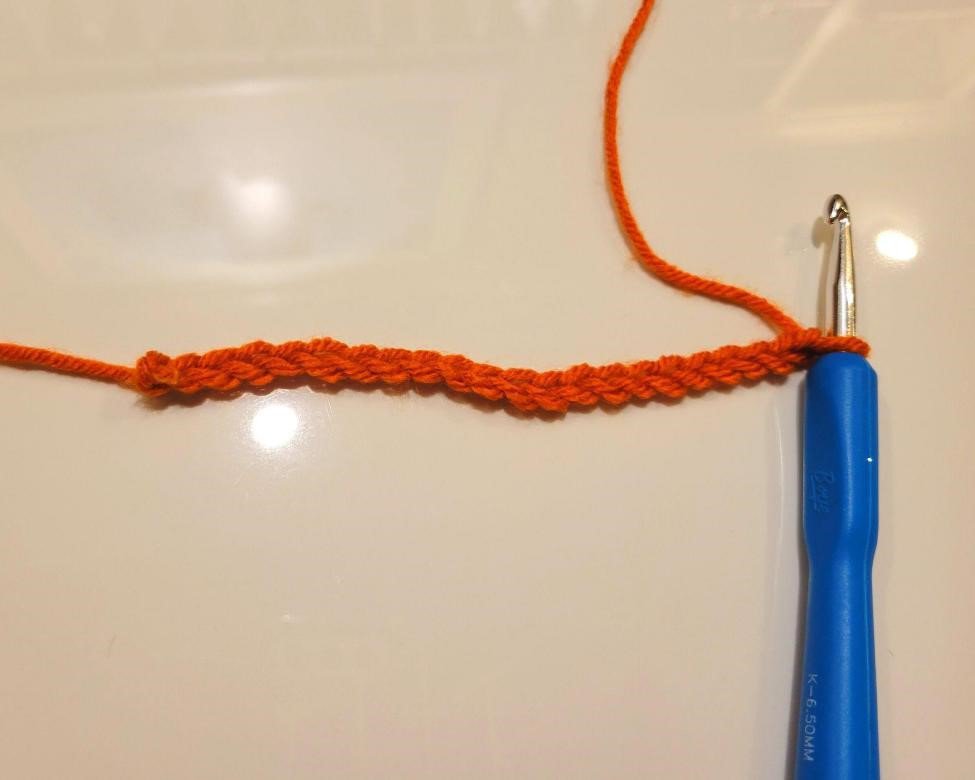
- Crochet hook: Be sure to match the size of your hook to the yarn. For this tutorial, I used a 6.50 MM hook.
Abbreviations
For this pattern, I will be using the Craft Yarn Council U.S. abbreviations.
- yo: yarn over
- ch: chain stitch
- sc: single crochet
- ch-sp: chain space
Special Stitches
The granite crochet stitch doesn’t use any special stitches. If you can do a single crochet stitch and a chain stitch, you’re good to go.
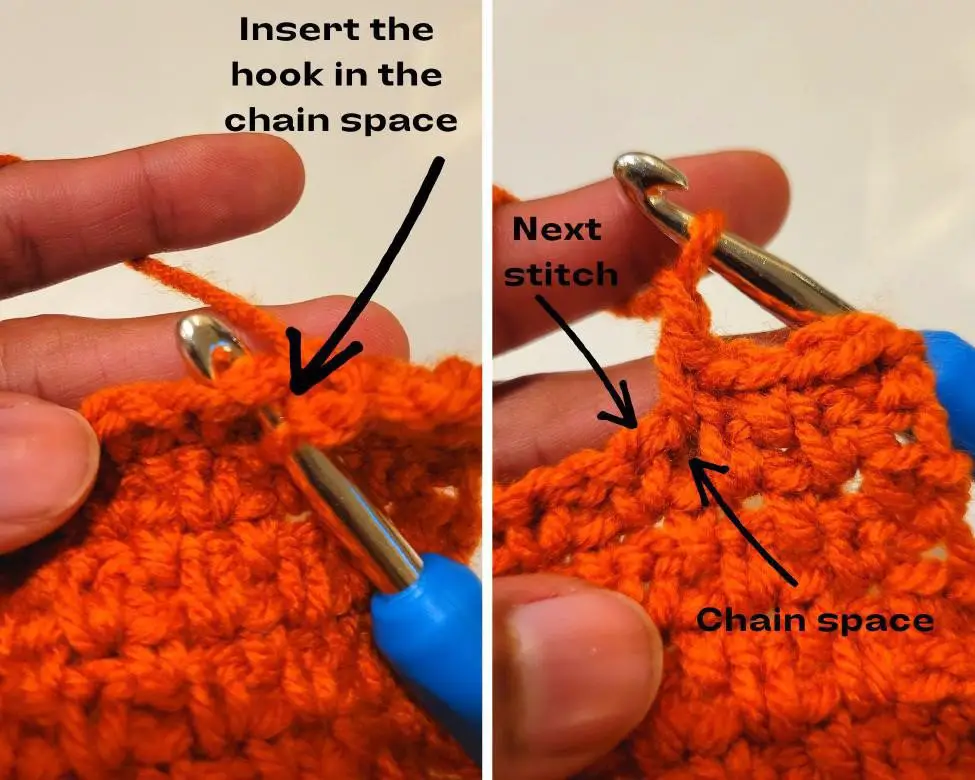
However, it does have you doing stitches in the chain space. The chain space refers to a gap in the weave created by skipping a stitch and doing a chain stitch instead.
As you work through this pattern, you’ll sometimes be making single crochet stitches in the chain space instead of a regular stitch. To do this, instead of inserting your hook into the next stitch, you’ll insert it into the chain space in the row below.
Granite Crochet Stitch Video Tutorial
Prefer to watch this tutorial instead? Follow along with me in this video on how to do the granite crochet stitch!
Granite Crochet Stitch Photo Tutorial
Here is the full tutorial on how to do the granite crochet stitch with pictures to help you follow along:
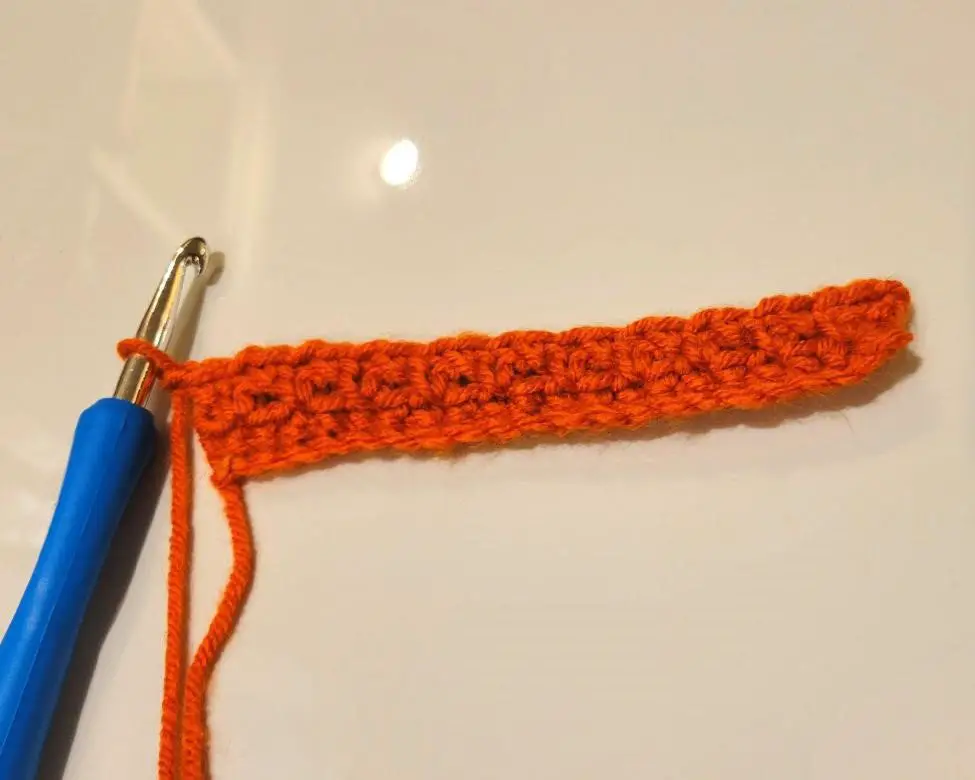
Row 1: ch an even number of stitches. For this tutorial, I started with 20 stitches.
Row 2: Skip the first stitch and sc to the end of the row.
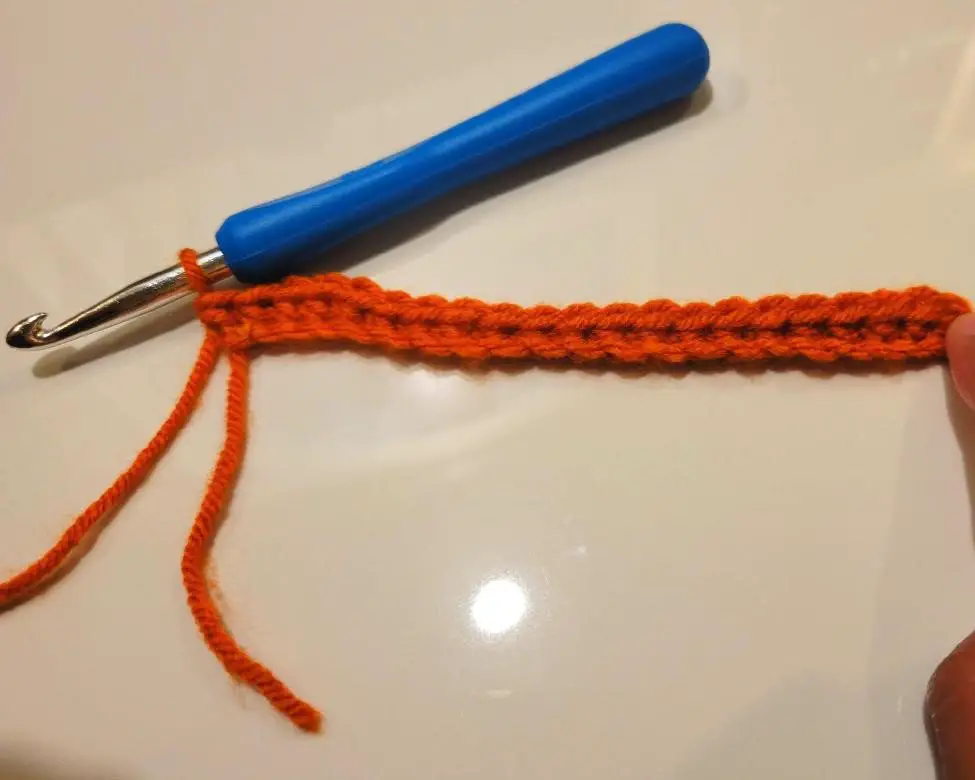
Row 3: Ch 1 and turn. (This counts as your first stitch.) Sc in the 2nd stitch. *Ch 1, skip 1 stitch, and sc in the next stitch. Repeat from * to the end of the row. Sc in the last stitch.
Row 4: Ch 1 and turn. (This counts as your first stitch.) Sc in the next 2 stitches. *Ch 1, skip 1 stitch, and sc in the ch-sp. Repeat from * to the end of the row. Sc in the last stitch.
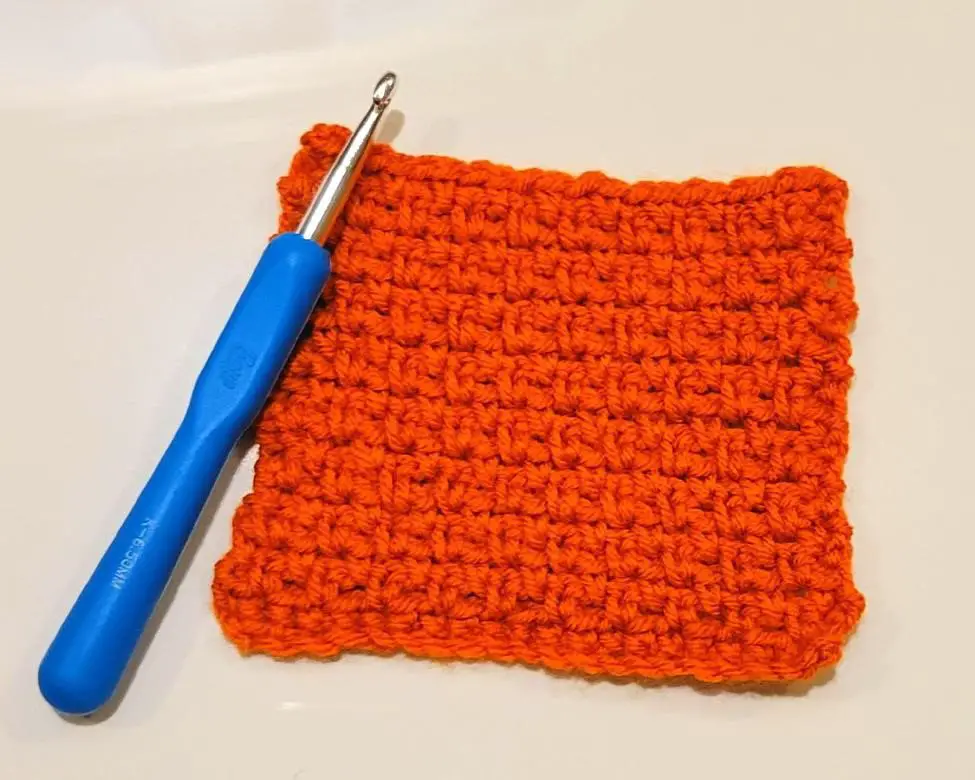
Row 5+: Repeat rows 3 and 4 until you reach the desired length of your project.
Tips for Working the Granite Crochet Stitch
Here are a few tips to make sure your granite crochet stitch comes out nice and even:
- Be sure to chain an even number of stitches to start your project. Work in multiples of two to adjust the length of your project.
- Be sure to do a single crochet stitch in the first and last stitch of each row. This will help keep your edges nice and straight.
- Use your fingers to feel for the chain space in the row below. This can help you make sure you’re putting your stitches in the right place. Especially if you’re using a smaller hook and it’s hard to see the chain space.
FAQs About the Granite Crochet Stitch
Here are some frequently asked questions about the granite crochet stitch:
Is the granite crochet stitch the same as the moss stitch?
Yes, the granite crochet stitch is the same pattern as the moss stitch. It’s also called the linen stitch and woven stitch.
Can I use any yarn weight for the granite crochet stitch?
Yes, you can use any yarn weight for the granite crochet stitch. Just be sure to use a corresponding hook size.
Are there any special stitches required for the granite crochet stitch?
No, there are no special stitches required for the granite crochet stitch. All you need to know how to do is a chain stitch and a single crochet stitch.
How many chains do I need to start the granite crochet stitch?
You will need an even number of chain stitches to start the granite crochet stitch.
For this tutorial, I started with 20 chain stitches.
Thanks for reading through this tutorial on how to do the granite stitch. I hope you found it helpful! If you have any questions, please feel free to leave a comment below.
And don’t forget to share your finished projects with me on Instagram (@crochetgasm) – I can’t wait to see what you make!


