Hello and thanks for stopping by today! One of my favorite crochet patterns is the Corner 2 Corner (C2C) pattern. It is fun and once you get the hang of the pattern it works up quickly. You can use the C2C crochet pattern to make afghans, baby blankets, bags, home décor items, and many more projects. C2C project can be all one color or you can use it to create stripes, geometric patterns, and even pictures. So, are you ready to begin? Great, let’s go!
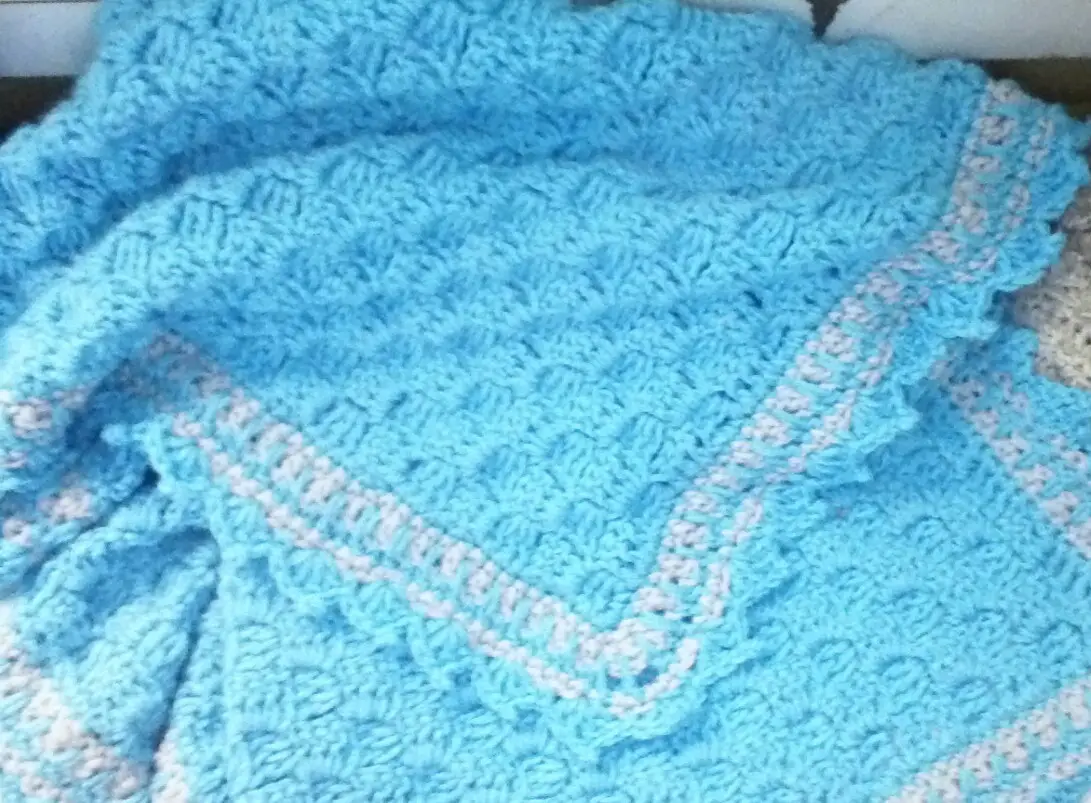
C2C baby blanket I made for my grandson
C2C Crochet Pattern
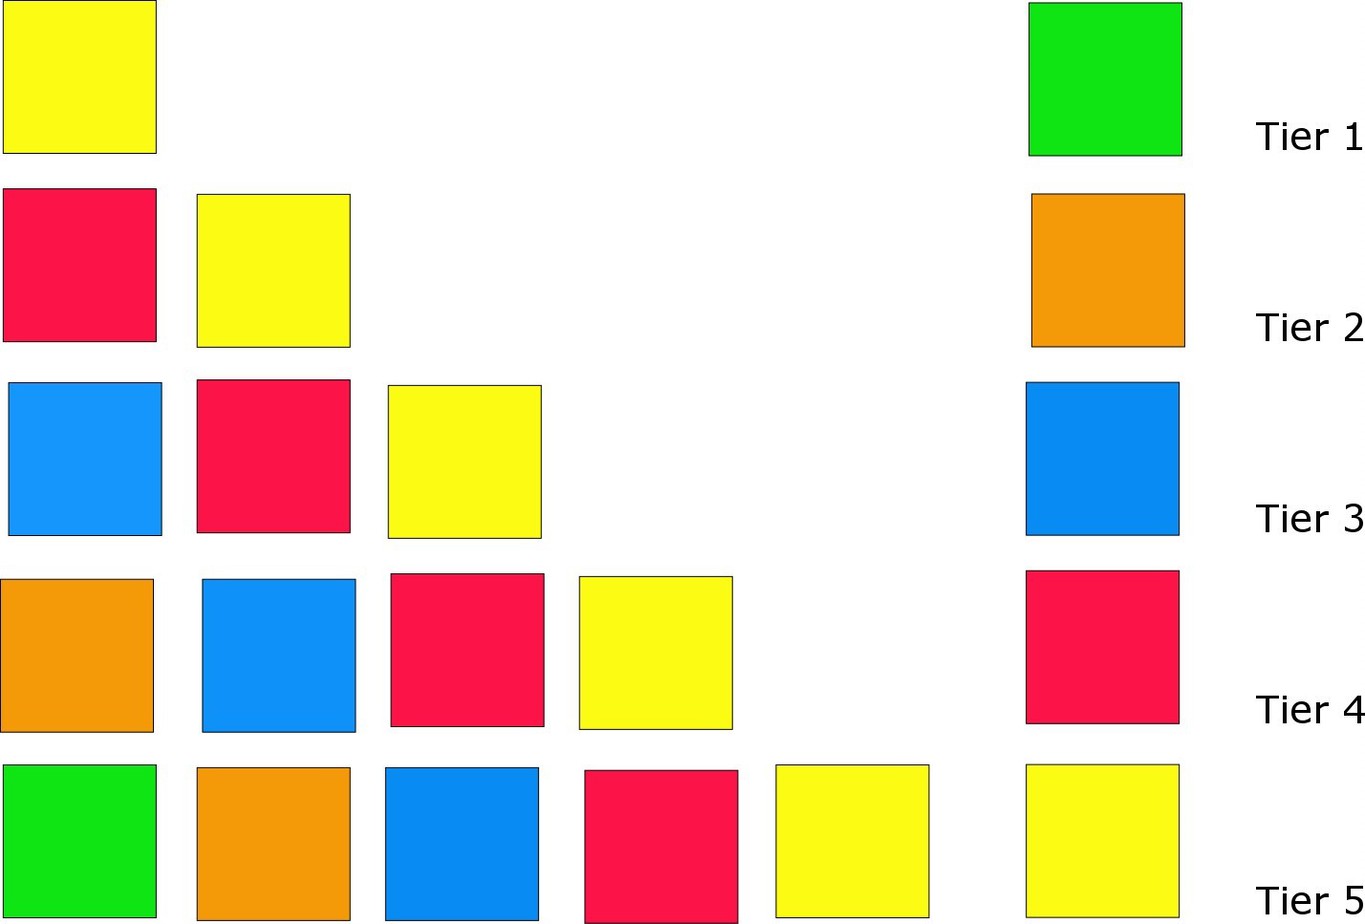
The first thing to remember about the C2C pattern is that it is not crocheted in rows. Rather it is crocheted in tiers and you start in the bottom left corner and add groups (boxes) of stitches as you go. Once you reach the width and length you want, slip stitches are used on the side of the project to stop the increase. Slip stitches are also used to decrease the sides and width so that you end up with one tier of stitches to finish
.
Okay, I know that sounded confusing. But once we actually begin to work on the C2C pattern, it will make much more sense.
The C2C crochet pattern uses only three stitches;
Chain stitch – ch
Double crochet – dc
Slip stitch – sl st
Here is an illustration to help you understand the construction of the C2C pattern.
Begin by chaining 6.
Yarn over and double crochet into the 4th and 5th chain stitches. This is the first tier.
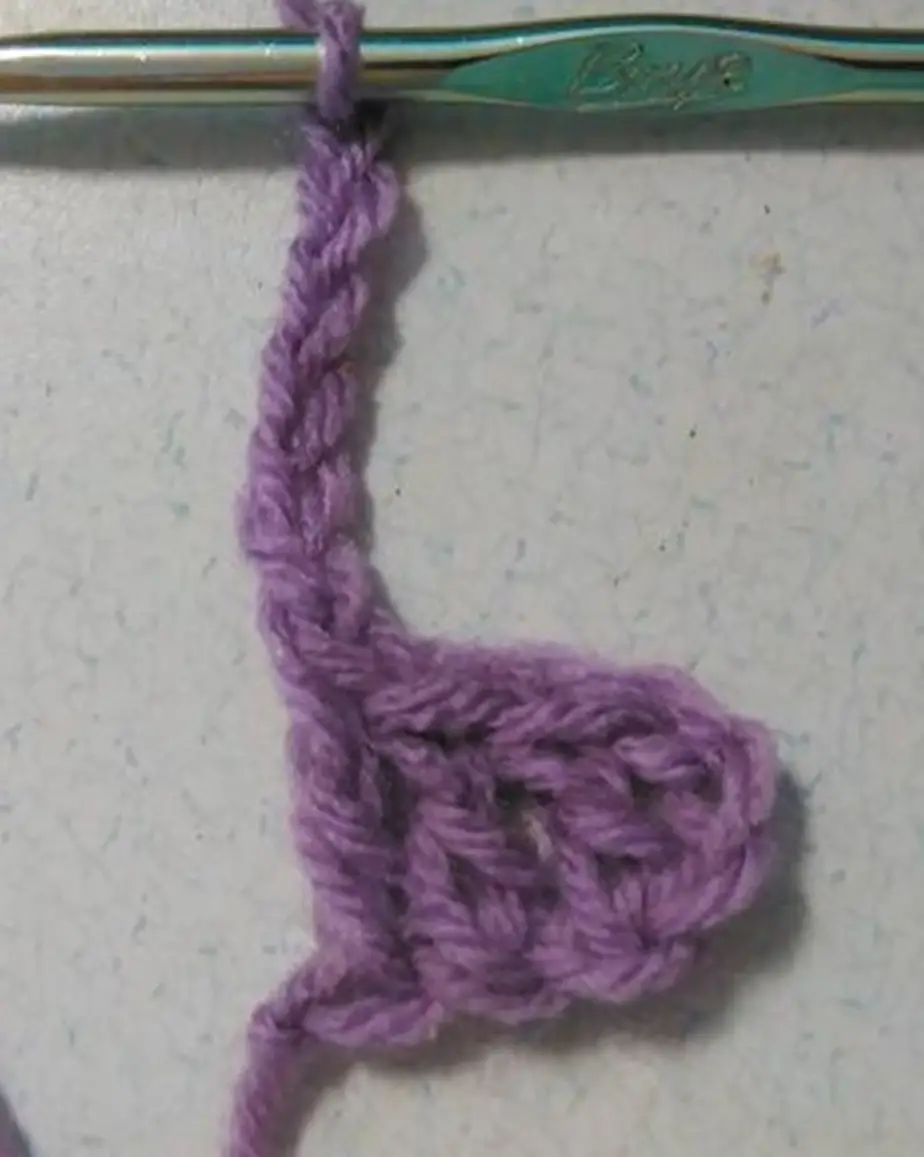
Chain 6
Work a double crochet into the 4th and 5th chain stitch.
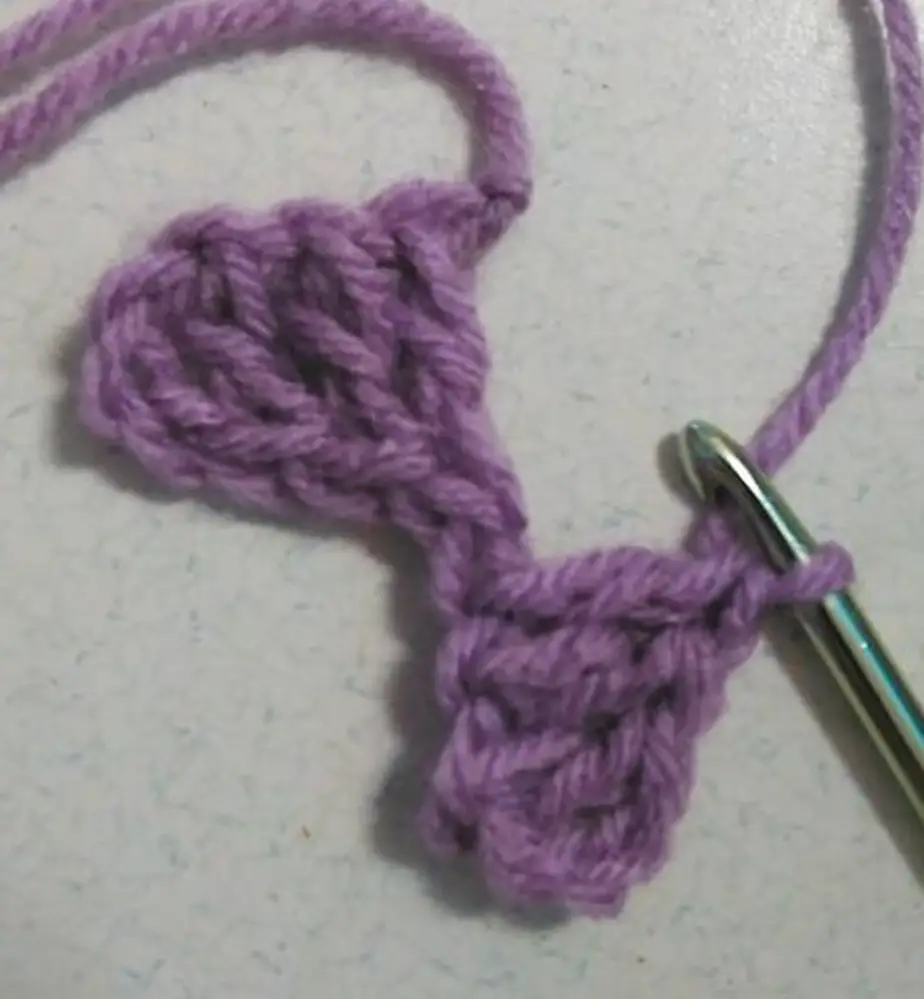
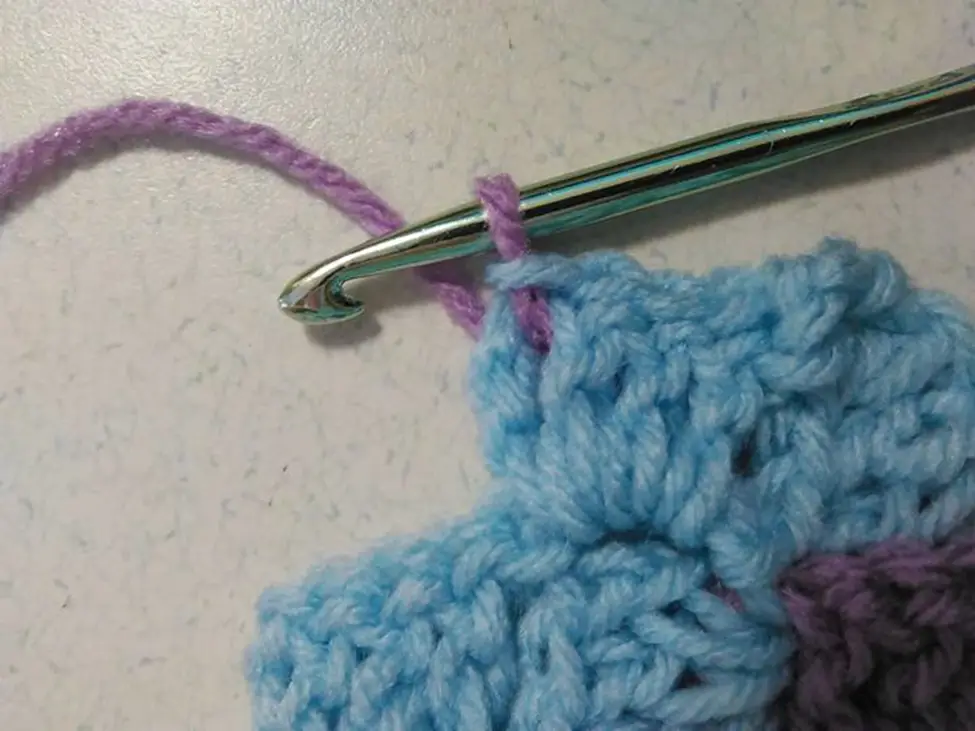
Fold the blocks so they meet. Slip stitch into the chain 3 space of the 1st block of stitches.

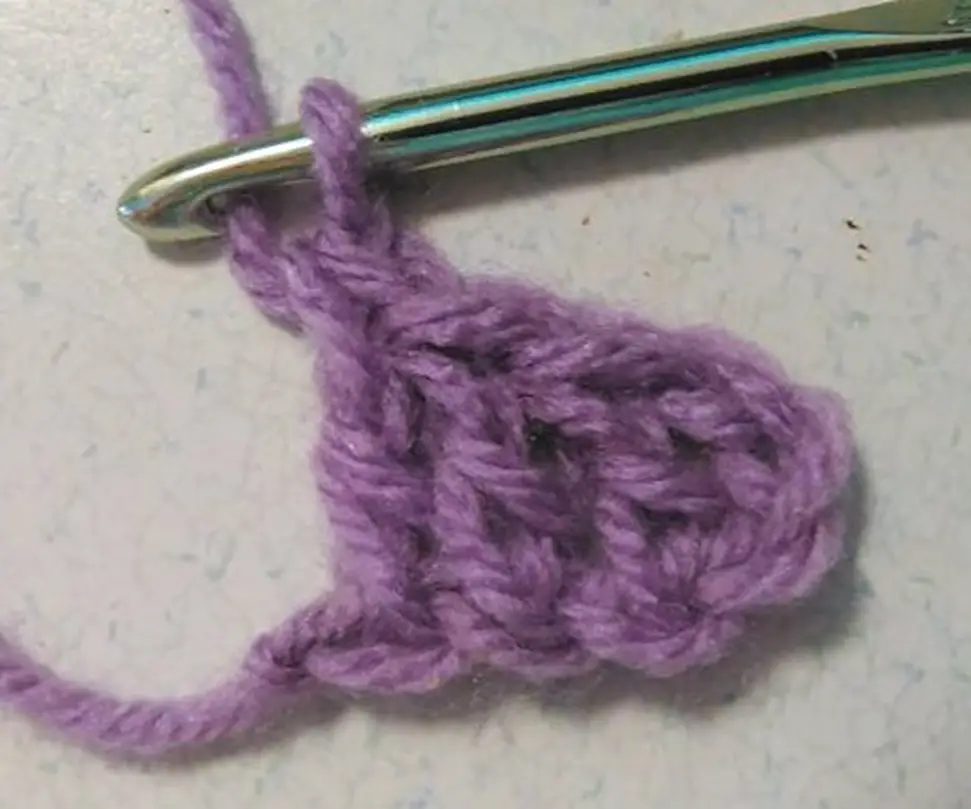
Chain 3 and work 3 double crochet into the chain 3 space of the adjoining block. This is tier 2.
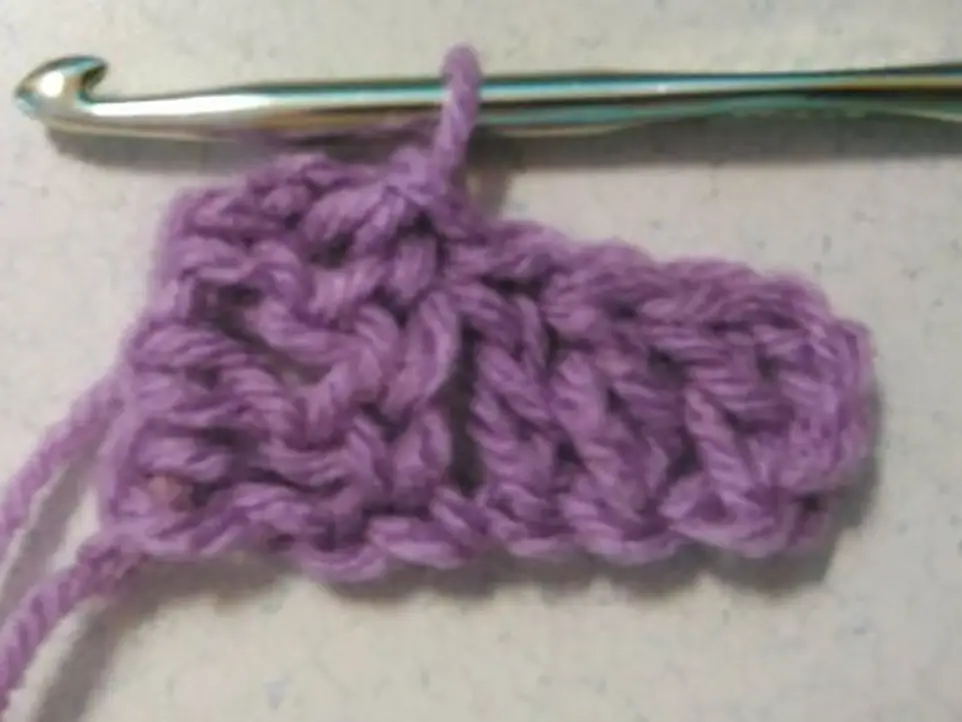
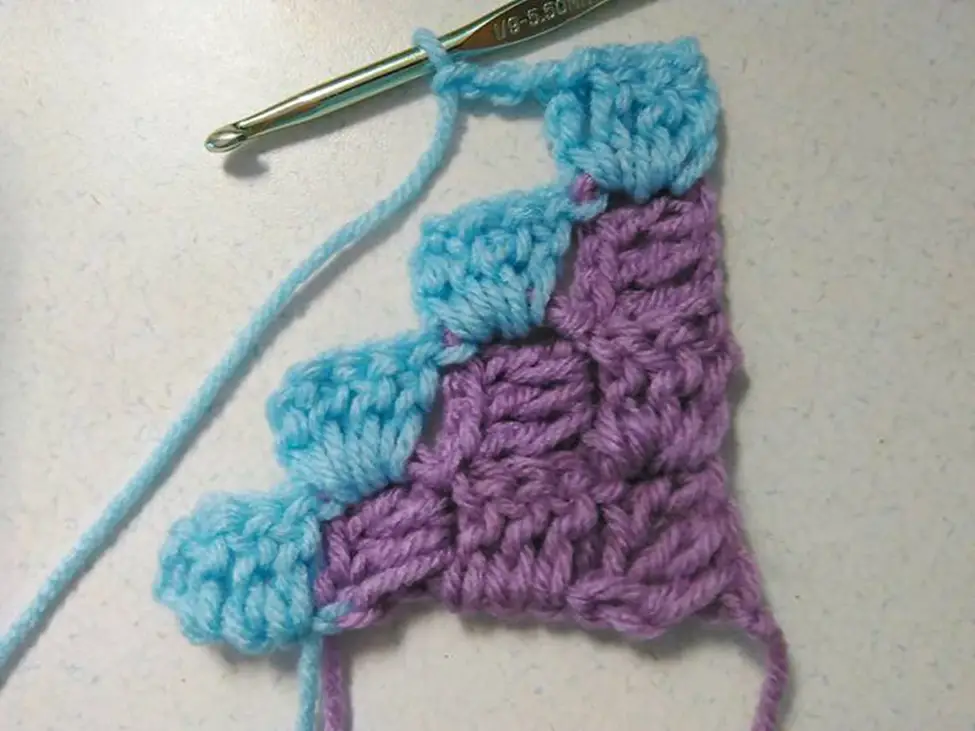
Chain 6 to begin the next tier. Work a double crochet into the 4th and 5th chain stitch, slip stitch into the chain 3 space of the adjoining block. Chain 3 and work 2 double crochets into the chain 3 space. Continue across the tier by chaining 3 and working 2 double crochets into each chain 3 space of the adjoining blocks.
When you’re ready to change colors, pull the new color through the last 2 loops of the last stitch of a tier.
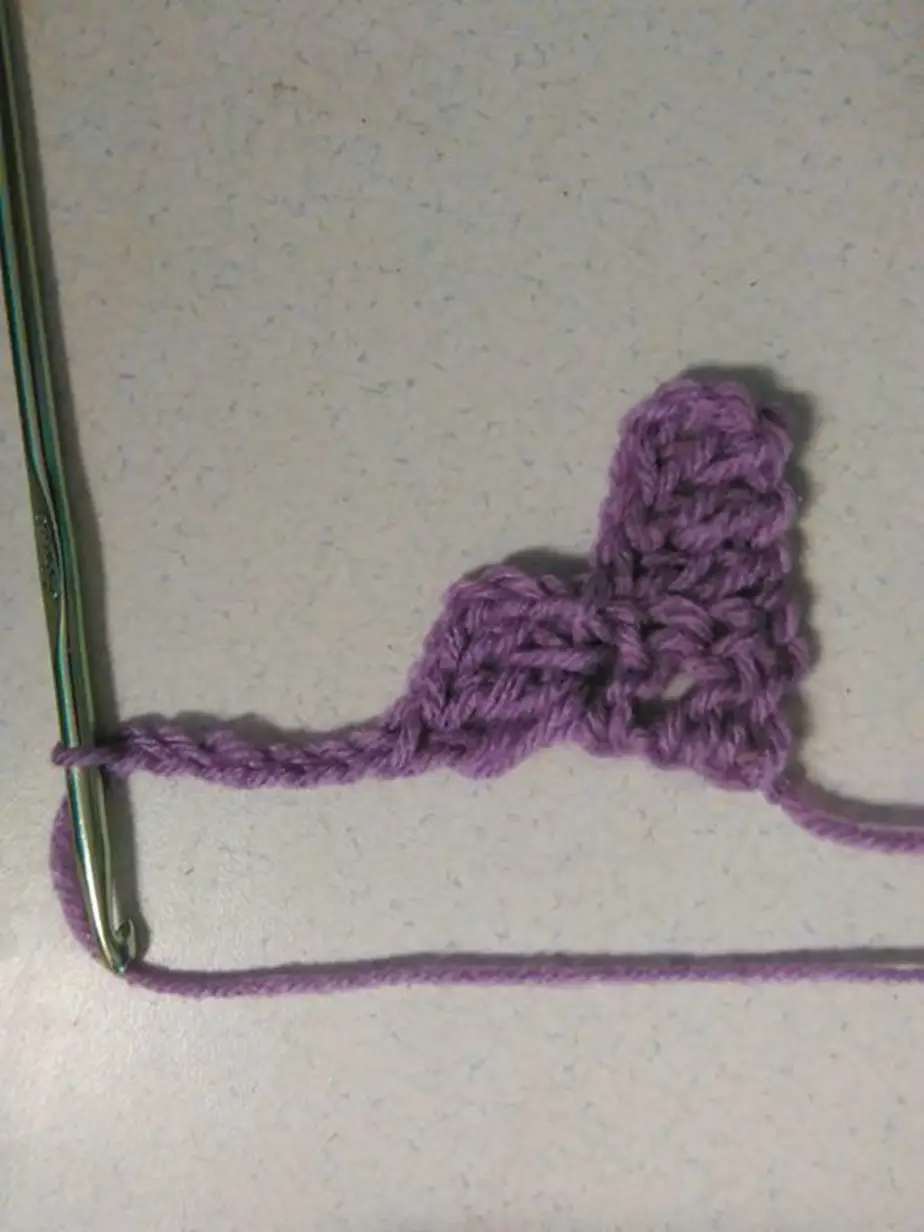
Once you reach the correct width, instead of chaining 6 to start a new tier, work 3 slip stitches across the side of the end block. Chain 3 and continue in pattern across the tier. Once you reach the other side you will still chain 6 to begin a new tier. Only slip stitch on one side for now.
When you reach the length you desire, begin working slip stitches on both sides of the project. This will stop increasing the length and begin decreasing the width and the length so that you end up with one block. Pull up a long tail and cut the yarn. Weave in the tails and you’re done.
Create a square by slip stitches on both sides of the project at once. Rectangles are created by slip stitching on only one side until you reach the length you desire.
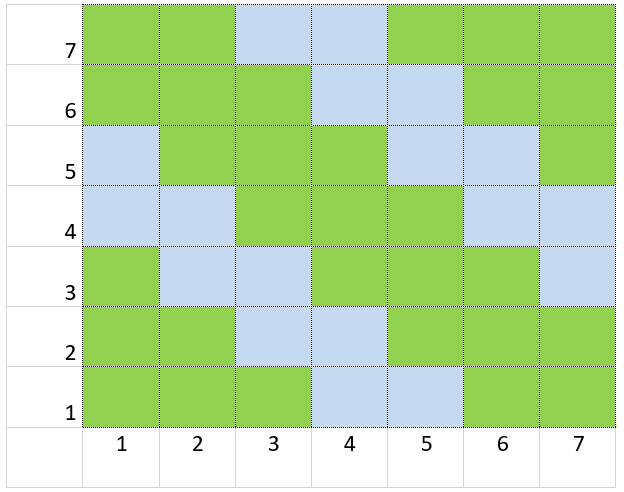
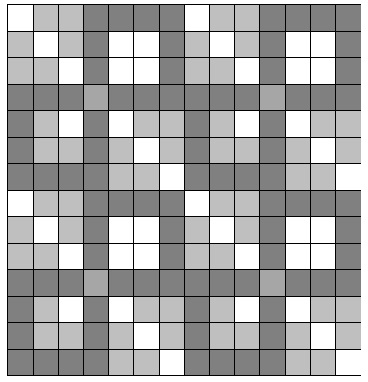
Using Charts for C2C Projects
Charts are used for several C2C crochet projects. Intarsia C2C uses charts to create pictures and images in the crochet fabric. You can also use charts to create stripes and geometric patterns.
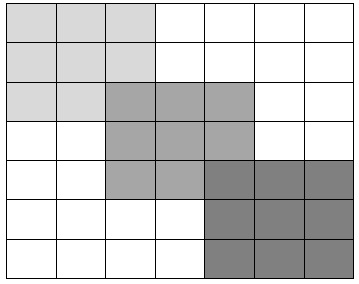
Unlike other charts that are read horizontally, a C2C chart is read from the bottom left corner diagonally to the top right corner.
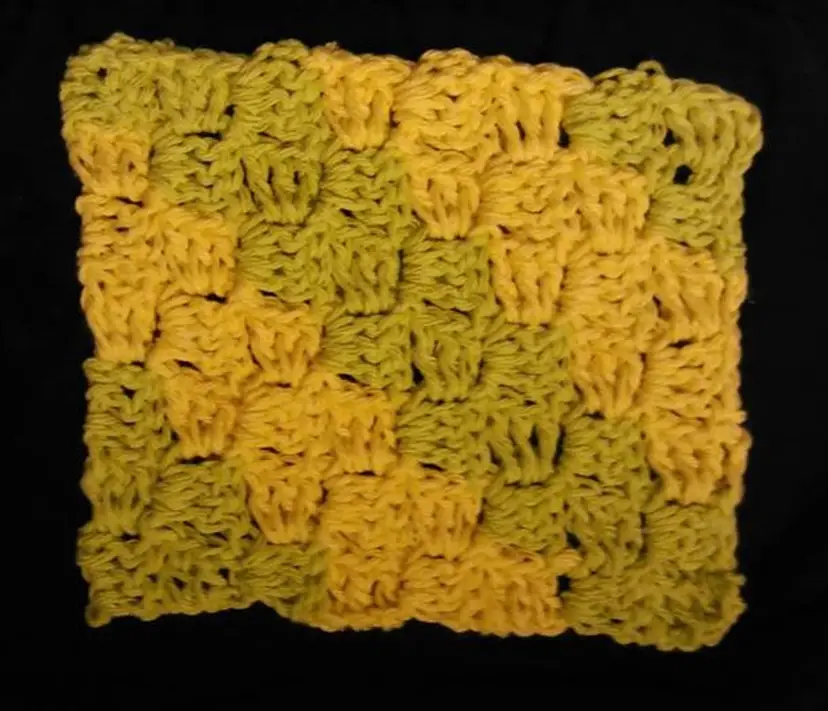
Finished square from the chart
Layout Ideas
You can have a lot of fun with C2C patterns. Crochet up blocks and experiment with their layout. You can form diamonds, squares, zig-zags, and all sorts of patterns.
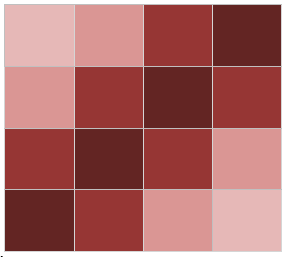
Begin with a square like this:
Here is one layout option:
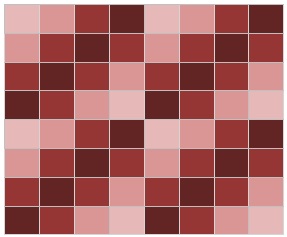
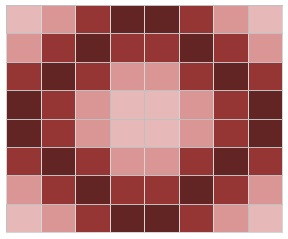
Using the same blocks you can also create this pattern:
Another fun idea for C2C patterns is quilt blocks. You can create a family heirloom by using a quilt pattern, a crochet chart, and the C2C pattern. The classic Levonworth quilt pattern creates a very intricate-looking design that is easy when you begin with the foundation block and work up more blocks to form the pattern.
Combine the blocks to form the Leavonworth pattern.
The Corner to Corner pattern is also a classic favorite. It begins with this block.
Combine the blocks to form the Corner to Corner quilt pattern.
As you can see, you can have a lot of fun making up patterns with the C2C crochet pattern. Another way to use the C2C pattern is to take pictures with the pattern. This is done with Intarsia crochet. Intarsia crochet uses separate bobbins of yarn for each color change. As you work you will use the correct color and then drop it and let it rest until you come back across the tier and need it again. Count the color changes and wind up small bobbins of yarn to use. Charts are worked just like other C2C charts, from one corner to the other.
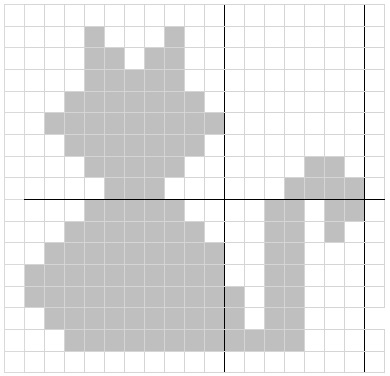
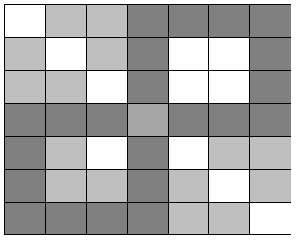
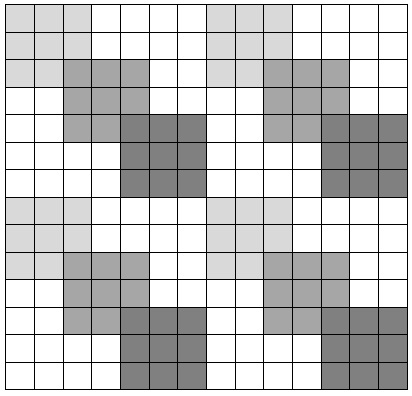
Here is a very simple cat chart.

Pictures naturally look pixelated because you are using blocks of stitches to create them. Pinterest is a great site to find lots of ideas for C2C charts. I’ve used Microsoft Excel to create these charts. You can also use counted cross stitch patterns to create C2C projects.
End Notes
Thank you again for stopping by. I hope you have enjoyed this tutorial on How to Crochet the C2C Pattern. Please feel free to ask any questions you may have in the comments section. I will do my best to answer them. Have a suggestion for a future blog? Let me know and I’ll do my best to cover it. I’d love to hear any comments or suggestions you may have.
Until next time, take care and keep on hooking!
If You Enjoyed This Article Please Share and Pin. It is Greatly Appreciated. 🙂


