Hello and welcome to today’s blog! I hope this finds you well. Today I thought it would be fun to learn a new skill; Tunisian crochet. I fell in love with Tunisian crochet a few years ago and really enjoyed it. Tunisian crochet is also known as the Afghan stitch. Over the years it has also been known as Shepard’s Knitting, Railway Knitting, German Work, Russian Work, and Royal Princess Knitting after Queen Victoria.
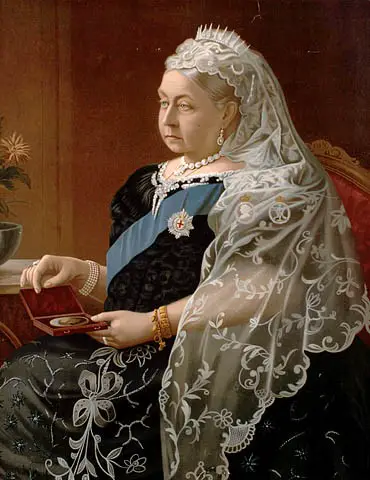
Queen Victoria
Although the origins of the craft are lost to time, it is thought Tunisian crochet may have originated in central Asia. The craft then moved through the Middle East making a stop in Afghanistan. This is where it may have picked up the name Afghan stitch. It then made its way into Scandinavia and Europe.
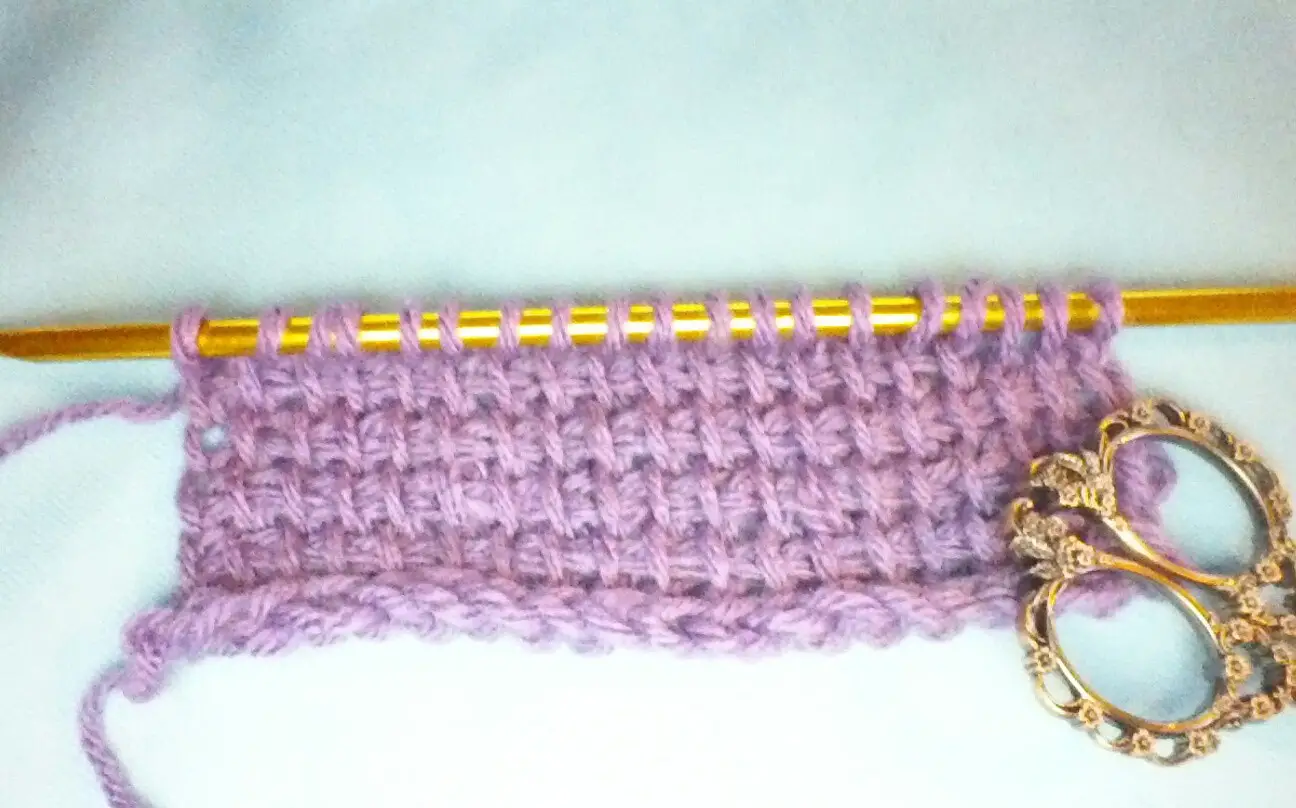
Although Tunisian crochet begins just like traditional crochet with a starting chain, but that is where the similarity ends. Stitches are worked onto the hook in the forward pass and then worked off the hook in the return pass. Rows are worked back and forth on the hook and the work is never turned. The way the stitches are worked gives the Tunisian fabric nice crisp edges.
Because the stitches are held on the hook, Tunisian hooks are much longer than traditional hooks and have little stops or knobs on one end so the stitches don’t fall off. Larger projects are worked on hooks similar to circular knitting needles. The end of the hook which holds the stitches has a plastic cable attached that has a stop on the end. This enables you to crochet large projects such as an afghan or blanket. Tunisian in the round projects worked on hooks with a hook head on both ends.
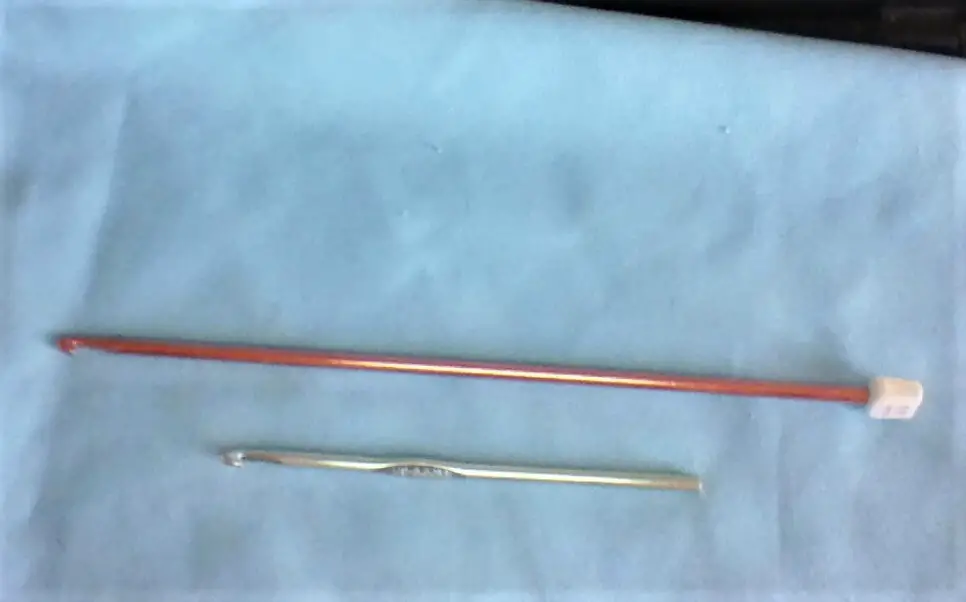
A Tunisian hook compared to a traditional crochet hook
The fabric produced with Tunisian crochet is nice and dense. The stitches are lined up vertically and make an excellent grid-like fabric to embroider on. The Tunisian knit stitch resembles the stockinette knit stitch, and the Tunisian purl stitch looks very much like the knit purl stitch. While the Tunisian Simple Stitch (TSS) is the most common stitch used, there are several stitches you can use with this technique. To begin all you need to know how do to is the chain stitch and single crochet. I usually use the pencil hold when I crochet, but I find it easier to control the hook and yarn if I use the knife hold when I use the Tunisian crochet technique.

Example of Tunisian Lace
Tunisian crochet uses the same stitches are traditional crochet, but they are executed differently across the rows. Think of a row as having two parts, the forward pass and the return pass. The forward pass places the stitches onto the hook. The return pass is the point at which you crochet the stitches off the hook. A row is not complete until you work both parts, forward and return.
How to Crochet the Tunisian Simple Stitch (Tss)
Begin with a foundation chain. For example, I have crocheted 20 chain stitches with a medium-weight yarn and a size J/10 6mm Tunisian crochet hook. Keep your tension fairly loose so that the first row will be easy to crochet.
Look at the foundation chain. Normally you would insert the hook into the V of the stitches. In Tunisian crochet, you will use the bumps in the back of the chain (the spine).
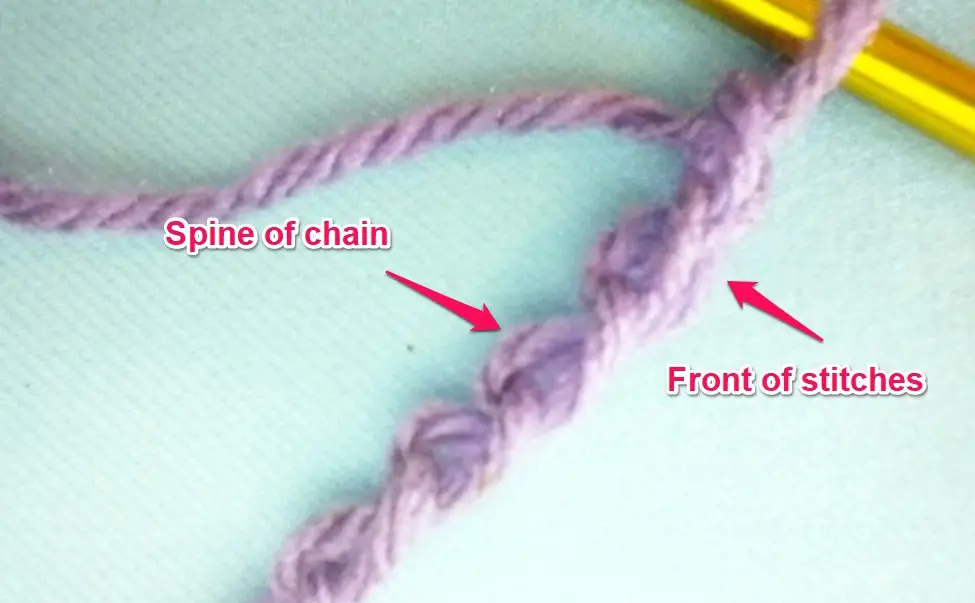
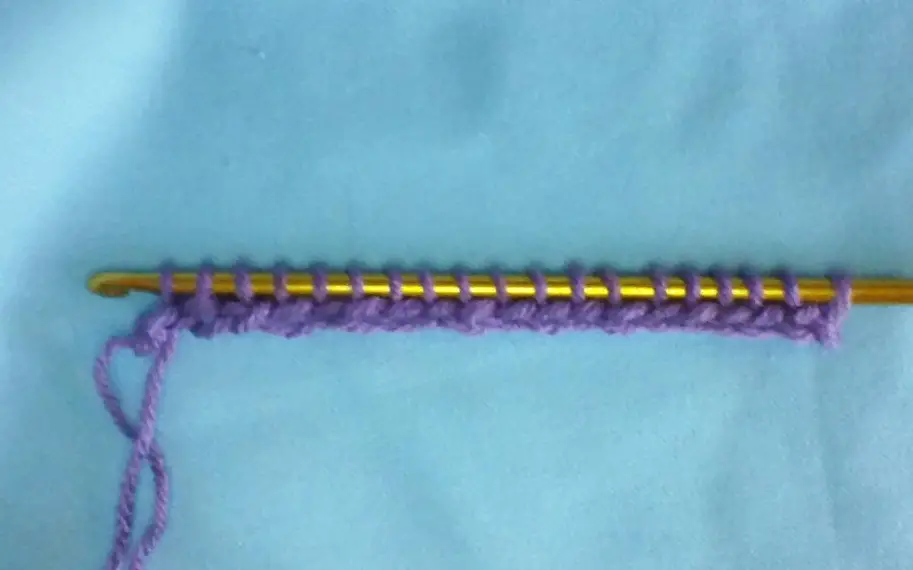
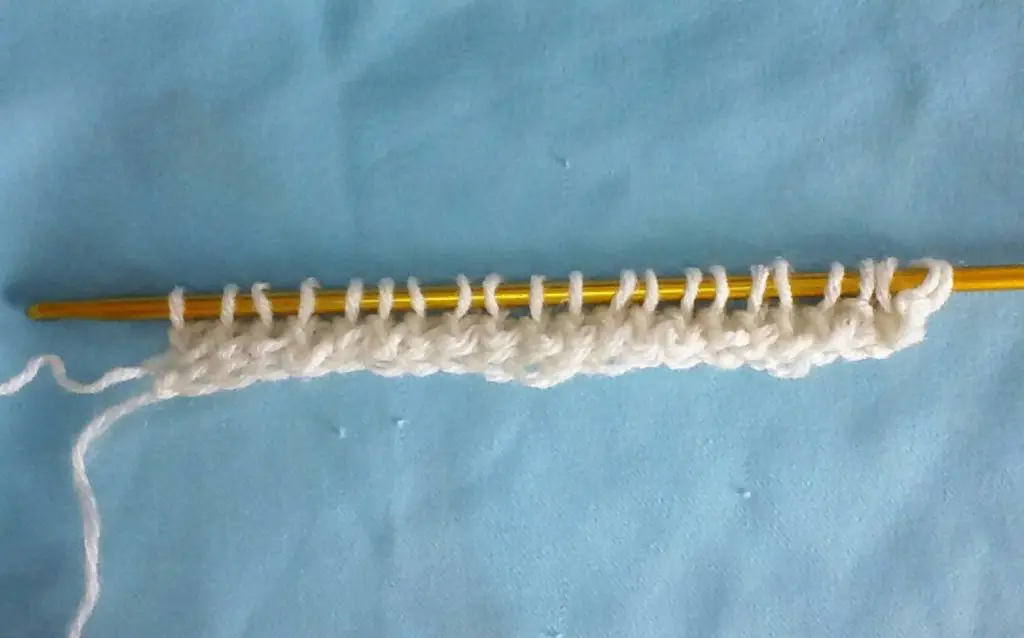
Before you begin to work a pattern, you will need to crochet a set up row. Insert the hook into the first bump of the spine, yarn over and draw the yarn through. Leave the loop on the hook and insert the hook into the next bump and draw the yarn through. Draw the yarn through each bump across the chain stitch and leave the loops on the hook.
Begin the return row by yarning over and pulling the yarn through the first loop. You will do this at the beginning of each return row. Yarn over and pull the yarn through the next 2 loops on the hook. Continue across the row by yarning over and pulling the yarn through the next 2 loops on the hook until you reach the end.
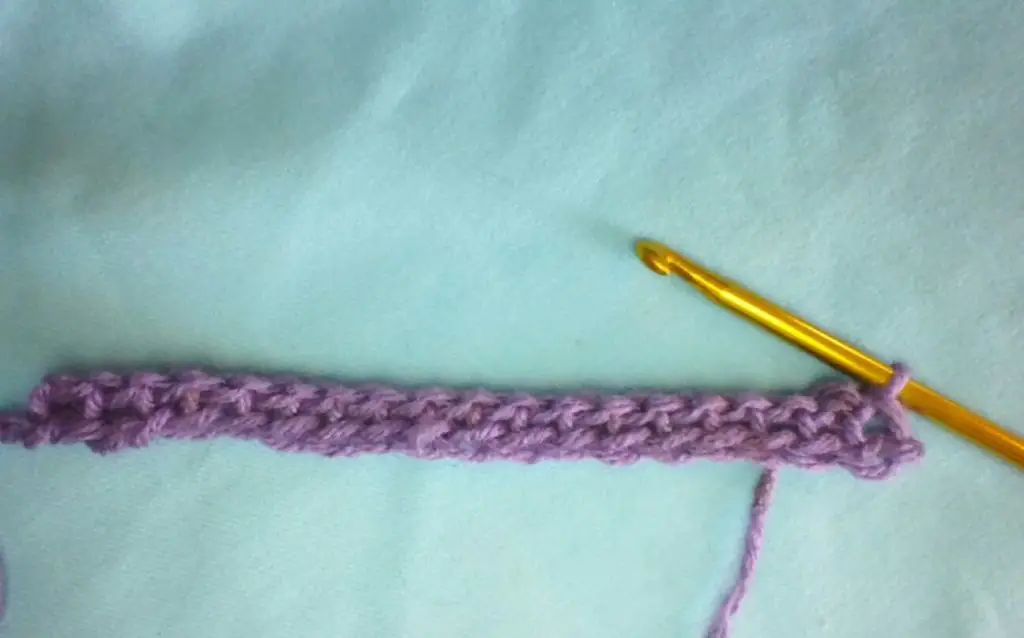
This is the return row.
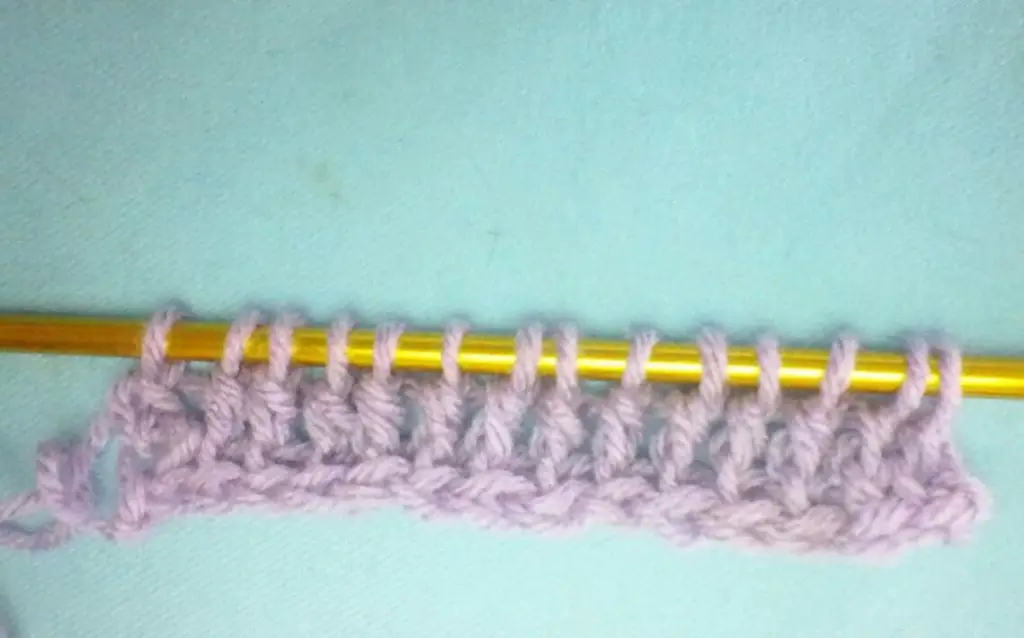
To begin the next row, and every row thereafter, look at the stitches and notice the vertical bars of each stitch. Insert the hook under the first bar and draw the yarn through. Keep the loop on the hook. Work your way across the row insert the hook under the bar of the next stitch and draw the yarn through leaving the loops on the hook. This is the forward row.
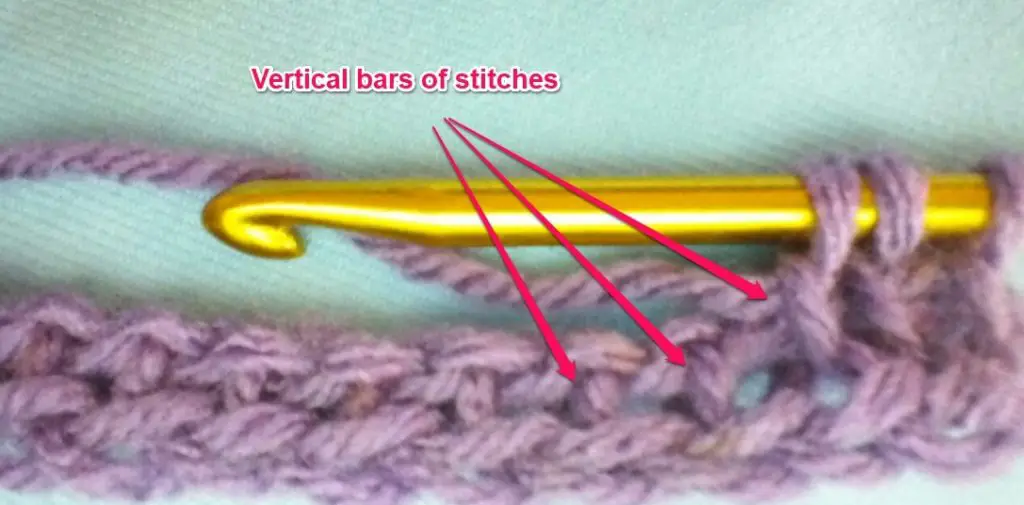
Forward Row
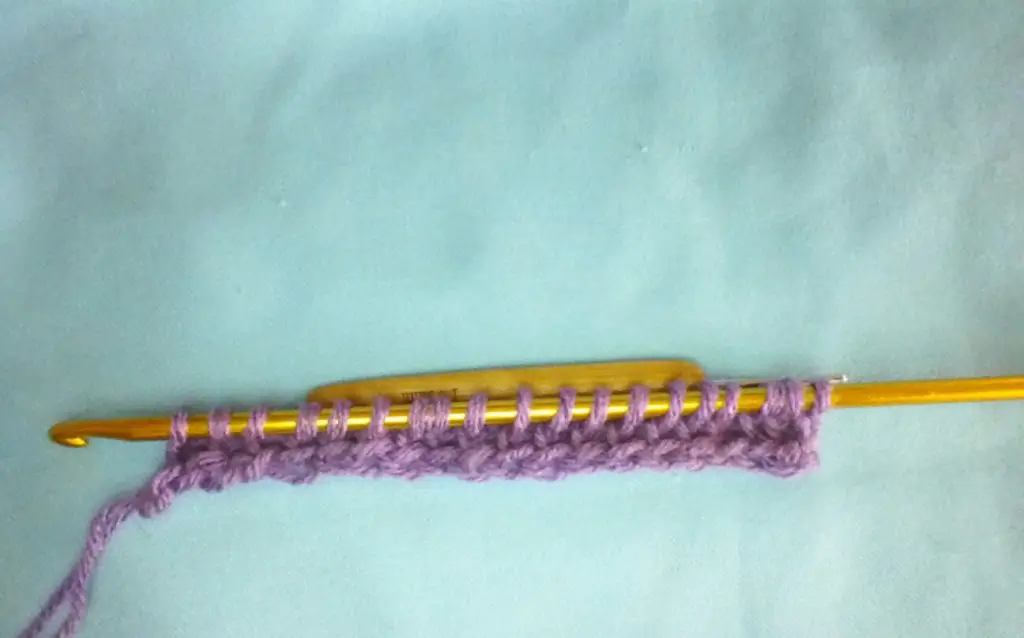
Work the return row by yarn over and pull through the first loop on the hook. Yarn over and pull through the next 2 loops on the hook. Continue across the by a yarning over and pull through 2 loops at a time. This is the return row.

Return Row
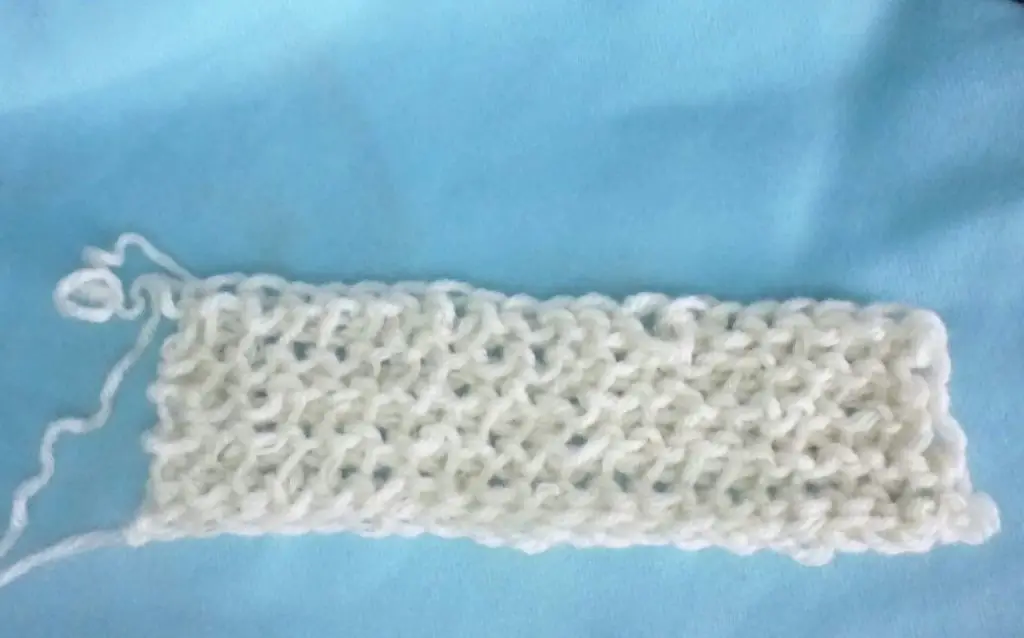
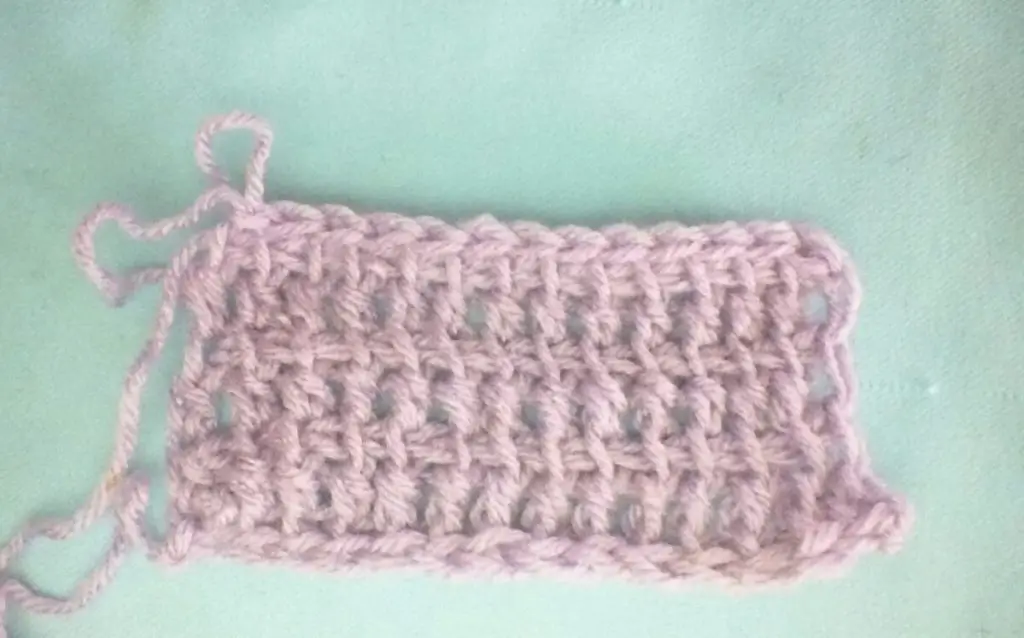
Keep working forward and return rows until you reach the desired length. Notice how the vertical bars all line up. The fabric tends to curl, but as you work this will decrease.

Once your project is the length you want, you will need to cast off. This is similar to the cast off done in knitting. Casting off is done in the forward row. Insert the hook under the first vertical post, yarn over and draw through both loops on the hook. Insert the hook under the next vertical post, yarn over and draw through both loops on the hook. Continue in this manner until you get to the last stitch. Pull the yarn up through the stitch and leave at least six inches and cut the yarn.

Tunisian Purl Crochet Stitch (Tps)
The Tunisian purl stitch looks very similar to the knit purl stitch. It is worked the same way as a Tss, but the yarn is pulled to the front before it is pulled through the vertical bar. This creates a loop in the front of the stitch which looks like a knit purl stitch. I like to use the purl stitch as a border. If you use it as a starting edge it will also keep the fabric from curling.
Begin by chaining the appropriate number of stitches. Insert the hook into the bump in the spine of the chain and pull the yarn through. Do this across the chain.
Work the return row just like for a Tss. Yarn over and pull through the first loop on the hook. Yarn over and pull through the 2 loops on the hook. Continue to yarn over and pull the yarn through the 2 loops on the hook until you get to the end of the row and only have 1 loop on the hook.
Pull the yarn forward and insert the hook under the first vertical post. Pull the yarn up around the post and grab it with the hook, pull it through the vertical post.

Pull the yarn forward and insert the hook under the next post. Pull the yarn up around the post and grab it with the hook and pull it through the vertical post. The yarn will be in the front of your work instead of behind it. Continue in this manner until you get to the end of the row.
Work the return row as normal. Repeat the forward and return rows until you reach the desired length. Cast off the stitches pulling the yarn forward for each stitch and pulling the yarn through both loops on the hook. Cast off across the row, leave a long tail, and weave in the tails.
One of the good things about the purl stitch is the fabric does not curl. It is a good stitch to use at the beginning and end of a project. I also like to use it as a border along the sides of a project. Be sure to keep your tension consistent. You want your stitches to be loose enough to work easily, but not so loose they look sloppy.
Tunisian Crochet Knit Stitch (Tks)
The Tunisian knit stitch gets its name from the fact the stitches resemble the knit stockinette stitch. It produces a dense fabric with lots of texture. When you pull the yarn up between the posts of the stitches, be sure to pull it all of the way up and even with the other stitches. Keep your tension loose since this is a very dense stitch. If your tension is too tight it will be hard to work the stitches.
First, you will need to crochet a setup row of Tss (forward and return rows count as one row). One the next forward row insert the hook from the front to the back between the last stitch and the next stitch. Grab the yarn and pull it through this space. Insert the hook between the post of the last stitch and the next stitch, grab the yarn, and pull it through leaving the loop on the hook. Continue to the last stitch. Insert the hook behind the post of the last stitch and draw the yarn through.
Work the return row as normal. Pull the yarn through the first loop on the hook. Pull the yarn through the next two loops on the hook. Continue to pull the yarn through the first two loops on the hook until you reach the last stitch. Insert the hook under the front post only on the last stitch.
Cast off as you would for the Tss stitch using the front post only. Insert the hook behind the front post, draw the yarn through and through the two loops on the hook. Like the Tss, the knit stitch rolls at first but if you work a few rows of the purl stitch first, that will keep it from rolling.

Tunisian Crochet Double Crochet Stitch (Tdc)
So far we’ve covered the Tss and the Tps which use single crochet. You can also use double crochet in the Tunisian technique. Begin with a set-up row of Tss.
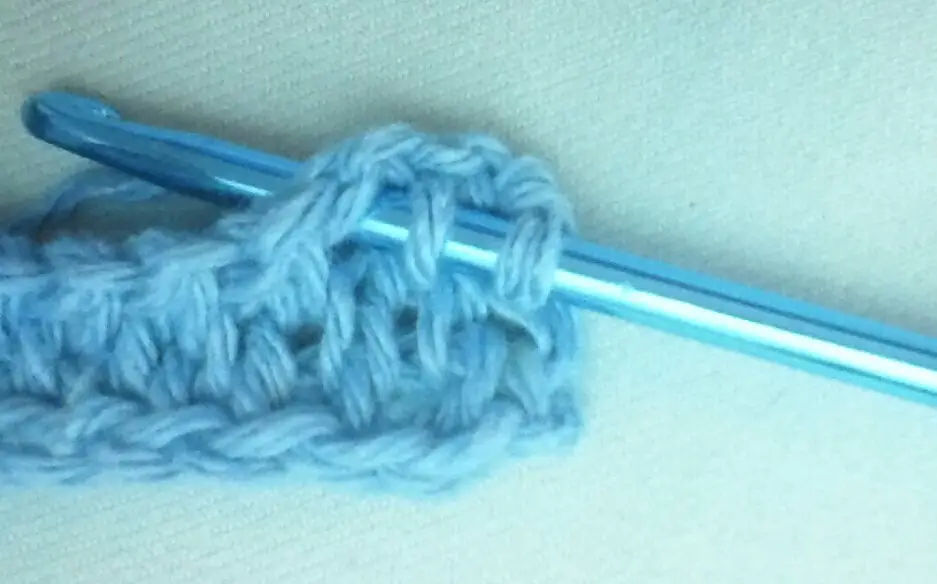
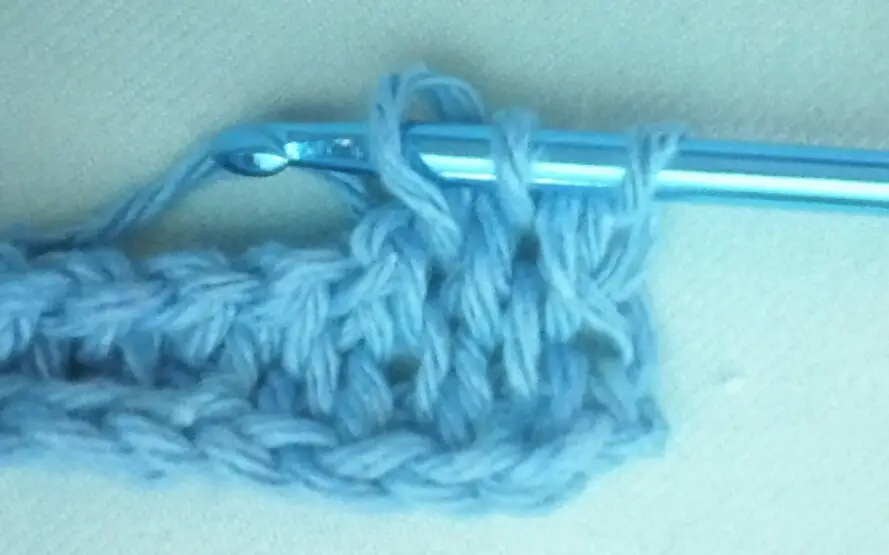
The forward row of Tdc begins with a yarn over and insert the hook behind the first post. Yarn over and draw through the post. Yarn over and draw through the first 2 loops on the hook. Leave the last loop on the hook. Continue to yarn over, insert the hook around the post, yarn over and pull through. Yarn over and pull through the first 2 loops and leave the last loop on the hook.
The return row is crocheted as normal. Pull the yarn through the first loop on the hook. Pull the yarn through the next 2 loops on the hook. Continue pulling the yarn through the first 2 loops on the hook until you reach the end of the row.
Cast off as in Tss. Insert the hook under the first post, draw the yarn through and through the two loops on the hook. Insert the hook under the post of the next stitch, draw the yarn through and through the two loops on the hook. Continue to the end of the row, draw up the yarn, break it, and weave in tails.
Tips for Crocheting the Tunisian Crochet Technique
I find Tunisian crochet a lot of fun. To me, it is almost meditative once you get in the groove. Here are a few tips to help you get started.
- The best advice I can give you is to keep your tension consistent.
- Don’t work the stitches too tightly or they will be hard to work with and the fabric will pull.
- Be sure to work the last stitch correctly so the edge stays true and your project doesn’t start to shrink or grow.
- All the vertical bars should line up. If they don’t, you’ve missed a stitch.
- If you need to rip out rows, simply rip them out to the beginning of a forward row.
- It is normal for Tss to curl. Avoid this by crocheting a few rows of Tps at the beginning of a project.
End Notes
Thank you for stopping by today. I hope this tutorial on Tunisian crochet has helped you learn this fun technique. Stop by again soon as I have even more Tunisian crochet stitches to teach you. If you have any questions, please let me know in the comments. I will answer them as soon as I can.
Until next time, take care, and keep on hooking!


