Hello! Hope you are having a nice day!
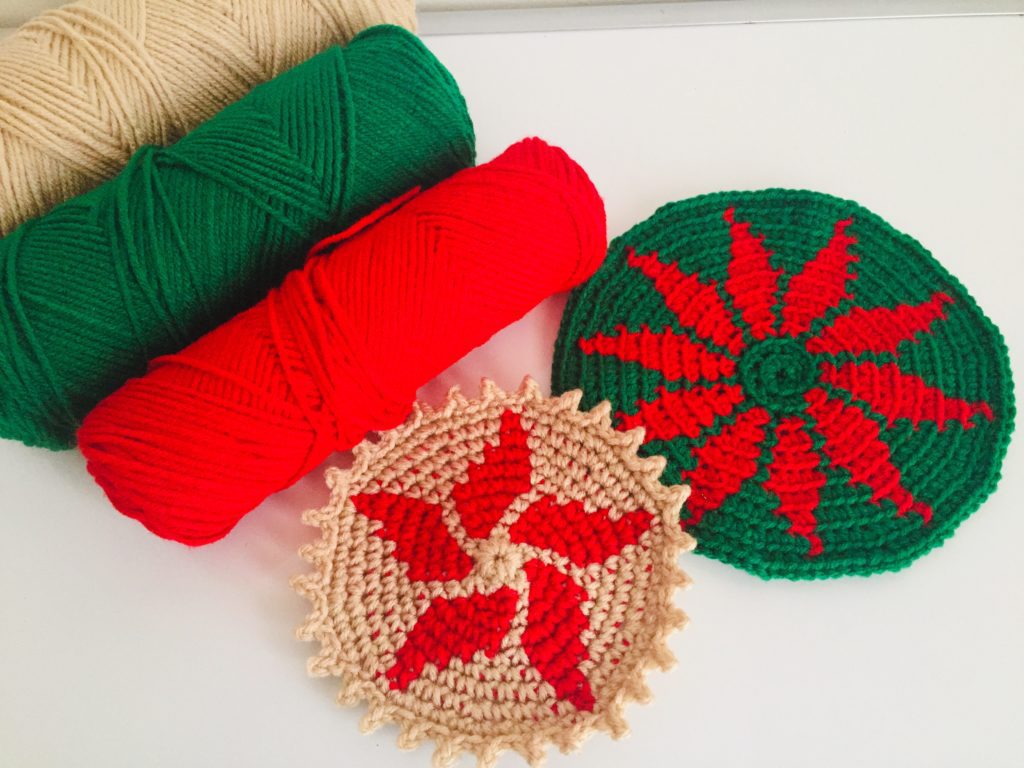
Today, I am sharing with you the pattern for a Crochet Christmas Coaster. Making this coaster you can learn a new skill of Tapestry crochet. This coaster can be used to lay on the table to hold phones, cups, and small pots. I have used bright Christmas colors like red, green, and beige to make these coasters. I have used picots to give the coaster an elegant look. So, let’s get started!
Materials used
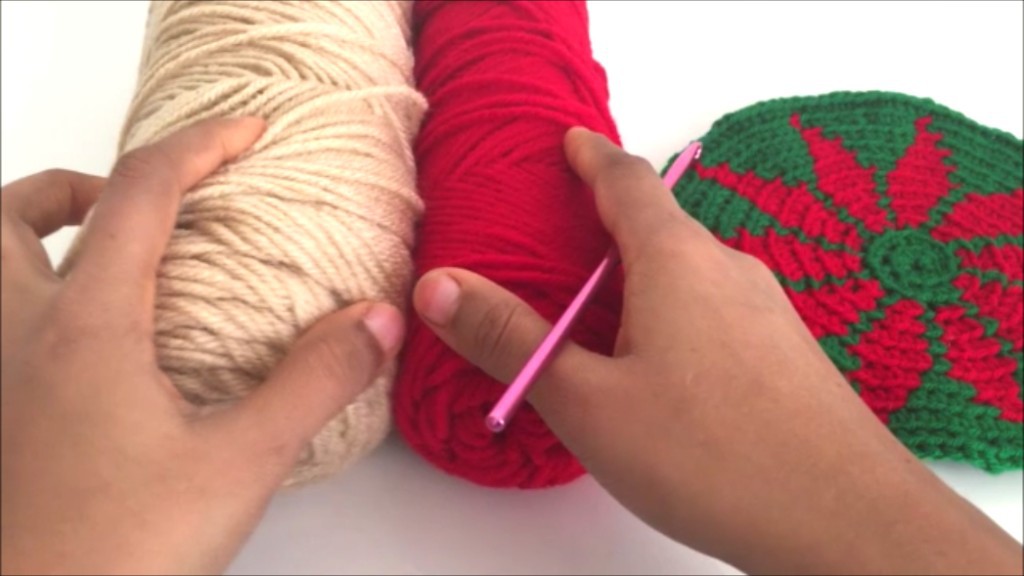
I have used 5 MM yarn in 2 colors. I have used 4.5 MM crochet hook.
Abbreviations
SC: Single crochet
ST: Stich
CH: Chain
BSC: Beige Single Crochet
RSC: Red Single Crochet
Instructions
Start with the magic knot using Beige Yarn. Make CH3. Slip in the first stitch.
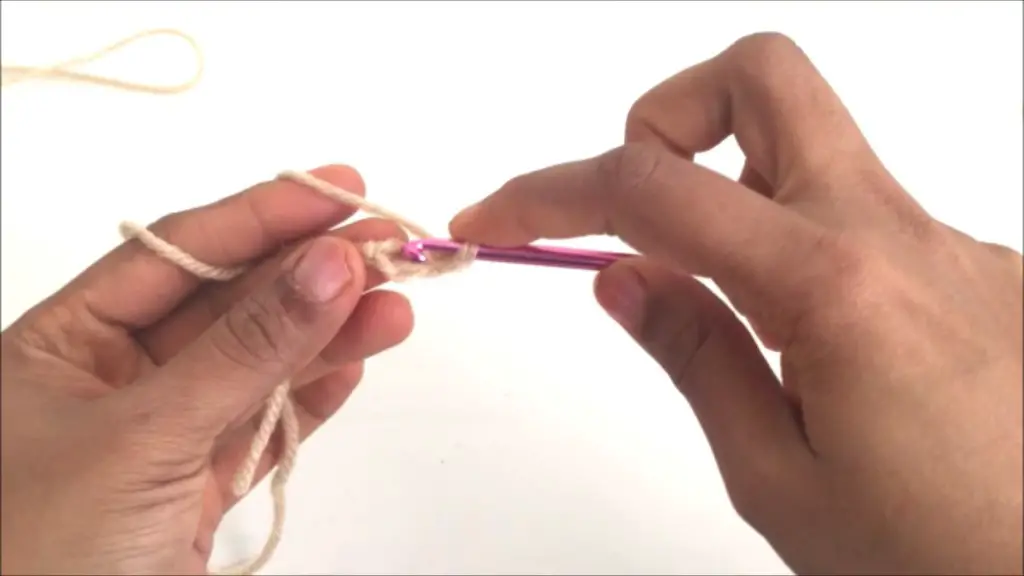
This will create a hole that will act as the center of the coaster.
Row 1: Make 10SC in the center.
For the tenth single crochet pull through the last 2 loops using red yarn.
Usually, to end a row while working in circles, you would slip into the first stitch. However, for Tapestry crochet you would not slip into the first stitch. Rather, you would work the first stitch of the next row. (10 stitches at the end of the row)
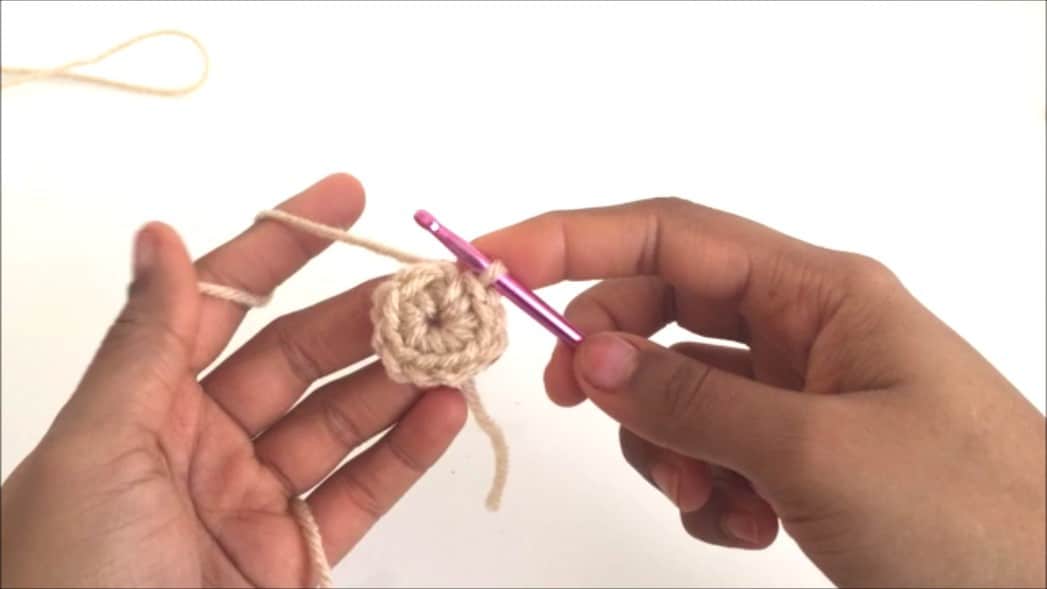
Now onwards, the coaster would be divided into 5 parts. Since there are 10 stitches, each part will have 2 stitches.
Row 2: *Make 2RSC in ST1 and 1BSC in ST2* x 5 (15 stitches at the end of the row)
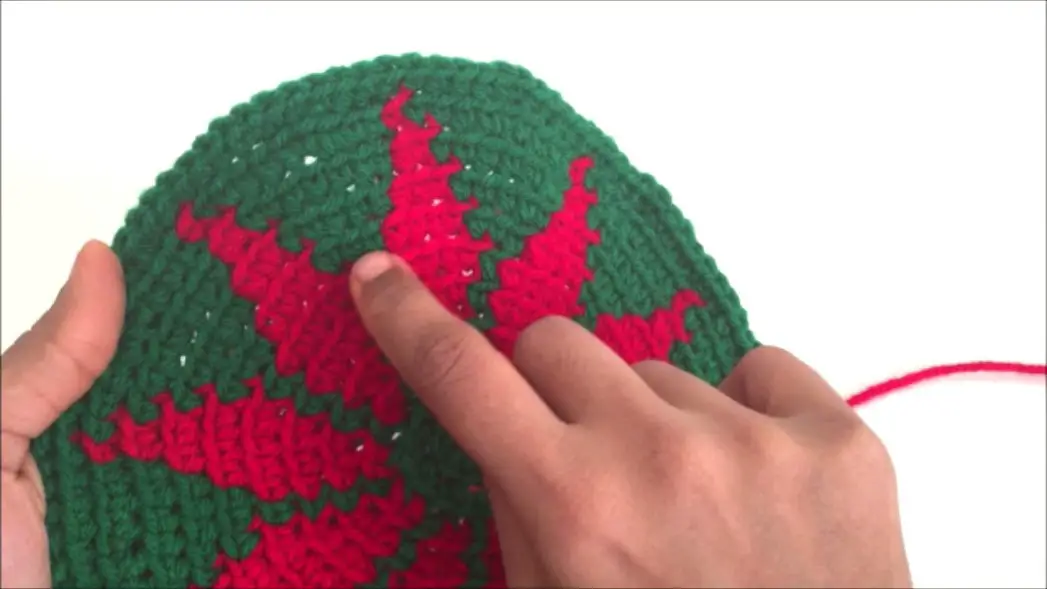
While changing the color, ensure you pull through the last 2 loops of BSC using red yarn. Similarly, pull through the last 2 loops of RSC using beige yarn. This will let you have the exact number of stitches in each color as planned.
In addition, tuck the yarn of unused color under the used color. Meaning, if you are making RSC, then tuck BSC under the stitches of RSC. This way both yarns are always available to be picked for making a stitch. Further, the pull/ tension in the crochet will be less. Also, it gives a beautiful finish from both the front and back sides.
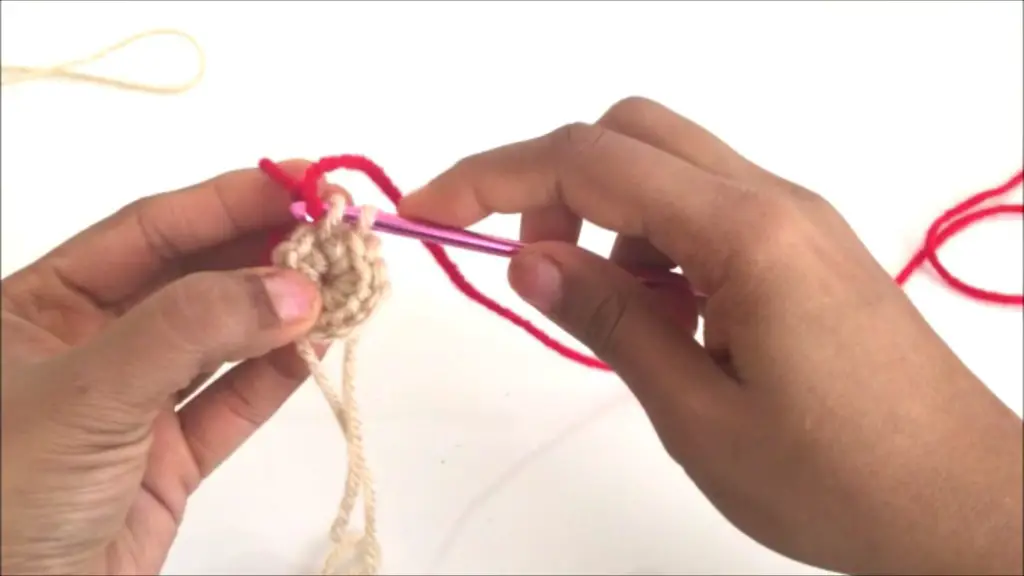
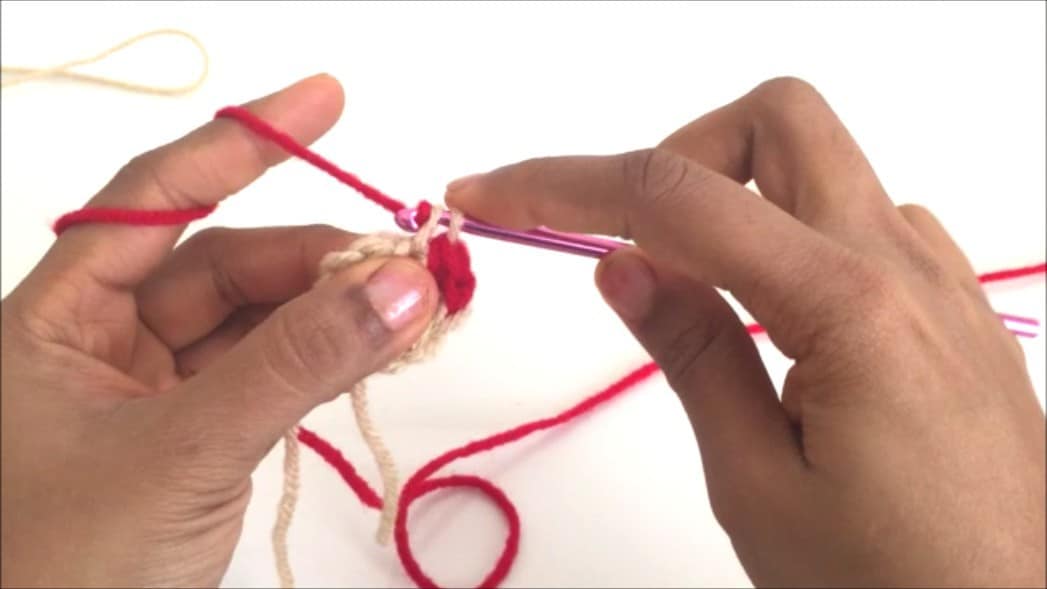
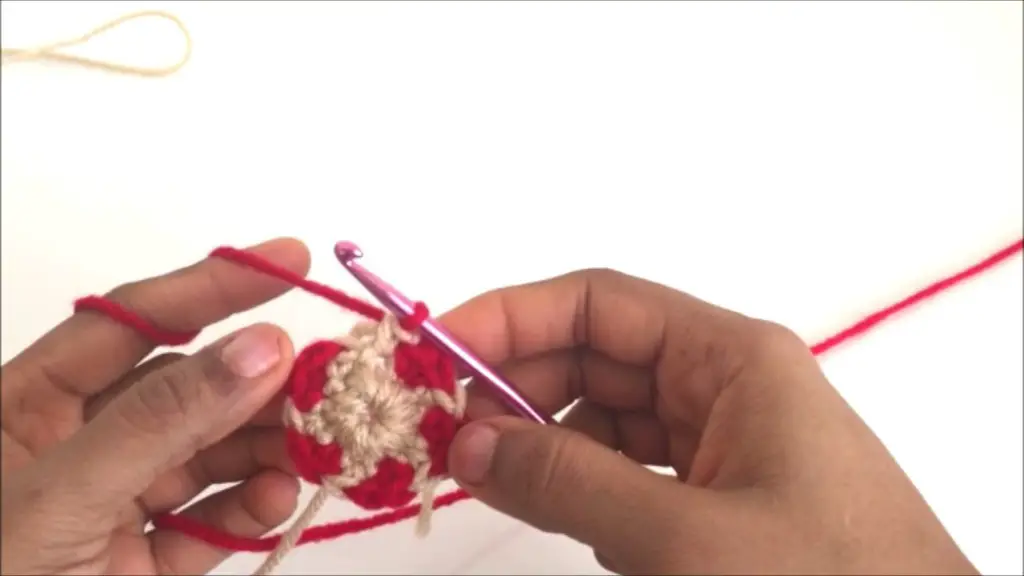
Row 3: *Make 2 RSC in ST1, 1 RSC in ST2, 1 BSC in ST3* x 5 (20 STs by end of row)
You have divided the coaster into 5 parts. By the end of row 3, each part has 3 Red STs and 1 Beige ST, which means 4 stitches in each part. Which means 4×5=20 stitches in all.
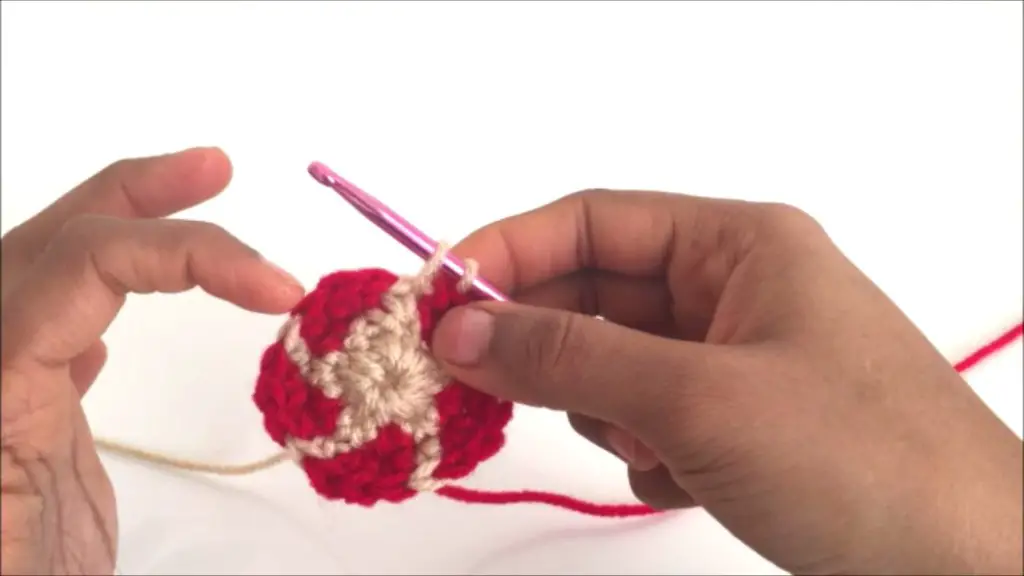
Row 4: *Make 2 RSC in ST1, 2 RSC in ST2, ST3, 1 BSC in ST4* x 5 (25 STs by end of row)
By the end of row 4, each part has 4 Red STs and 1 Beige ST, which means 5 stitches in each part. Which means 5×5=25 stitches in all. To keep the yarns untangled, keep one skein to your left and one skein to your right.
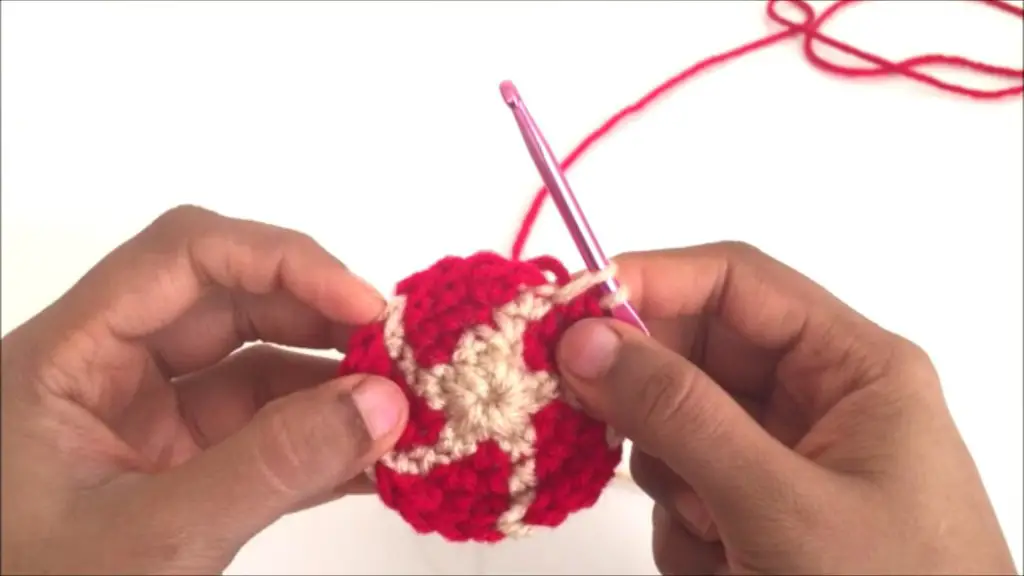
Row 5: *Make 2 RSC in ST1, 3 RSC in ST2, ST3, ST4, 1 BSC in ST5* x 5 (30 STs by end of row)
By the end of row 5, each part has 5 Red STs and 1 Beige ST, which means 6 stitches in each part. Which means 6×5=30 stitches in all. In this row, you would have the maximum number of red stitches required for this pattern. In the coming rows, we will decrease the red stitches and increase the beige stitches like shown in the completed piece below.
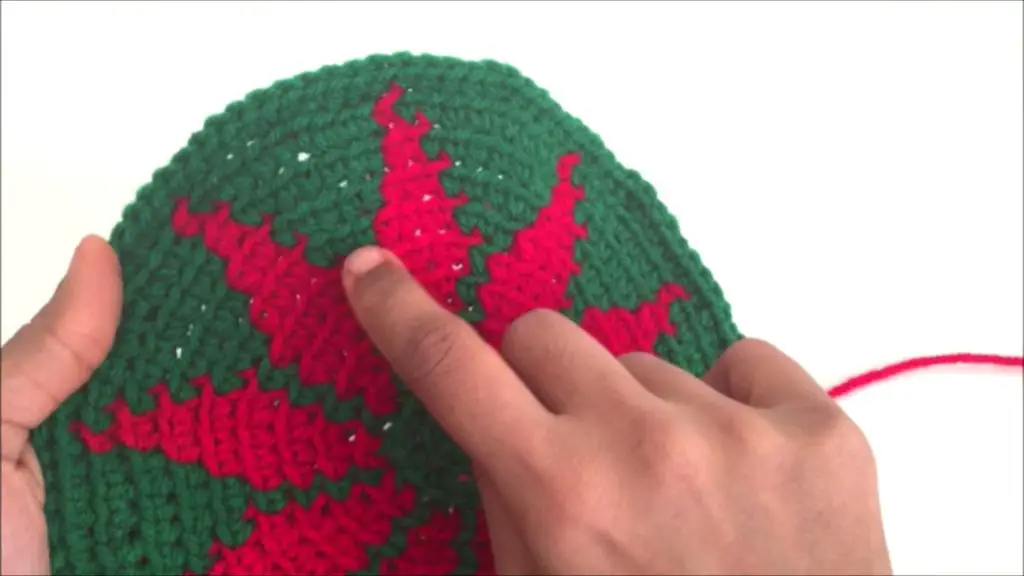
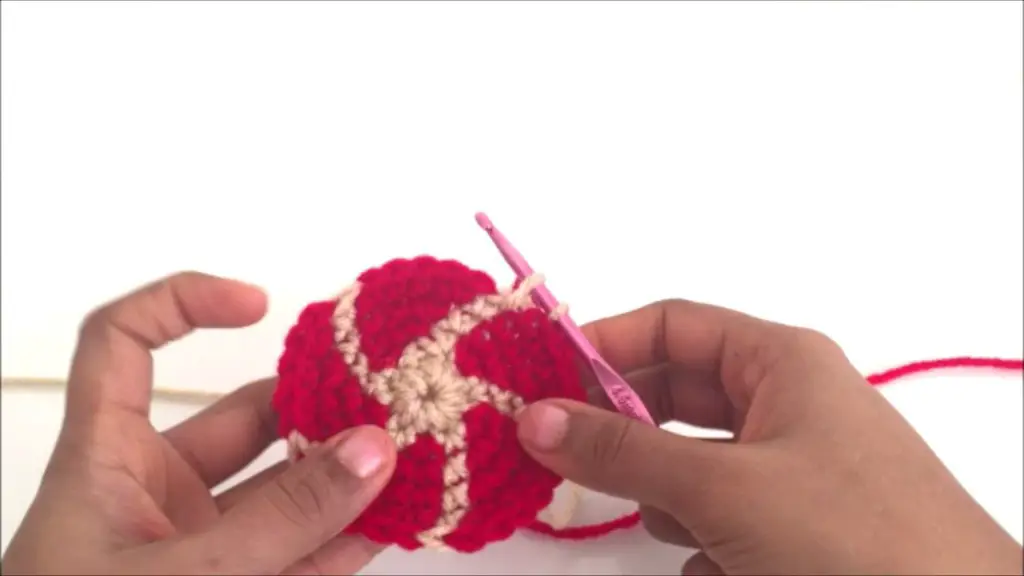
Row 6: *Make 1BSC in ST1, 2 RSC in ST2, 2 RSC in ST3, ST4, 2 BSC in ST5, ST6* x 5 (35 STs by end of row)
By the end of row 6, each part has 4 Red STs and 3 Beige ST, which means 7 stitches in each part. Which means 7×5=35 stitches in all.
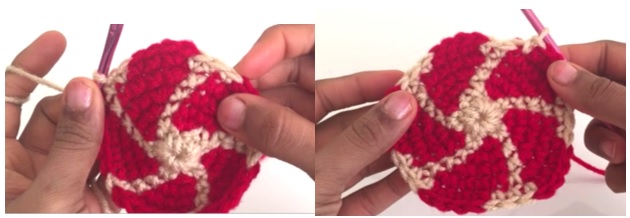
Row 7: *Make 2BSC in ST1, ST2, 2RSC in ST3, 1RSC in ST4, 3BSC in ST5, ST6, ST7* x 5 (40 STs by end of row)
By the end of row 7, each part has 3 Red STs and 5 Beige ST, which means 8 stitches in each part. Which means 8×5=40 stitches in all.
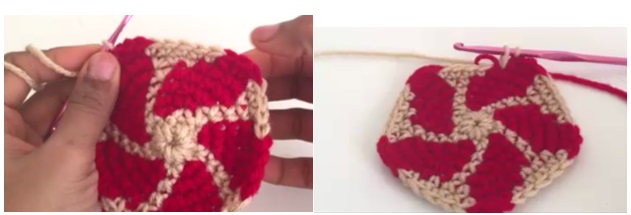
Row 8: *Make 4BSC in ST1, ST2, ST3, ST4, 2RSC in ST5, 3BSC in ST6, ST7, ST8* x 5 (45 STs by end of row)
By the end of row 8, each part has 2 Red STs and 7 Beige ST, which means 9 stitches in each part. Which means 9×5=45 stitches in all.
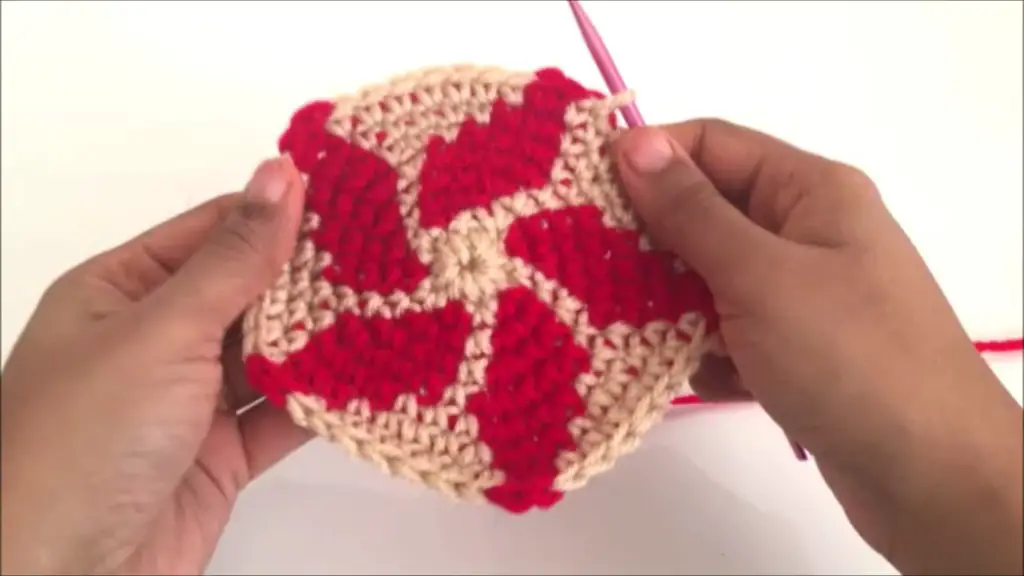
Row 9: *Make 6BSC in ST1, ST2, ST3, ST4, ST5, 1RSC in ST6, 3BSC in ST7, ST8, ST9* x 5 (50 STs by end of row)
By the end of row 9, each part has 1 Red STs and 9 Beige ST, which means 10 stitches in each part. Which means 10×5=50 stitches in all. Note that you would have to make 1 increase in ST4 while making a BSC. Also note, you are not making any increase in RSC like the earlier rows. In addition, this is the last row that will make use of red yarn.
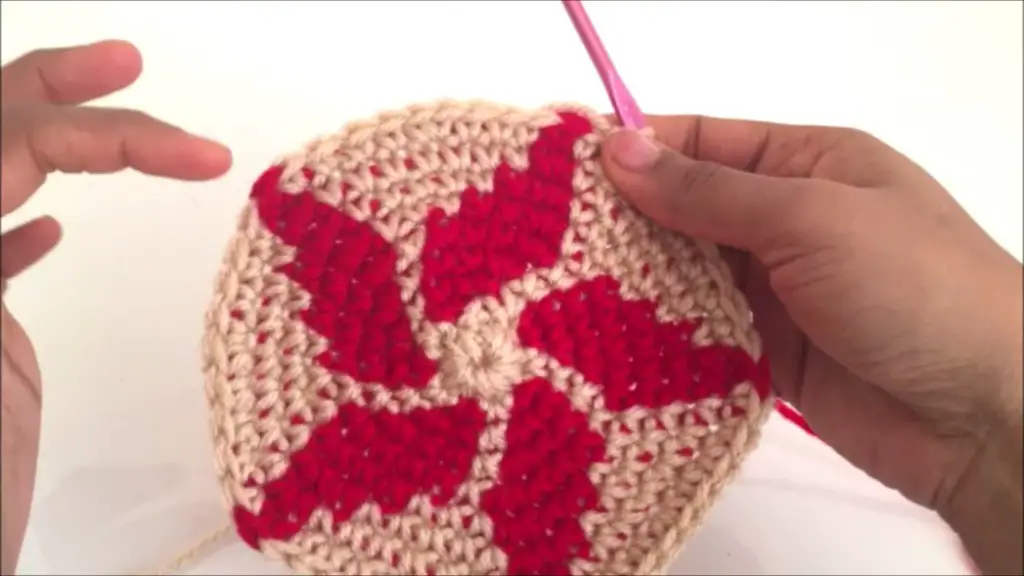
Row 10: *Make 12 BSC over 10 STs* x 5 (60 STs by end of row)
This time you would increase 2 stitches in each part. Over 10 stitches from the previous row, you would have 12 stitches. This means you can have 2 SC over 1 ST of the previous row in ST1 and ST5 of every part. Also, notice we have completely skipped using red yarn altogether in this row.
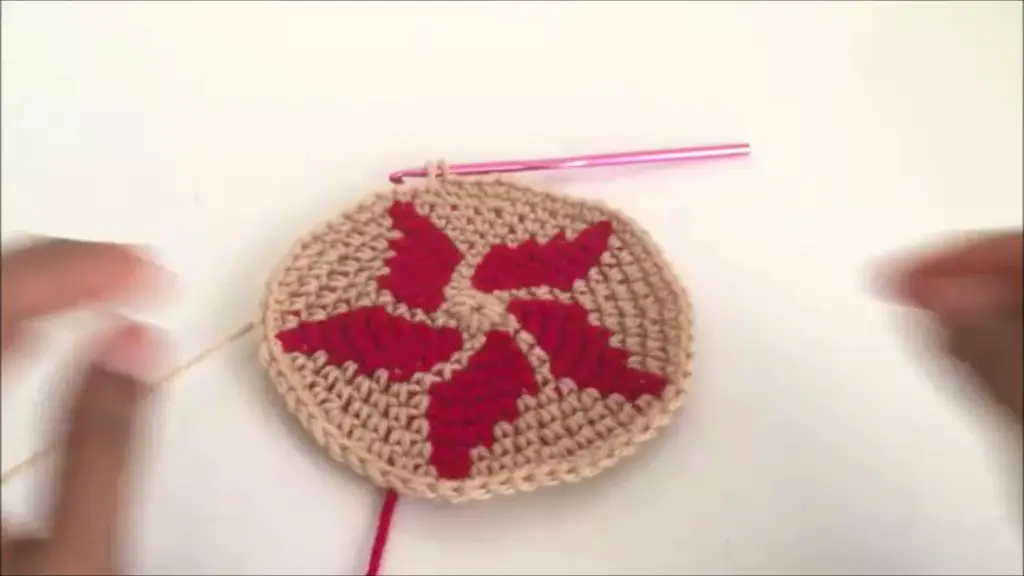
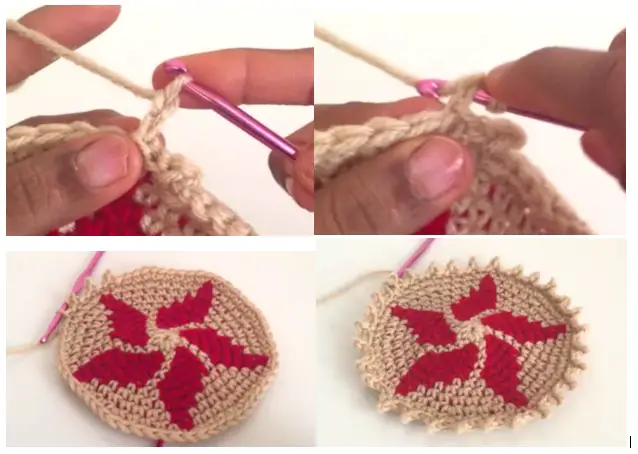
The coaster is now ready!
Picots
To add a beautiful spiky look, you can add picots to the edge of the coaster. To make the picots, finish the last round by slipping the last stitch.
*Make CH2. Slip into CH1. Slip in next 2 STs. * Repeat
Tapestry Crochet
Tapestry crochet is mostly similar to the regular crochet, except for the following significant differences.
- While ending a row, working in rounds, you would normally slip into the first stitch of the previous row. In Tapestry crochet you would start the first stitch of the second row over the first stitch of the previous row without slipping into it.
- You may more often use 2 colors in Tapestry crochet. You would tuck each yarn under the other color, hence each yarn would be running throughout the crochet. This is unlike the regular crochet where you would cut the yarn and join the next color.
I hope you enjoyed making this very simple yet beautiful looking Christmas Coaster pattern using your newly learned skill Tapestry crochet. Happy Crocheting and Happy Holidays!
