Hello and thanks for stopping by today. This is the third installment of our crochet tutorial series. If you missed the first two, here are the links to get caught up.
Crochet Tutorial #1 – Basic Crochet Stitches
Crochet Tutorial #2 – Working with Color
Today we are going to focus on some intermediate crochet stitches and techniques. I’ve tried to include crochet stitches and crochet techniques to help take your crochet skills beyond beginner level. We will learn how to begin a project with a foundation row, how to use a magic ring when crocheting in the round, how to create an invisible seam, and other useful techniques.
We will also cover more advanced crochet stitches such as front and back loop stitches, front and back post stitches, the spike stitch, the crab stitch, and a few other fun crochet stitches. Are you ready to get started? Okay, let’s go.

The Magic Ring
When crocheting in the round, many projects begin with a chain that is joined with a slip stitch to create a ring. This also creates a small hole in the center of the beginning chain. Sometimes you may not want a hole and that is where the magic ring comes in handy. The magic ring closes up the hole and gives you a nice solid first round of stitches.
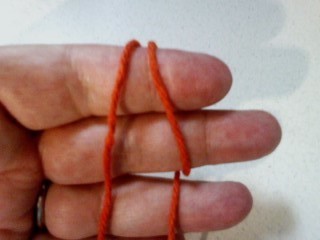
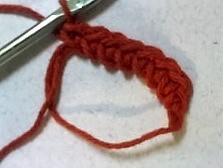
Begin by wrapping the yarn around your index and middle finger of your left hand. The loose tail should be draped over your fingers and held toward you.
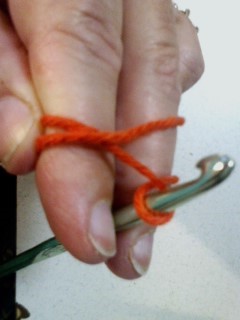
Insert the hook under the right hand loop which is draped over your index finger. Grab the yarn and pull it through the loop.
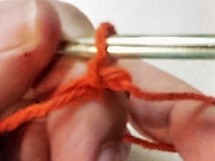
Yarn over and pull it through the two loops on your hook. This is the first single crochet. You can also use double crochet stitches to form a magic ring.
Continue to work your first round of stitches into the center of the ring. Be sure to capture both strands of yarn which form the loop into the stitches.
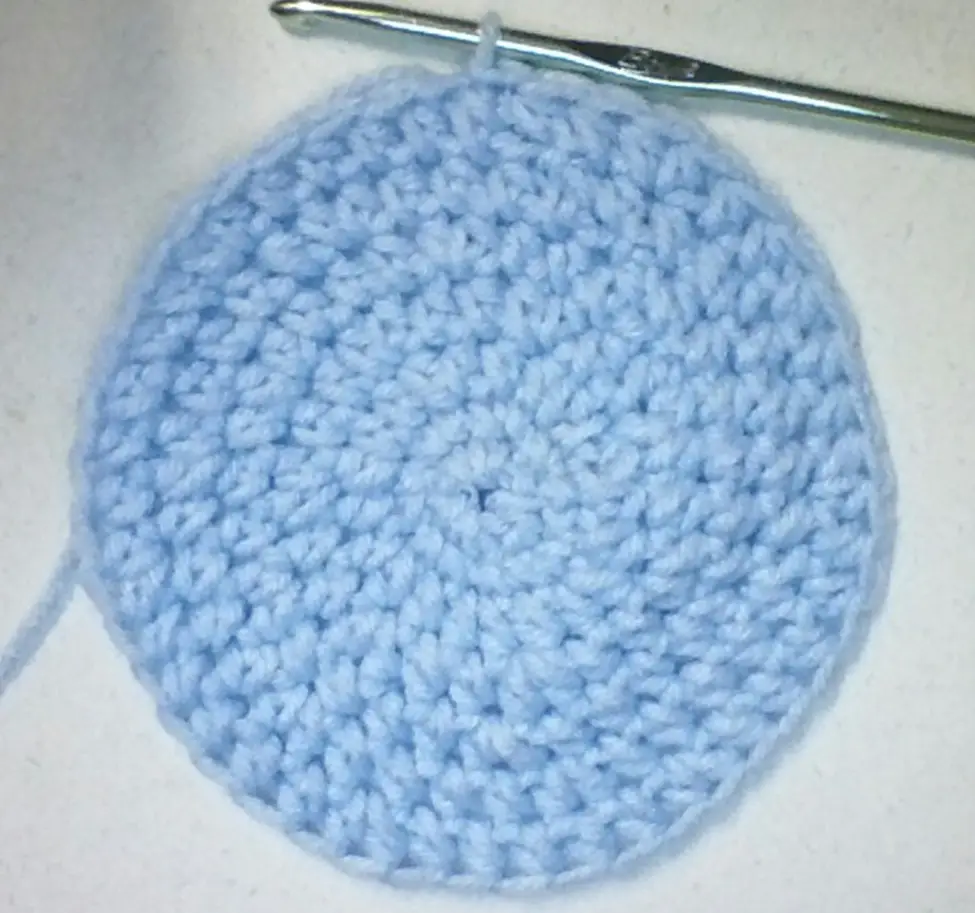
Once you have the correct number of stitches pull the loose yarn to close up the ring. Join the ring with a slip stitch and you have your first round of stitches.
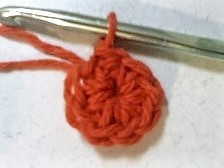
Completed magic ring
Invisible Join
Another really handy crochet technique for crocheting in the round is the invisible join. If you notice, the seam on crochet in the round projects form a diagonal seam. This is natural and is the result of the increase in stitches and slip stitches used to join each round. An invisible seam is a much more attractive and polished look, and very simple to achieve.
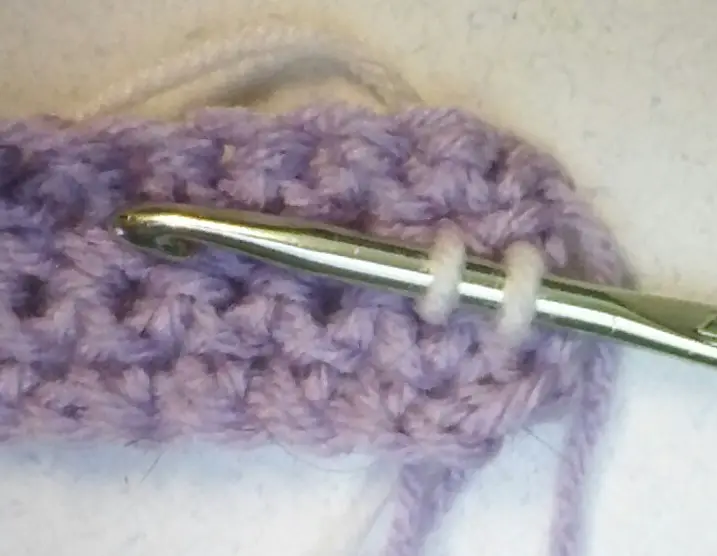
When you reach the end of the round, work one more stitch into the base of the starting chain. Join the round into the next full stitch. This hides the extra stitch and ensures your stitch count is correct.
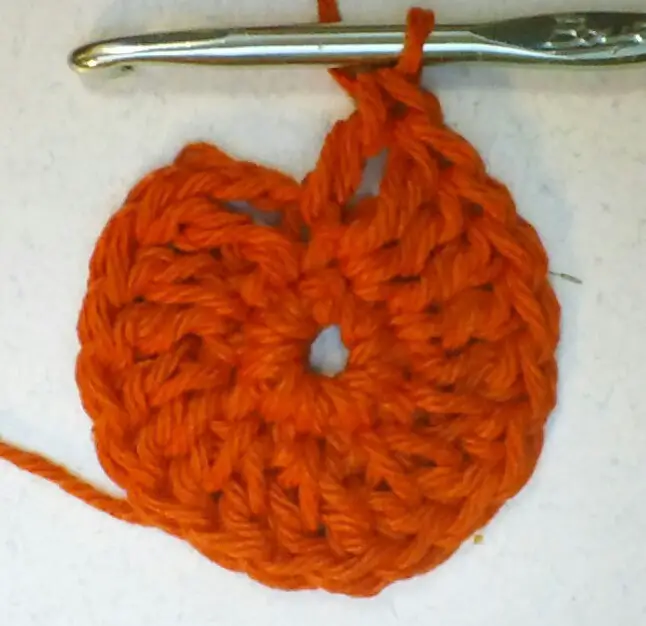
Crochet on extra stitch into the base of the starting chain.
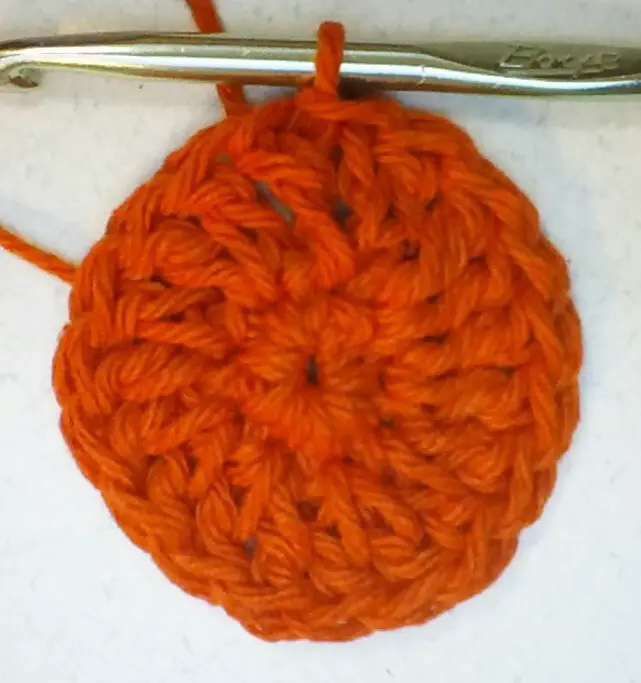
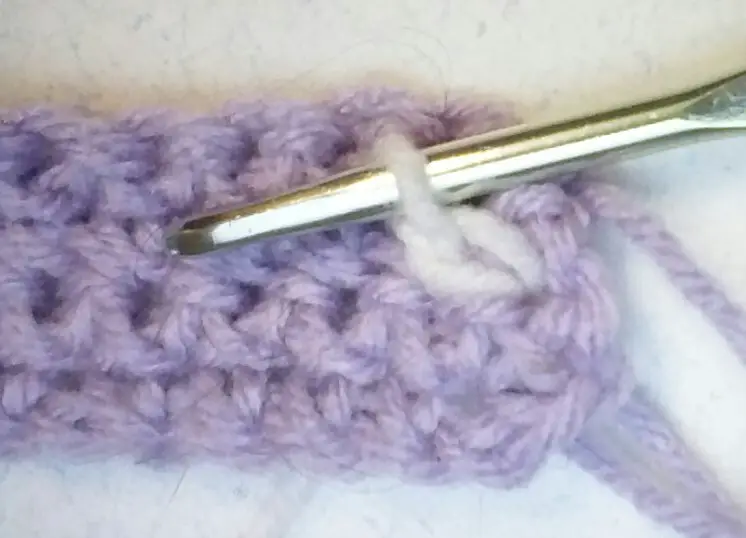
Join the round into the next stitch to form an invisible seam.
Can you see the seam? It’s right below the hook.
Foundation Stitches
There are times when the foundation chain is crocheted tighter than the rest of your project. This is a common occurrence and can make the fabric pucker and pull at the foundation chain. You could use a larger hook to chain with, or you can use this technique to create a nice stretchy foundation row.
What you’re doing is crocheting the first row without crocheting a starting chain. This has two benefits. The first is the fact the beginning row of your project will stretch and not pull, and the second is by using this technique you are crocheting the first row of your project instead of having to crochet a chain and then the first row.
You can use single, half double, or double crochet stitches for this technique. For this example we’ll be using single crochet.
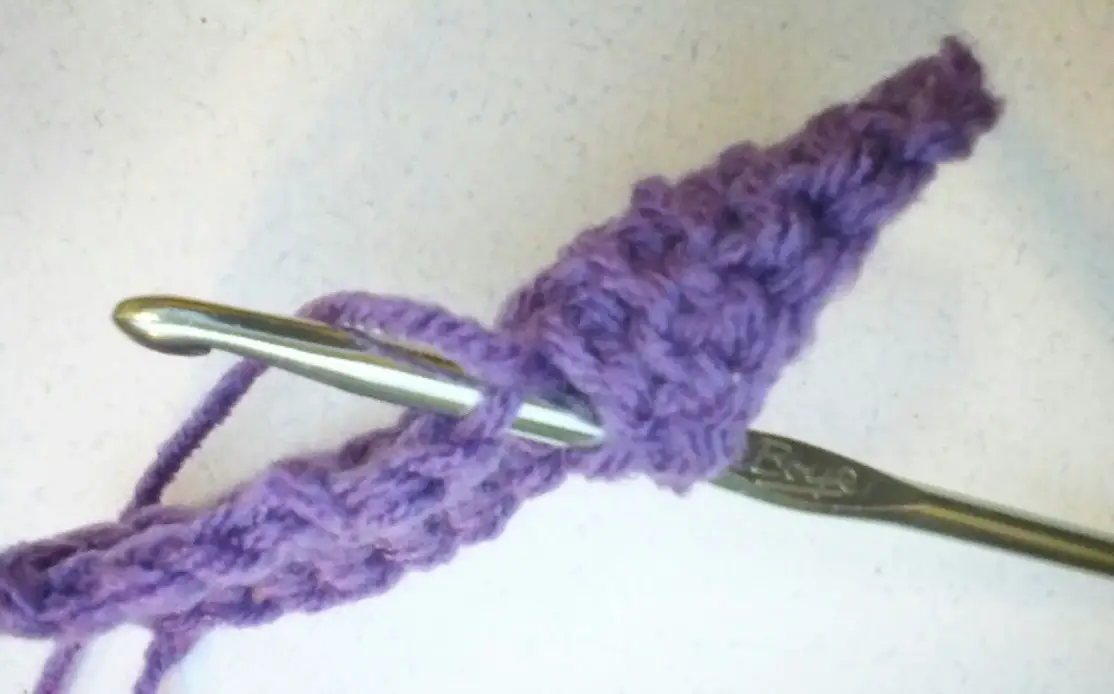
To begin chain 2. Insert the hook into the first chain, pull the yarn through this stitch. Yarn over and pull the yarn through only the first loop on the hook. This creates the chain stitch you will need to crochet the next stitch.
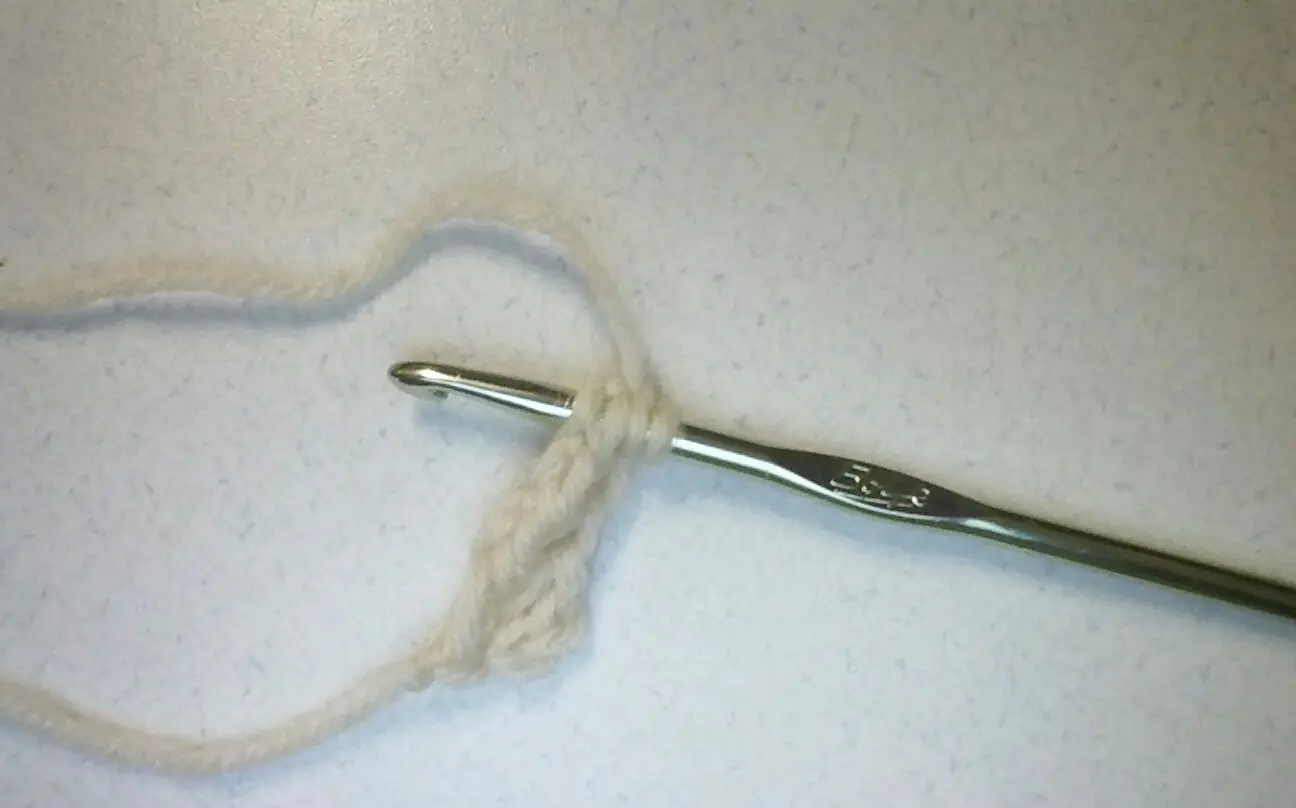
Yarn over and pull the yarn through the two loops on your hook to complete the stitch.
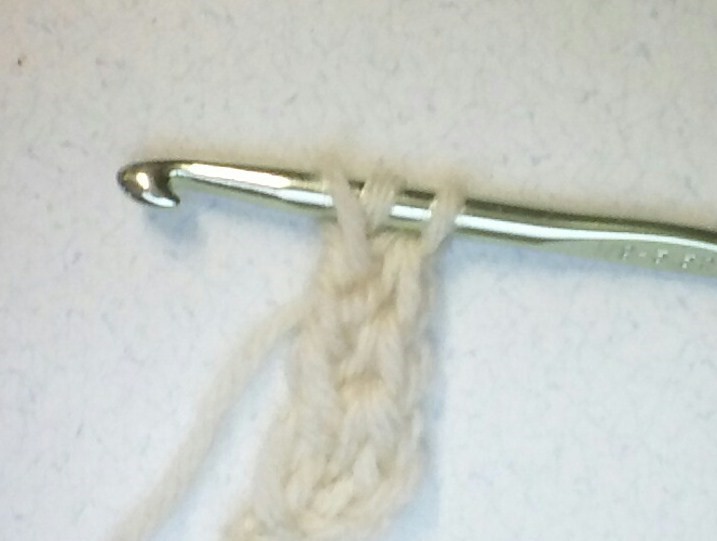
Begin the next stitch by inserting the hook into the chain stitch you created, yarn over and pull through the chain stitch. Yarn over and pull the yarn through only first loop on the hook. Yarn over and pull the yarn through both loops of the hook to complete the stitch.
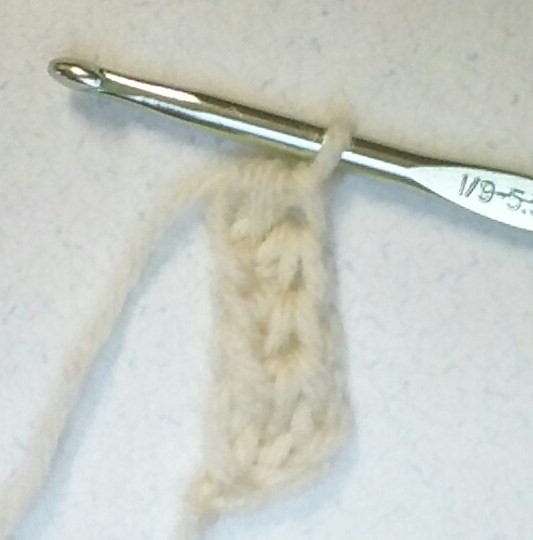
As you work, insert the hook into the chain stitch of the previous chain, yarn over and pull the yarn through only the first loop on the hook. Yarn over and pull the yarn through the two remaining loops to complete the chain. Continue until you have the proper number of foundation stitches.
If you were using double crochet you would first yarn over before you crocheted the chain stitch. Complete the stitch like a normal double crochet and begin each stitch into the chain stitch of the previous stitch.
It may help to think of crocheting not in a row, but as if you were crocheting a rope. When you reach the end of the foundation chain, turn the chain over and begin the next row by chaining the appropriate number of stitches depending on what stitch you are using – single, half double, or double.
Front and Back Loop Stitches
Front and back loops stitches give your project a subtle bit of texture. If you look at a crochet stitch, you’ll see the top two loops which form a “v”. Instead of inserting the hook into both loops, you insert it into either the front or the back loop.
Front loop stitch
Back loop stitch
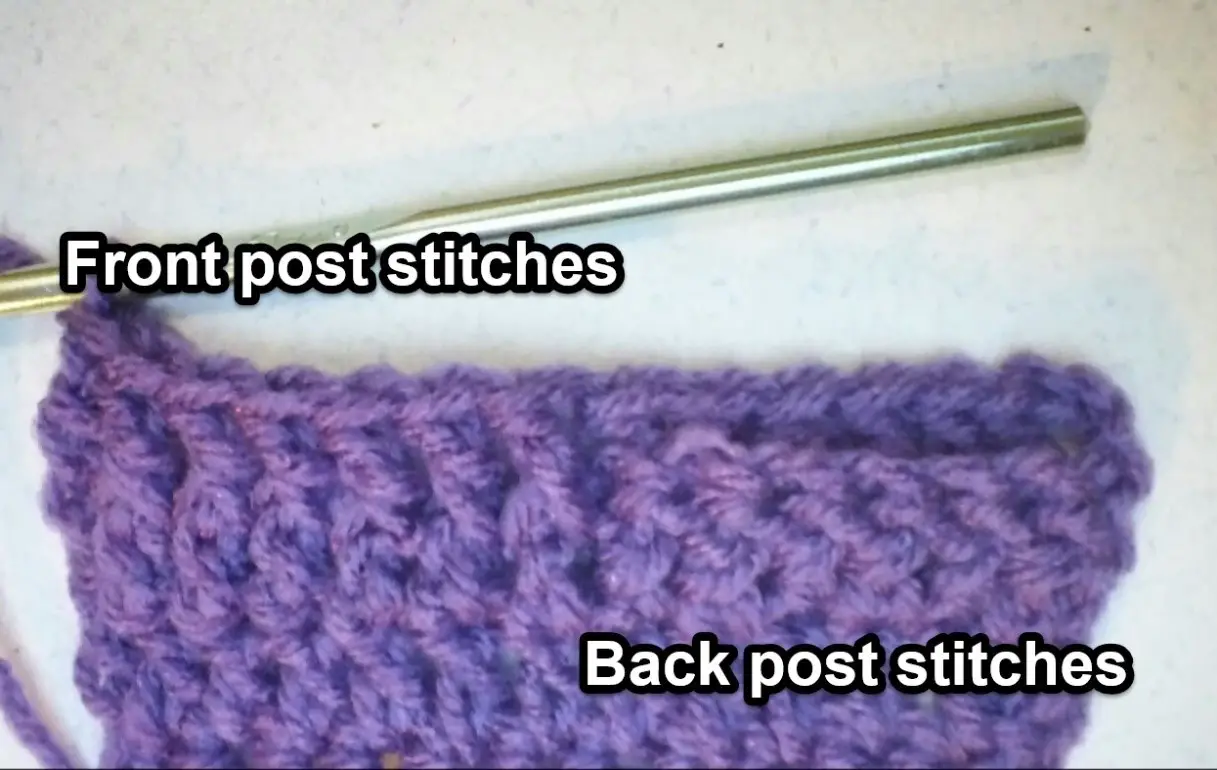
Front and Back Post Stitches
Front and back post stitches are used to create texture and cables in crochet. Look at a crochet stitch and you will see each one has a post. Instead of inserting the hook into the top of a stitch, the hook is wrapped around the post of a stitch and the yarn is pulled through.
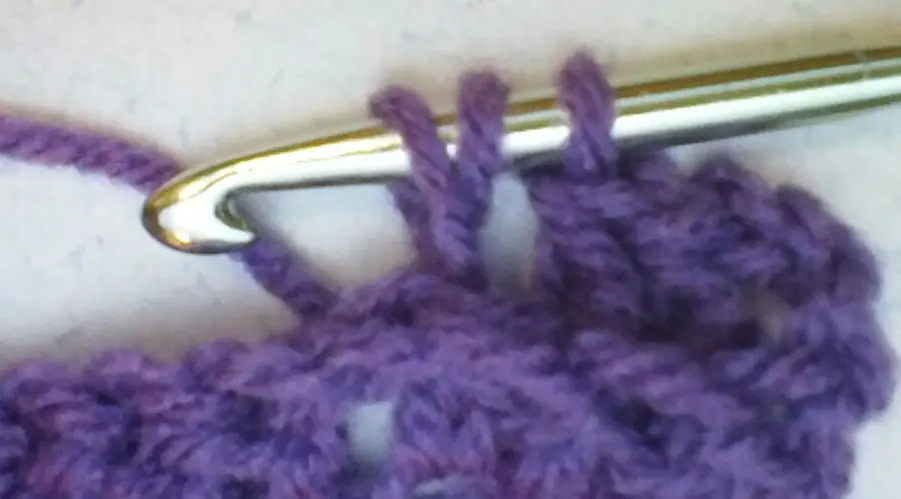
Front post stitches give the crochet fabric a horizontal ridge on the wrong side of the fabric. Using double crochet stitches, yarn over and insert the hook from the front to the back around the post of the next stitch. Pull the yarn up around the post and even with the top of the active stitches. Yarn over and complete the double crochet stitch as usual.
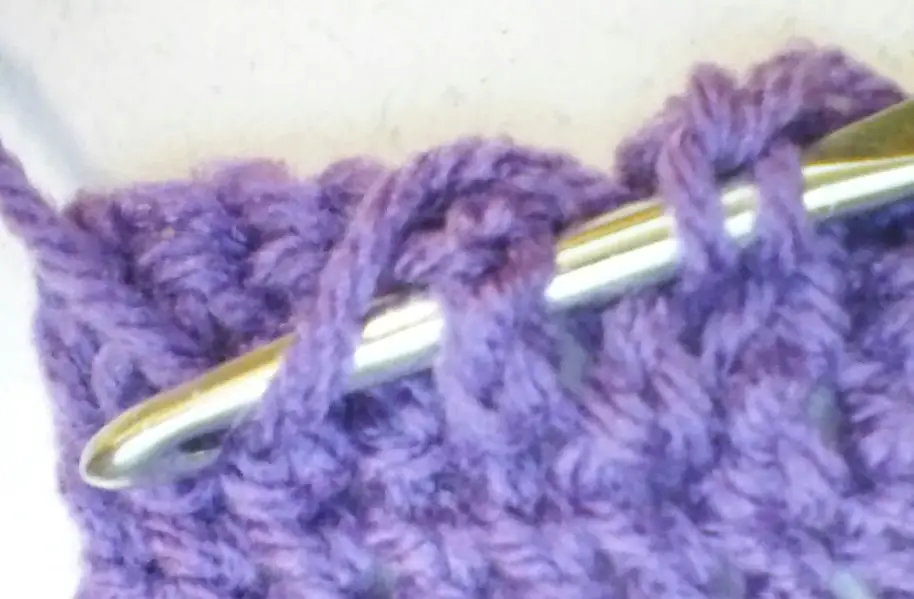
Insert the hook from the front to the back around the post of the stitch.
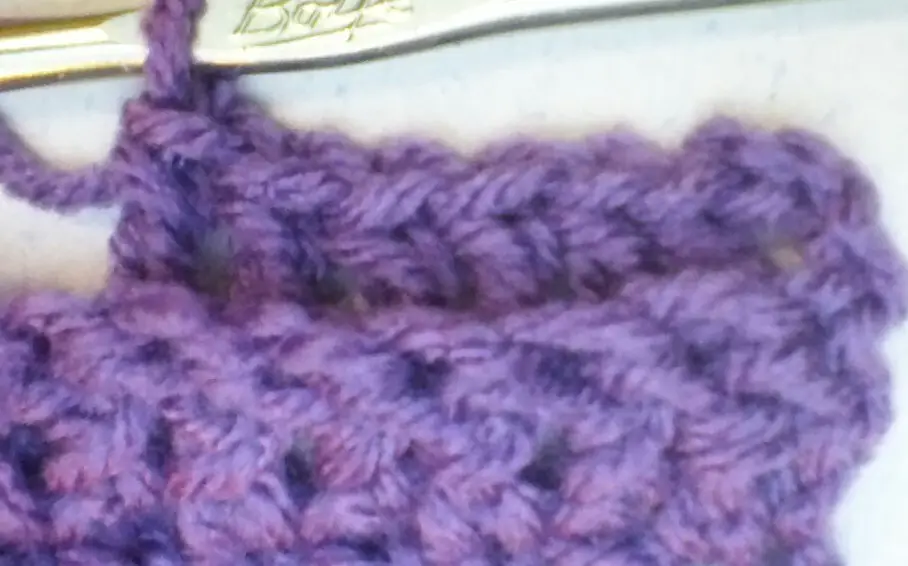
Front post double crochet right side
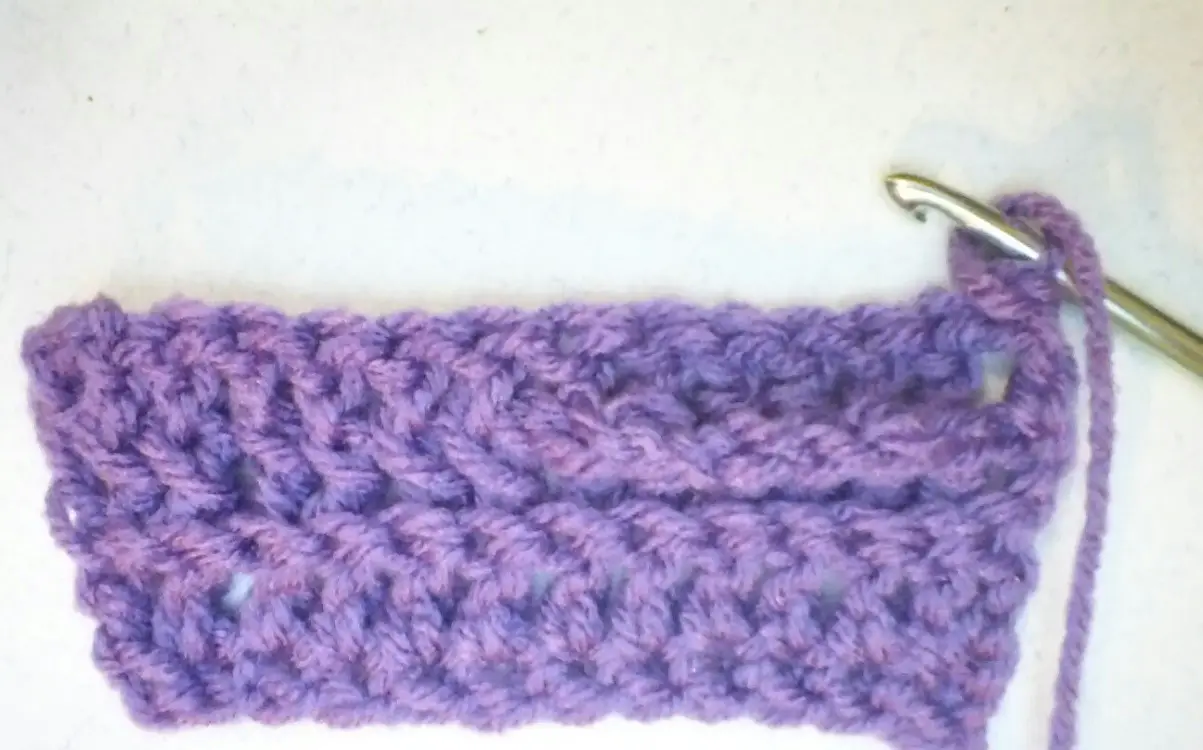
Front post stitches wrong side
Crochet a back post double crochet stitch by yarning over and inserting the hook from the back to the front around the post of the next stitch. Pull the yarn through and up even with the active stitches. Yarn over and complete the double crochet stitch as usual. If you are having trouble getting the hook in the correct place, try pinching the stitch to make the post stand out more.
Insert the hook from the front to the back
Yarn over and pull the yarn up even with the active stitches.
Back post double crochet right side
Double Crochet Spike Stitch
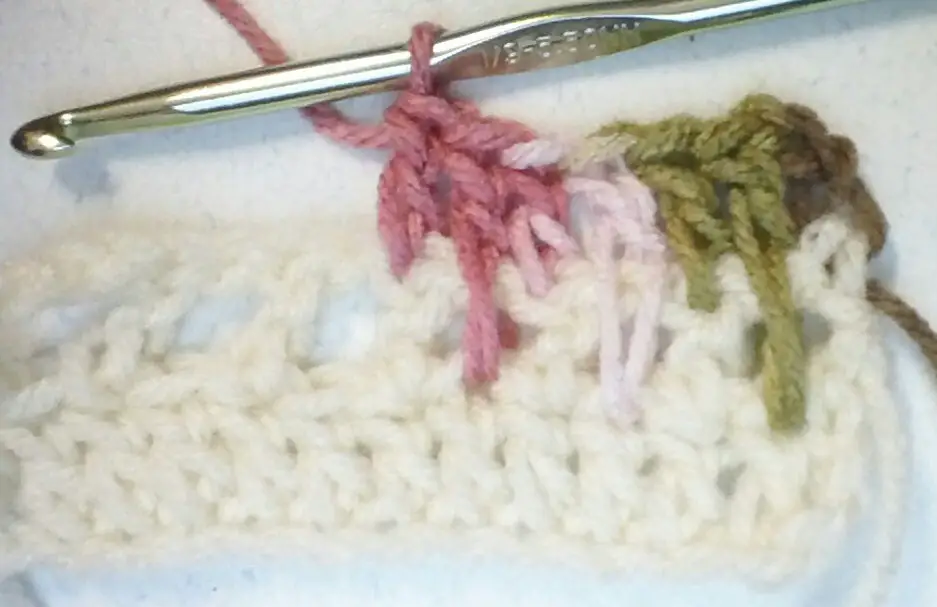
The double crochet spike stitch is also known as the double crochet long stitch. Instead of inserting the hook into the next stitch, insert the hook into the stitch one row below the active row. Normally this stitch is used with double crochet, but you can also use treble crochet if you are going two rows below to crochet the stitch. You can create some very lovely effects by using assorted colors.
To begin a project using the spike stitch, you will first need to crochet at least two rows of double crochet since you will be working with the row below the active row.
Begin the spike stitch by yarning over and inserting the hook into the next stitch one row below the active row you’re working on. Yarn over and pull the yarn up even with the top of the active stitches. Complete the double crochet stitch as usual.

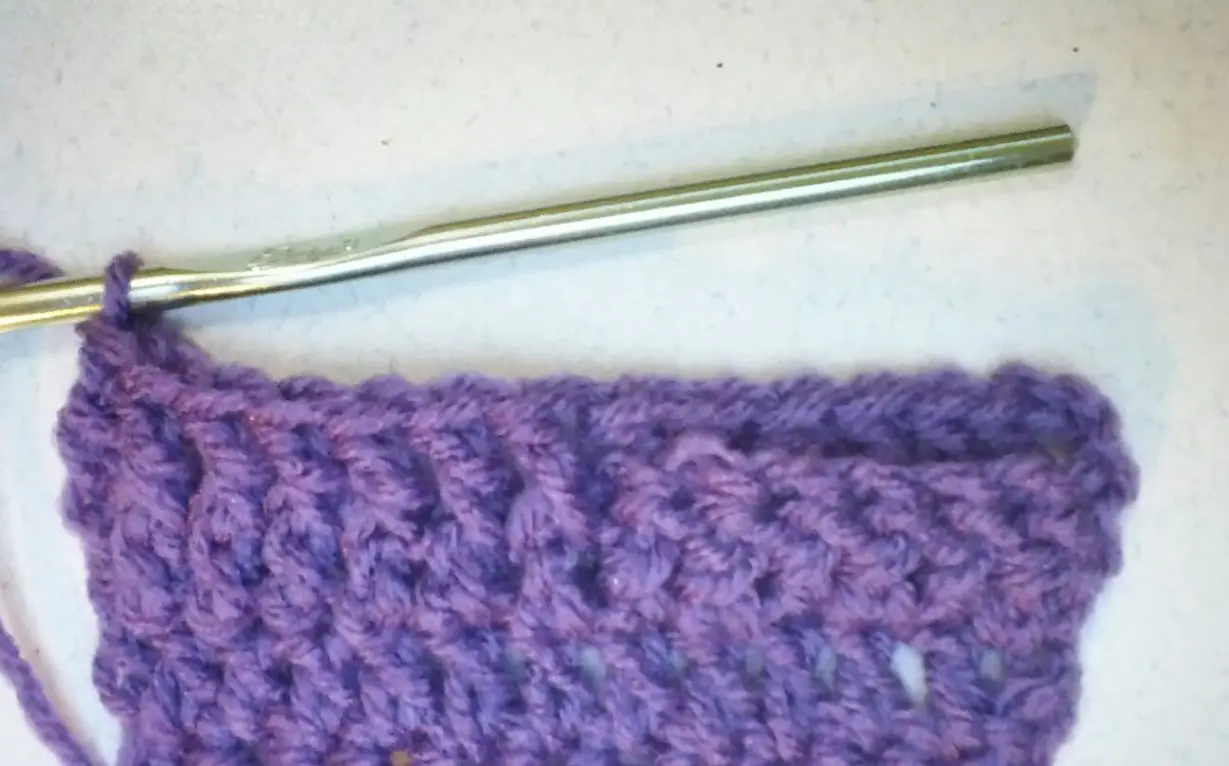
Insert the hook one row below the active row
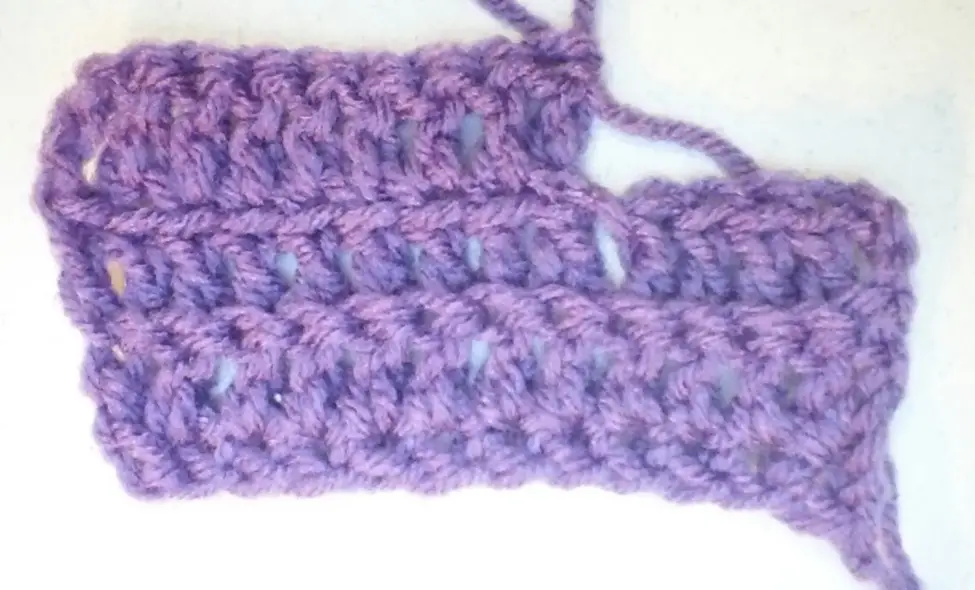
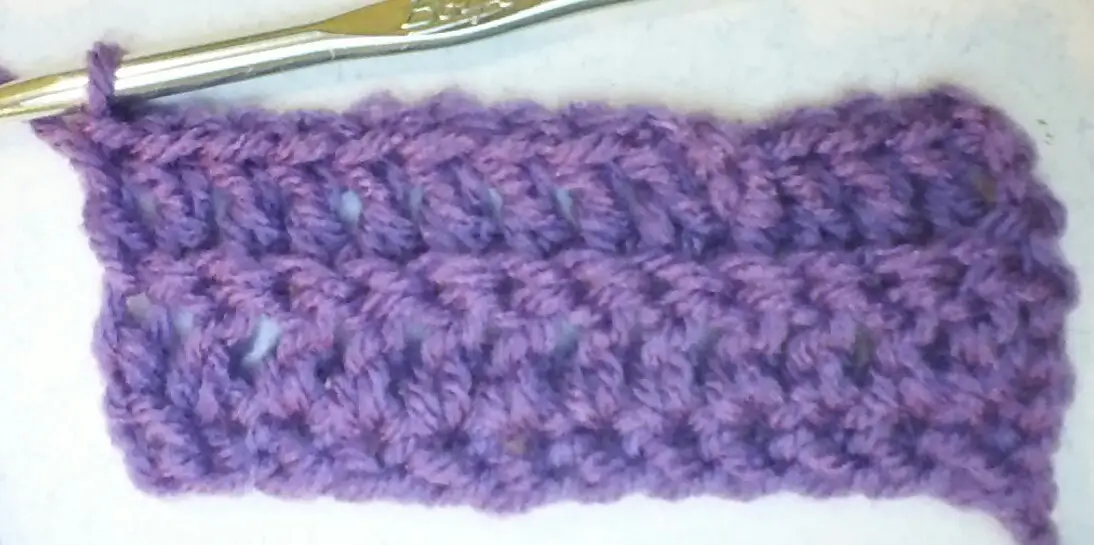
Completed spike stitches
Crab Stitch
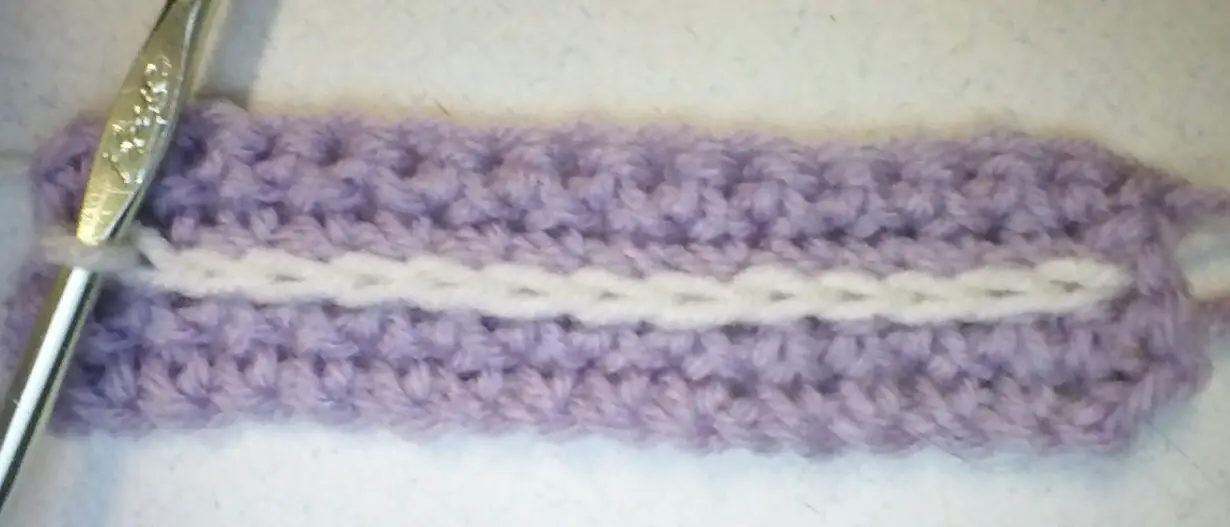
The crab stitch, also known as the reverse single crochet stitch, is used to create a pretty rope like border. With the right side of your project facing you, and working from left to right, chain 1. Insert the hook into the next stitch on the right. Yarn over and pull through, yarn over and pull through the 2 loops on the hook. Insert the hook into the next stitch on the right and repeat the process until you reach the chain 1 of the beginning. Slip stitch into the chain 1 to join and complete the border.
Work the crab stitch from left to right
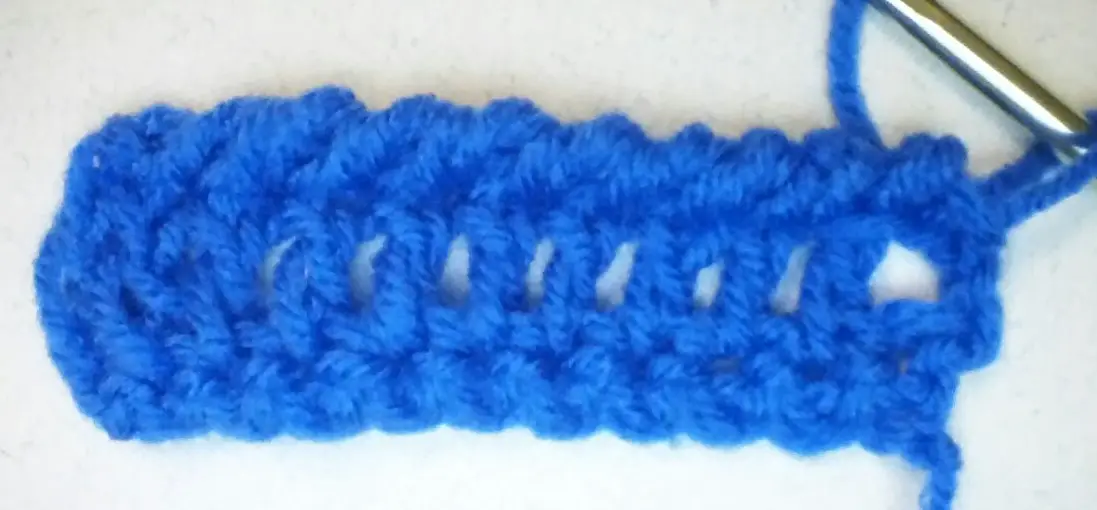
Double Crochet Crossed Stitch
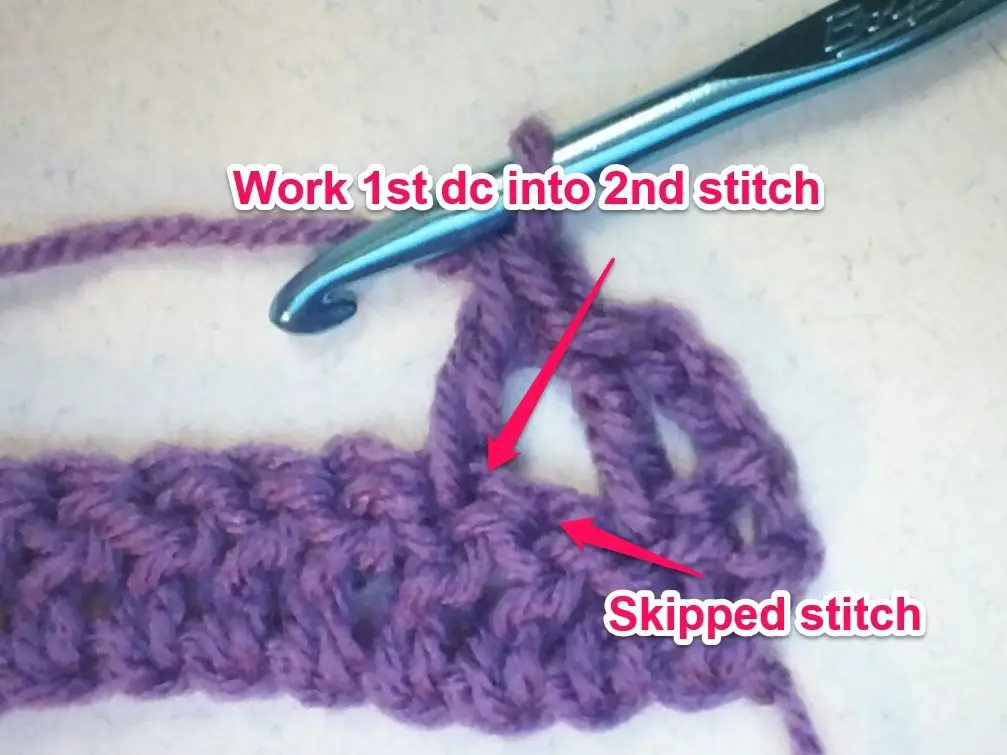
The double crochet crossed stitch creates a lot of texture and interest in your crochet projects. Yarn over and insert the hook into the 2nd stitch from the hook. Yarn over and pull through the stitch, yarn over and pull through the first 2 loops on the hook, yarn over and pull through the last 2 loops on the hook.
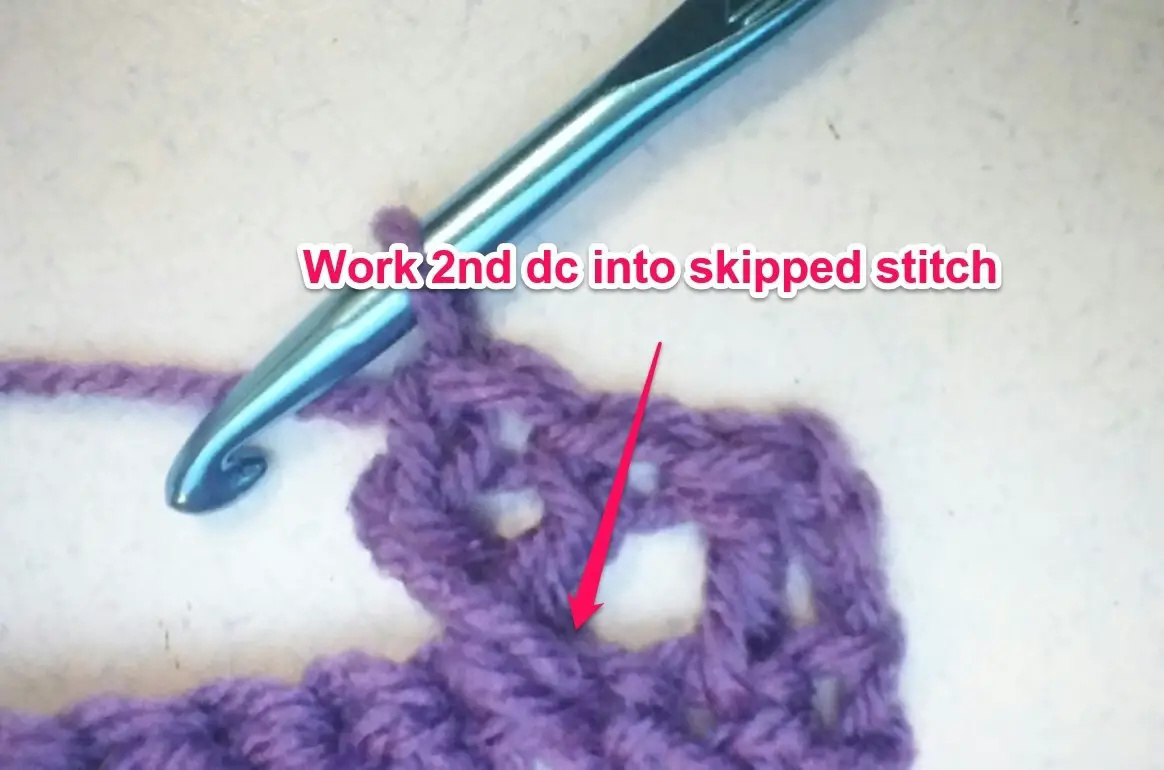
Yarn over and insert the hook into the skipped stitch. Yarn over and pull through the stitch pulling the yarn up even with the active stitches. Yarn over and pull through the first 2 loops on the hook, yarn over and pull through the last 2 loops on the hook to complete the stitch.
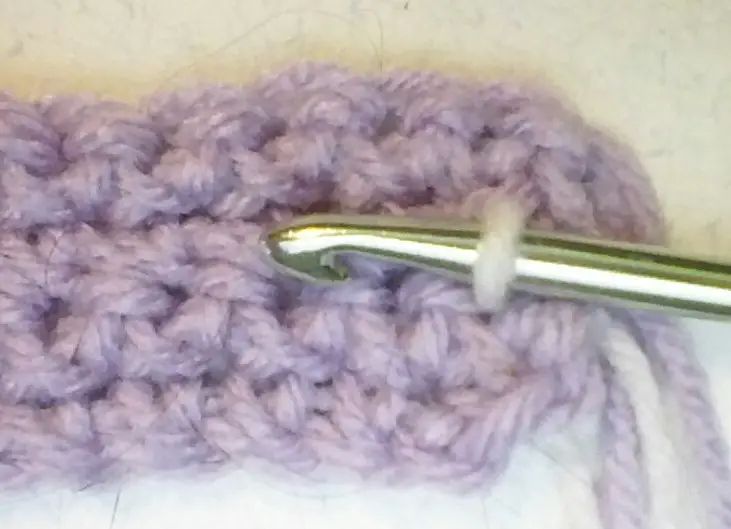
You can also use the double crochet crossed stitch to form cables in your work. This is accomplished by crocheting the stitches like back post stitches inserting the hook from the back to the front around the stitches.
Surface Crochet
There will be times when you want to add a bit more embellishment to your projects. Surface crochet is a form of yarn embroidery that enables you to create lines and patterns on the surface of the crochet fabric.
Hold the crochet with the right side facing you and the yarn on the wrong side.
Begin by pulling up a loop of yarn from the wrong side to the right side of the crochet fabric.
Insert the hook into the fabric and pull another loop to the front.
Yarn over and pull the yarn through the two loops on the hook. Insert the hook into the fabric and pull up another loop of yarn. Yarn over and pull through the two loops on the hook. Continue in this manner until you have surface crocheted the desired amount.
Surface crochet
Cluster Stitch
The cluster stitch uses double and treble crochet stitches. Each stitch in the cluster is worked until the last yarn over. Once you have the number of stitches you want in the cluster a final yarn over is performed and the yarn is pulled through all of the loops on the hook. A chain stitch is used to lock the stitch.
There will always be one loop more on the hook than stitches in the cluster. For example, if you are using 4 stitches in a cluster, you will have 5 loops on the hook before you perform the last yarn over and draw the yarn through all the loops.
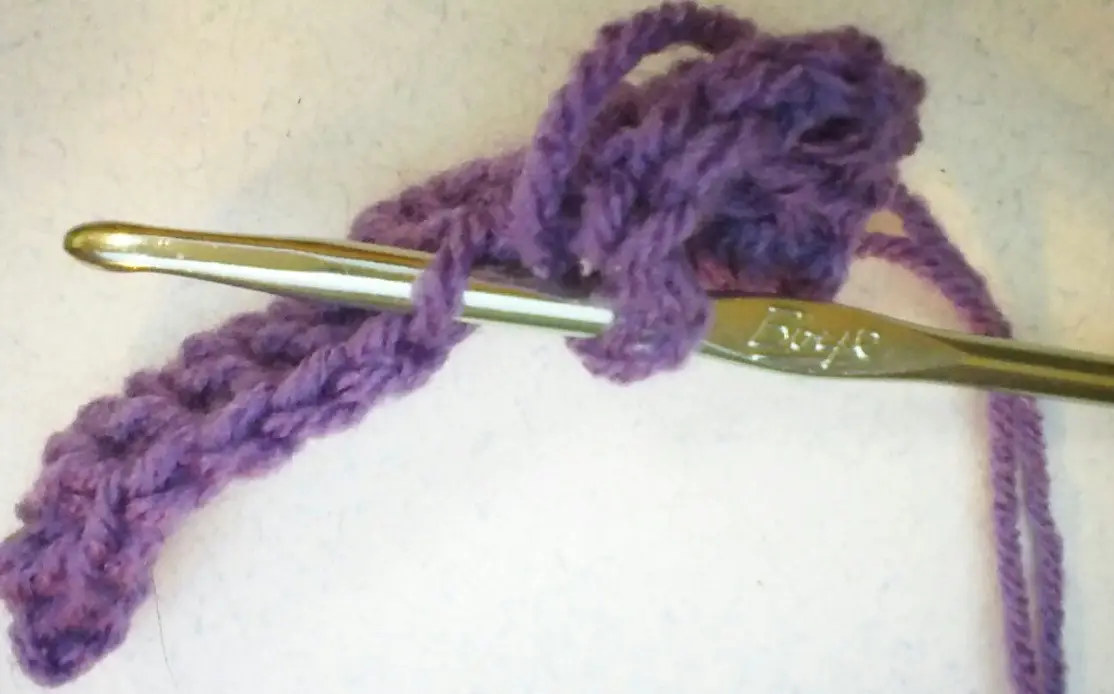
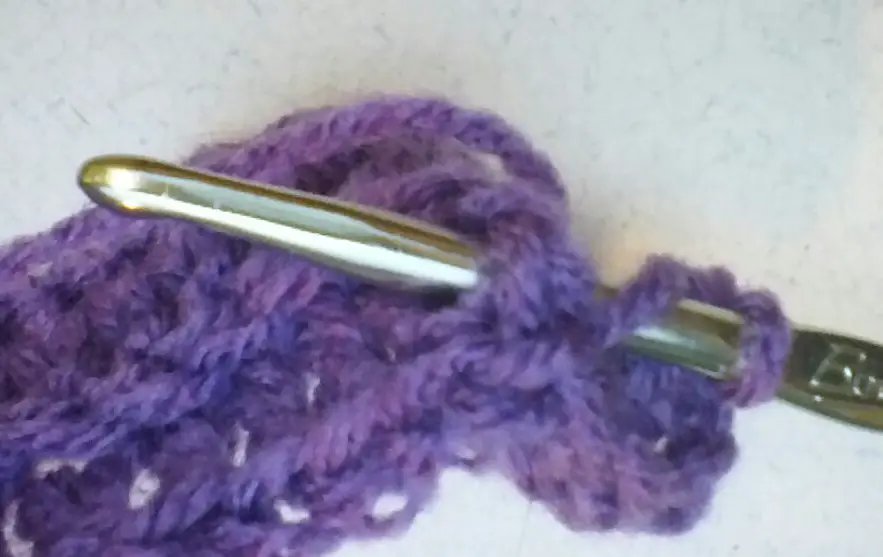
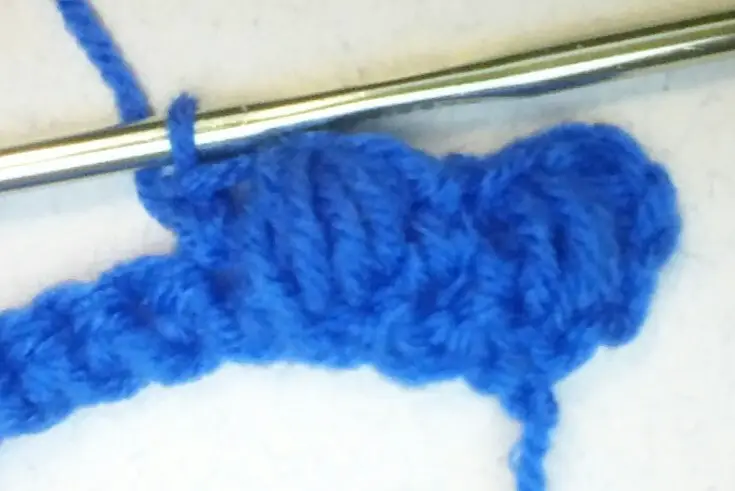
Work the stitches until you have one loop for each stitch on the hook.
Yarn over and pull through all of the loops on the hook.
Chain 1 to lock the stitch
Puff Stitch
The buff or bobble stitch is very similar to the cluster stitch. Instead of working the stitches to the last loop, the stitches are not worked at all. The last yarn over is pulled through all of the loops on the hook at once and a chain stitch is used to lock the stitch. The puff stitch is fatter and puffier than the cluster stitch and a great way to add fun and texture to a project.
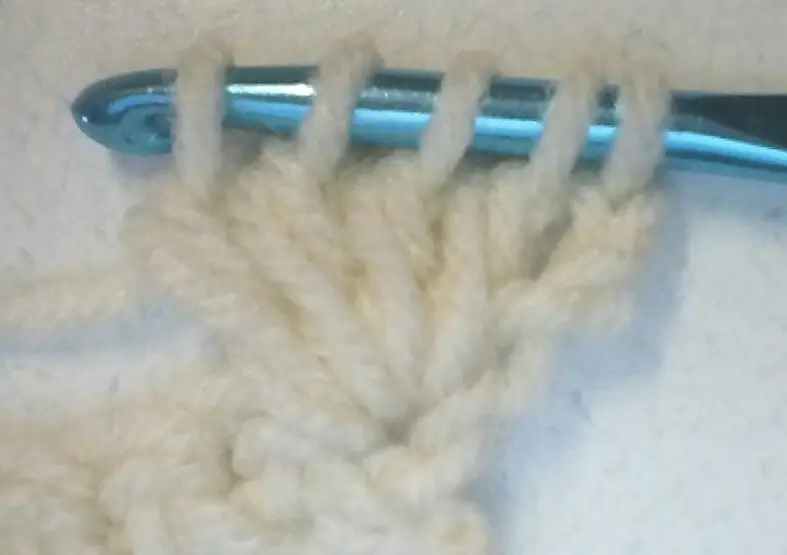
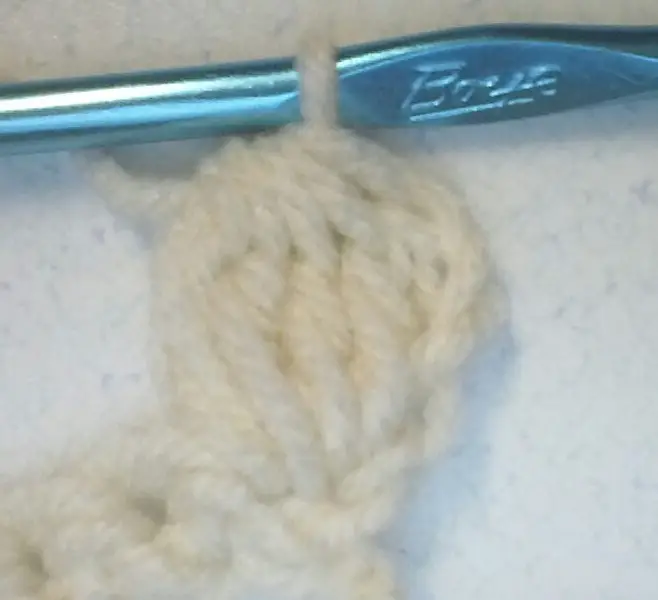
Normally the double crochet stitch is used for the puff stitch. Yarn over and insert the hook into the next stitch, yarn over and pull the yarn through the stitch. Yarn over and insert the hook into the same stitch, yarn over and pull the yarn through the stitch. Do this two more times. Yarn over and draw the yarn through all of the loops on the hook. Chain 1 to lock the stitch.

Yarn over and pull the yarn through the stitch 4 times
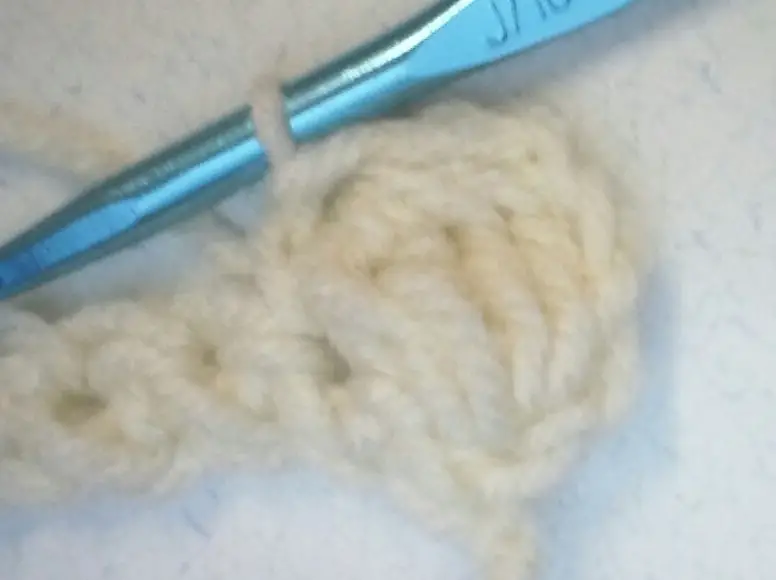
Yarn over and pull the yarn through all of the loops on the hook, chain 1 to lock the stitch.
End Notes
Thanks again for stopping by! I hope this tutorial has helped take your skills to the next level. Be sure to stop by again soon as I plan on posting more tutorials on various crochet stitches and techniques. Please feel free to ask any questions you may have in the comments section. I will do my best to answer them and help you out any way I can. Also please let me know if there is any specific you’d like me to cover in a future blog.
Until next time, take care and keep on hooking!
If You Enjoyed this Article Please Share and Pin. It is Greatly Appreciated. 🙂


