Learn how to work the pebble crochet stitch with this easy photo tutorial. This simple stitch is perfect for your next crochet project!
I don’t know about you, but I love raised crochet stitches. They add texture and interest to any project, and they’re usually pretty easy to crochet. The pebble crochet stitch is one of my favorites, and it’s definitely a go-to for me when I’m looking to add some texture to a piece.
If you’re new to the pebble stitch, don’t worry! Despite its finished look, it’s actually a really simple pattern.
All you need to know are a few basic stitches and 1 intermediate stitch and you’ll have this pattern down in no time.
If you’re ready to get started, grab your yarn and hook, and let’s go!
What is the Pebble Crochet Stitch?
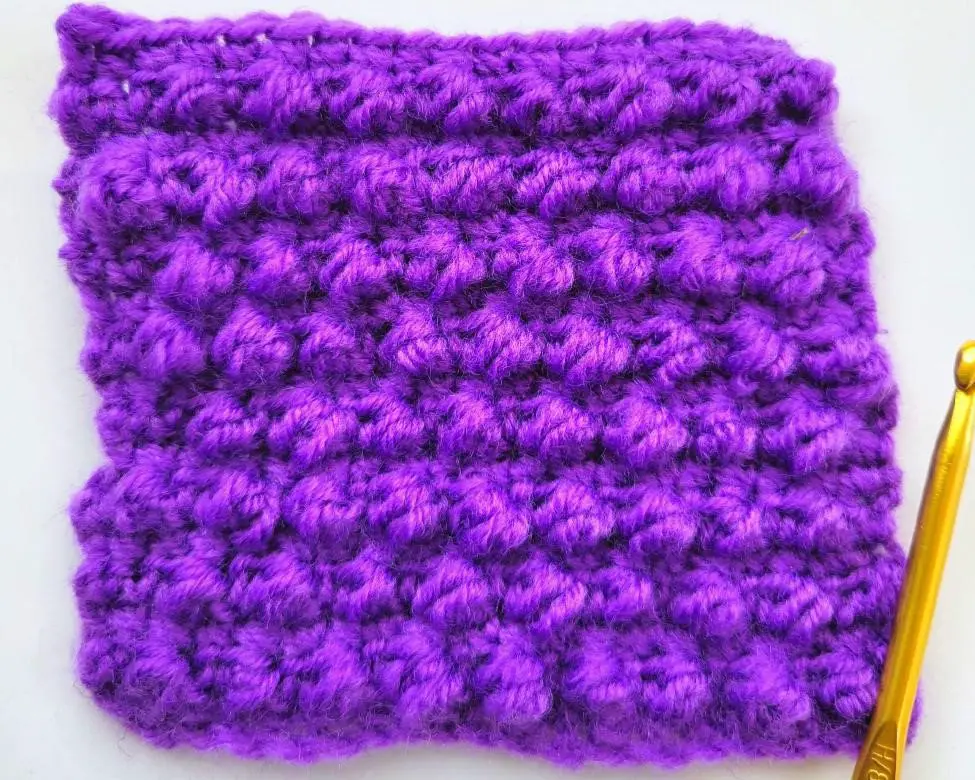
The pebble crochet stitch is a raised pattern that gives the appearance of little rocks or pebbles. (Hence the name. 😉)
The pattern consists of repeating the same 4 rows and can be used for a variety of projects. I especially like this stitch for bigger projects because it’s easy to pick up and put down without losing your place or worrying that you lost count of which stitch you were on.
Project Ideas
The pebble crochet stitch creates a pretty tight weave and a raised texture. This makes it great for projects that are meant to keep you warm and cozy or to hold things.
You can also easily use it for different-sized projects. Just adjust the width of your starting row depending on the project.
Here are some project ideas you can make with the pebble crochet stitch:
- Blankets
- Bags
- Purses
- Dishcloths
- Hats
- Scarves
- Sweaters
- Cowls
Pebble Crochet Stitch Pattern Notes
Here is a quick overview of how to use this pattern for the pebble crochet stitch.
Supplies Needed
- Yarn: you can use any yarn weight. For this tutorial, I used Craftiss Acrylic yarn in purple.
- Crochet hook: Be sure to match the size of your hook to the yarn. For this tutorial, I used a 5.00 MM hook.
Abbreviations
For this pattern, I will be using the Craft Yarn Council U.S. abbreviations.
- yo: yarn over
- ch: chain stitch
- sc: single crochet
- puff: puff stitch
Variations
Like many other stitches, the pebble crochet stitch has different variations to it. Some patterns create the raised stitch by doing an extra extended single crochet stitch, a puff stitch, or a cluster stitch.
For this tutorial, I’ll be using a puff stitch to create the pattern. I feel like the puff stitch creates a really defined bump in the pattern that makes it stand out more and is easier to see.
If you prefer a flatter design or want to cut back a little on how much yarn is used, you can try using the extra extended single crochet stitch in place of the puff stitch in this pattern.
Special Stitches
The pebble crochet stitch mainly consists of alternating single crochet stitches and puff stitches. If you’re unfamiliar with the puff stitch, here is a quick explanation of how it’s done.
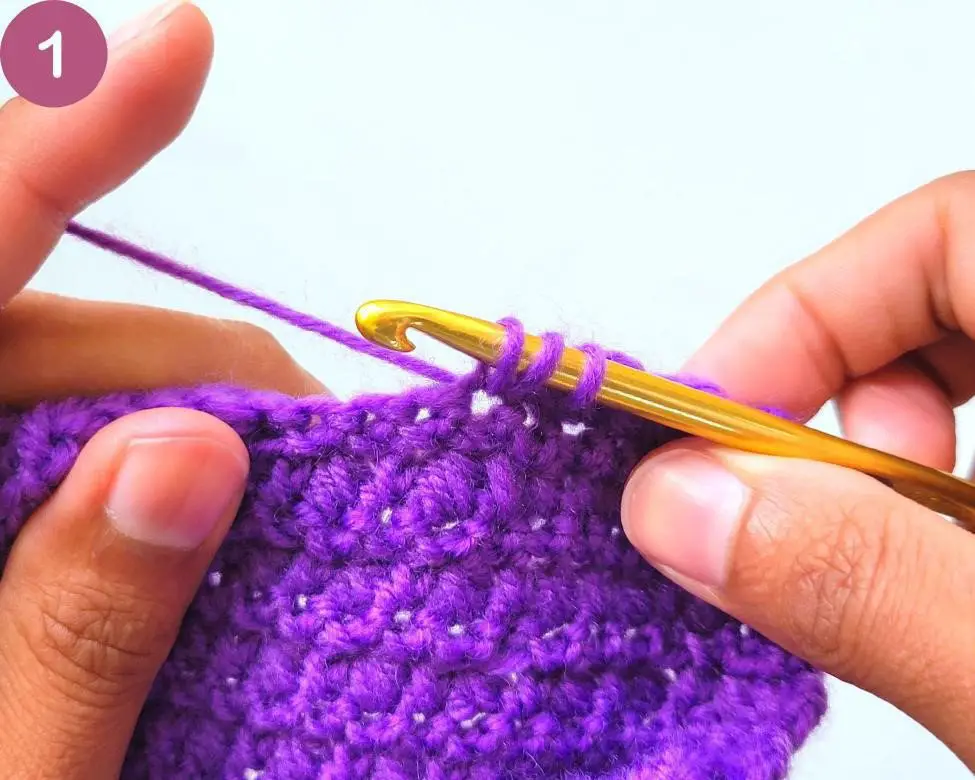
1. Yo, insert the hook into the next stitch and pull up a loop.
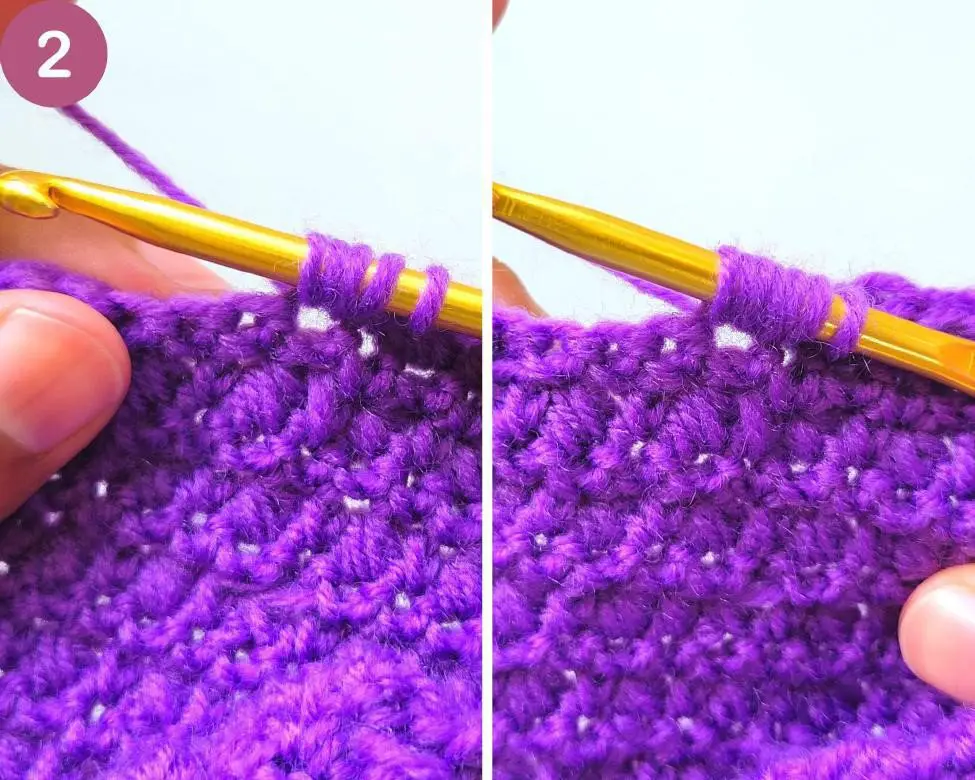
2. Repeat the previous step 2 more times. You should have 7 loops on your hook.
3. Yo and pull the hook through all 7 loops.
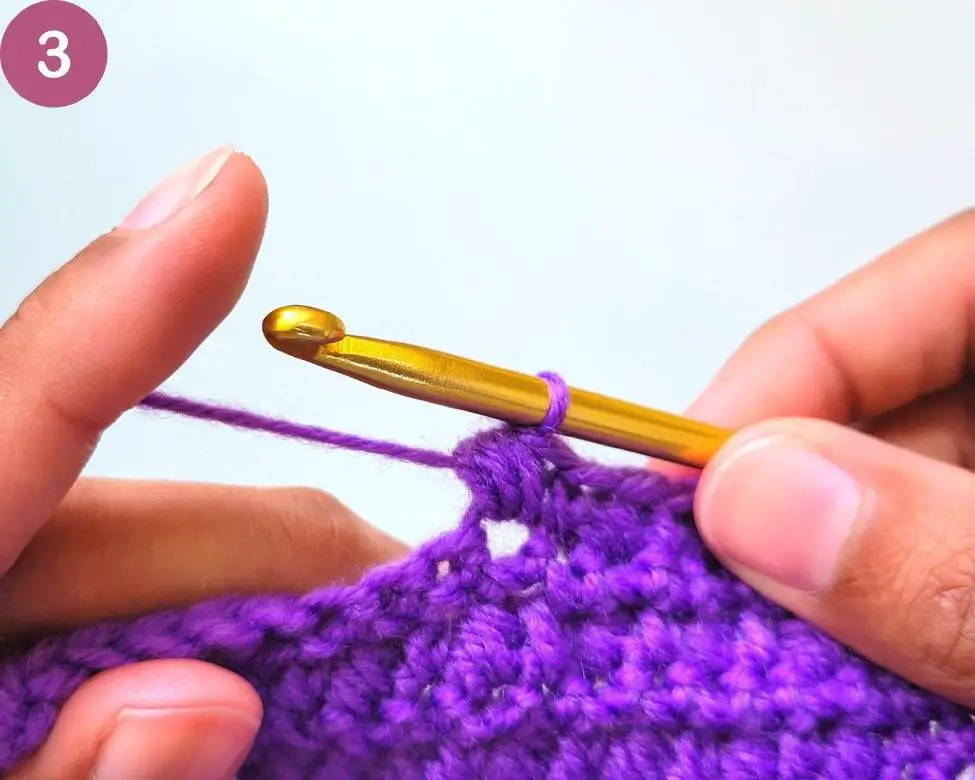
The stitch is pretty simple once you get the hang of it. The trickiest part is making sure you pull the hook through all 7 loops without getting it caught.
I find it helps to make sure you don’t keep the tension too tight and stretch the loops a little bit before you pull the hook through.
Pebble Crochet Stitch Picture Tutorial
Here is the full pebble crochet stitch tutorial with pictures to help you follow along:
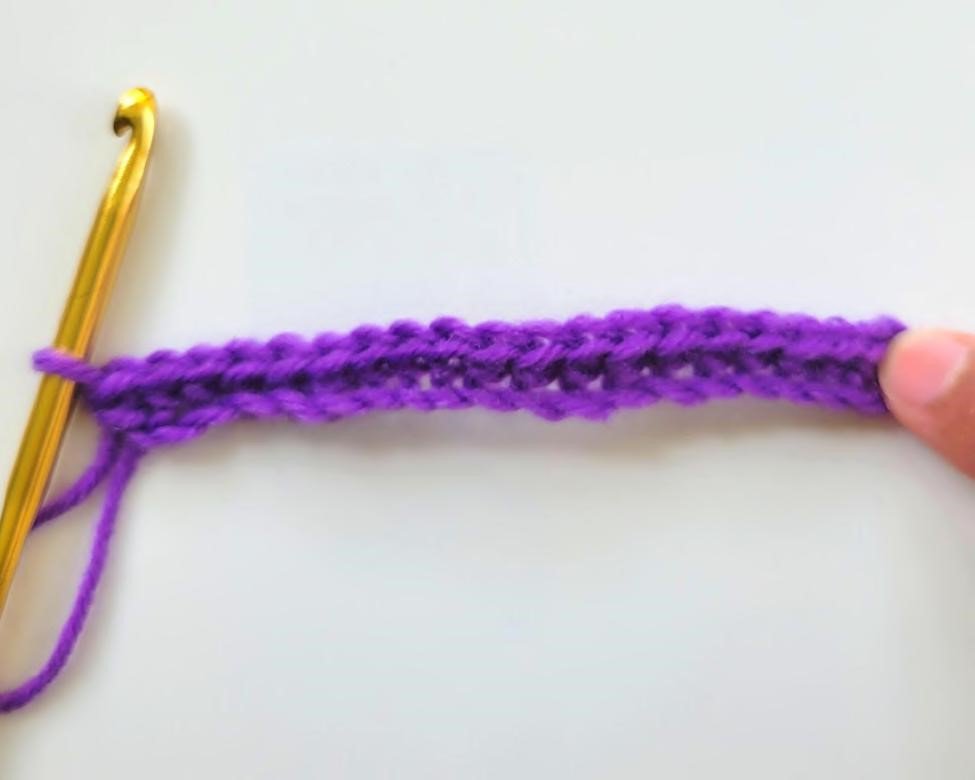
Row 1: ch an even number of stitches. For this tutorial, I started with 20 stitches.
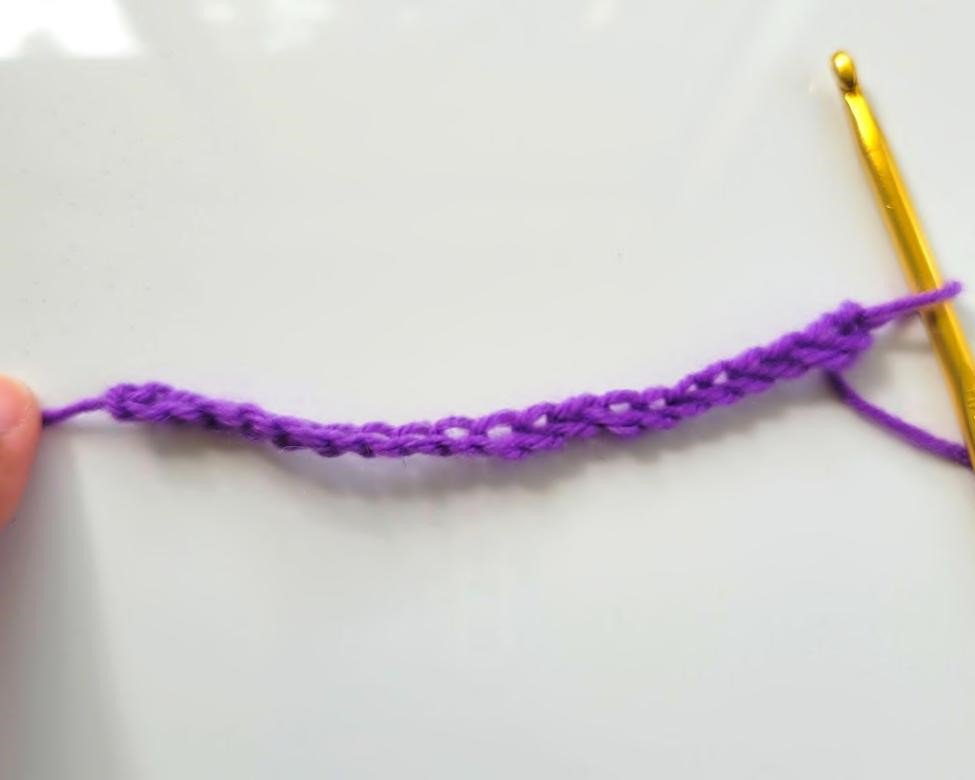
Row 2: sc in the 2nd stitch and sc to the end of the row.
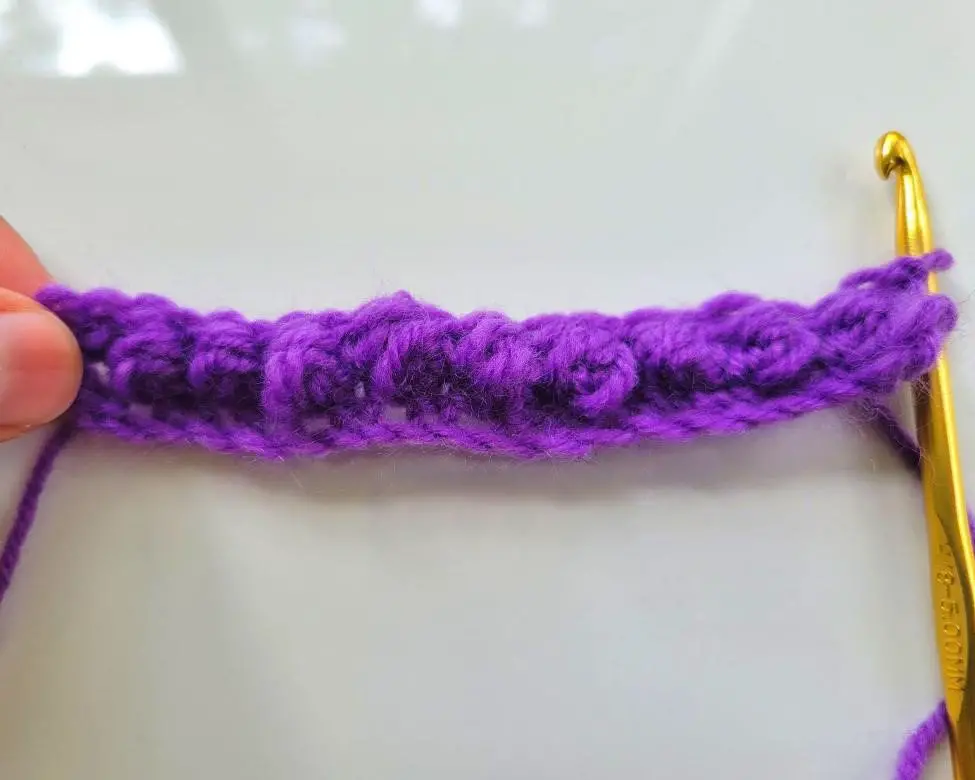
Row 3: ch 1 and turn. Sc in the first stitch. Puff in the next stitch. Alternate sc and puff to the end of the row.
Row 4: ch 1 and turn. Sc to the end of the row.
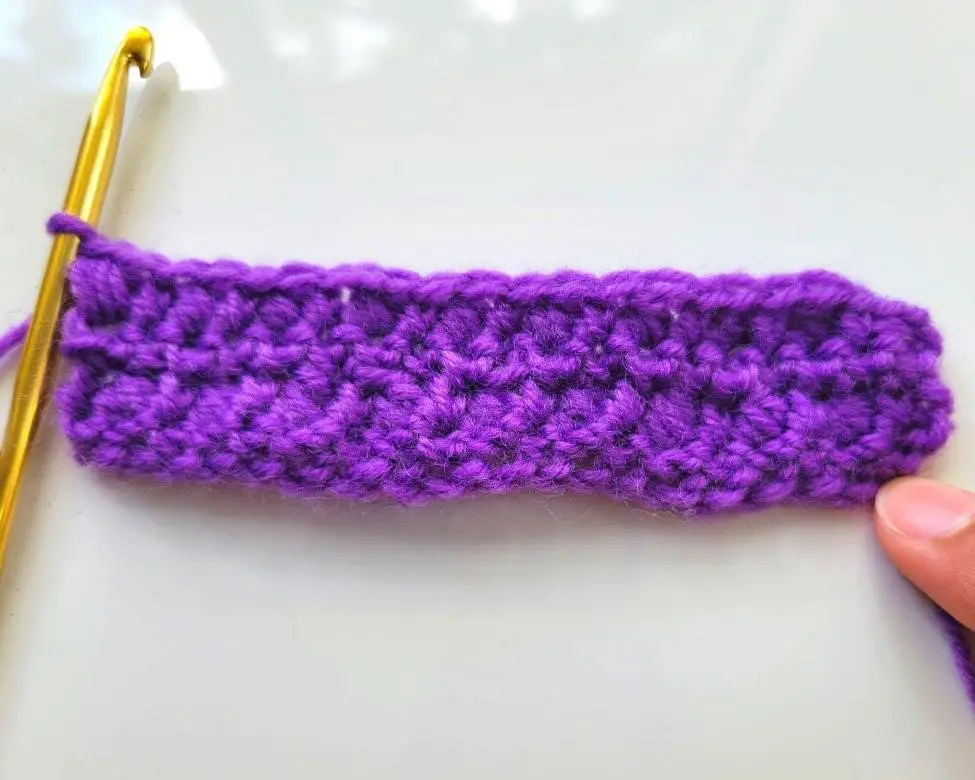
Row 5: ch 1 and turn. Sc in the first 2 stitches. Puff in the next stitch and then sc in the next stitch. Alternate puff and sc to the end of the row. Be sure to end the row with an sc stitch.
This is what it should look like on the wrong side at the end of this row.
Row 6: ch 1 and turn. Sc to the end of the row.
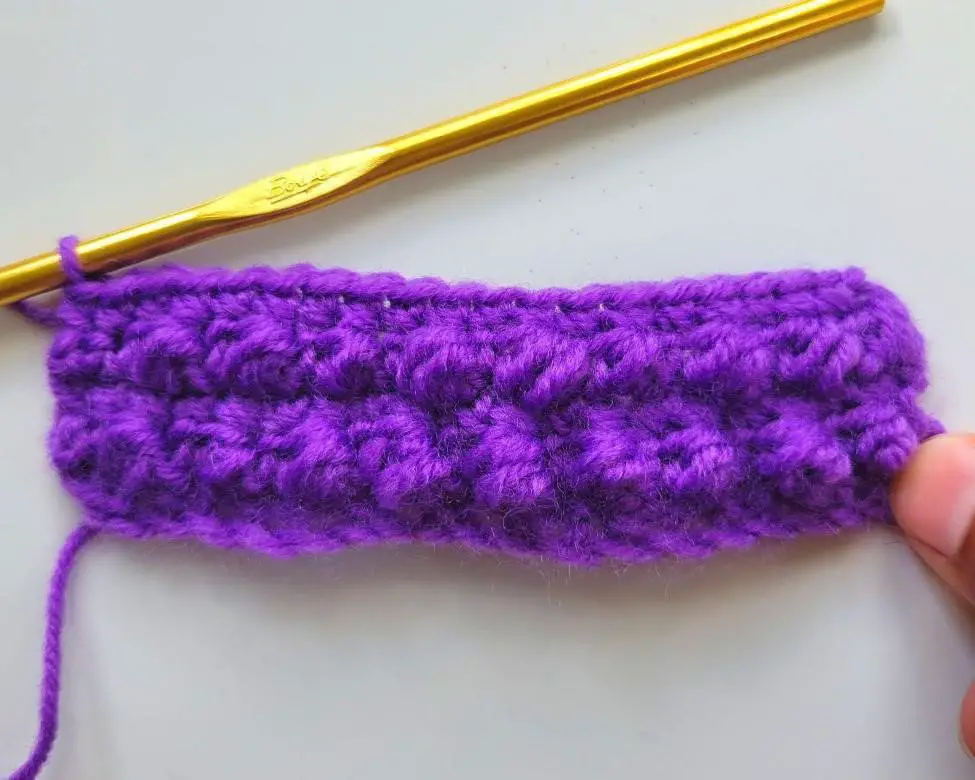
Row 7+: repeat rows 3-6 until the desired length is reached. Be sure to end your project on a row of sc stitches to create a top border that matches the bottom.
Tips for Working the Pebble Crochet Stitch
Here are some tips to make sure your pebble crochet stitch comes out well.
- Start your project with an even number of stitches.
- Don’t count the ch 1 as your first stitch.
- Keep your tension light so you have enough room to work the puff stitch.
- Always end your rows with a single crochet stitch.
- This pattern produces a wrong side and a right side. The right side shows the raised pattern.
- Finish the project on a row of single crochet stitches.
FAQs About the Pebble Crochet Stitch
Here are some frequently asked questions about the pebble crochet stitch.
Can I use any yarn with this stitch?
Yes, you can use any type of yarn you want. Just make sure to match the size of your hook to the weight of your yarn.
Do I have to use a puff stitch for this pattern?
No, you can use another type of stitch to create the raised effect. The ones that would turn out best would be the extended single crochet, bobble, or popcorn stitch.
What is the best way to finish this stitch?
The best way to finish the pebble crochet stitch is by ending on a row of single crochet stitches. You can then bind off or continue on to another project.
How do I stop my project from curling?
A common cause of curling with a crochet project is the tension is too tight or the hook your using is too small. Try using a bigger hook or loosen up your stitches.
If that doesn’t work, you could try blocking your project when you’re done, if the yarn you used is safe to get wet.
I hope you enjoyed this pebble crochet stitch tutorial. If you have any questions or comments, please feel free to leave them below.
And don’t forget to share your finished projects with me on Instagram (@crochetgasm) – I can’t wait to see what you make!
Happy crocheting!


