Hello and welcome! I really like the shell stitch. It is pretty and adds a lot of interest to projects. There are several variations of the Shell Crochet Stitch and today I thought it might be fun to explore a few of them. Shell stitches can be used in afghans, hats, garments, baby items, décor, and many other projects.
All you need to know is how to crochet a chain stitch, slip stitch, single crochet, and double crochet. Check out my blog Crochet Tutorial #1 – Basic Crochet Stitches if you need to learn how to crochet or need to brush up your skills.

Each variation of the crochet shell stitch begins with a foundation chain. The patterns call for a set number of stitches plus the beginning stitch. For example, the Iris Stitch is worked on sets of 4 chain stitches plus 1 chain stitch plus 2 chain stitches. This means you will need to crochet sets of 4 chain stitches to make the foundation chain the correct length.
Let’s say your gauge is 5 stitches per inch. You want to make a blanket which is 36 inches wide. Since each inch contains 5 stitches, take the total inches desired, 36, and multiple it by how many stitches are in an inch, 5. 36 time 5 equals 180.
So, 180 stitches will give you a width of 36 inches. Now to figure out how many sets of chain stitches you need for the Iris pattern divide 180 by 4 which equals 85. There will be 85 sets of 4 stitches to make 36 inches. Once you have the 180 chain stitches crocheted, crochet 3 more chain stitches to accommodate the plus 2 and plus 1.
I know this sounds complicated but once you get used to figuring out the foundation stitch length, it makes a lot more sense. Basically, take the number of stitches in the pattern repeat and your yarn’s gauge to figure out how many foundation stitches you will need for the width you desire.
Solid Crochet Shell Stitch
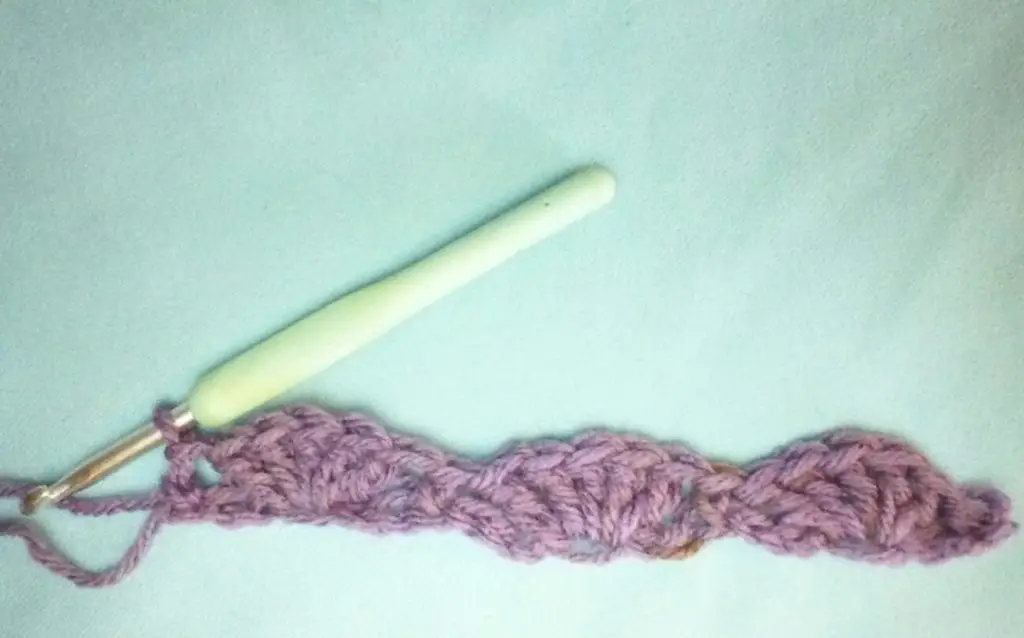
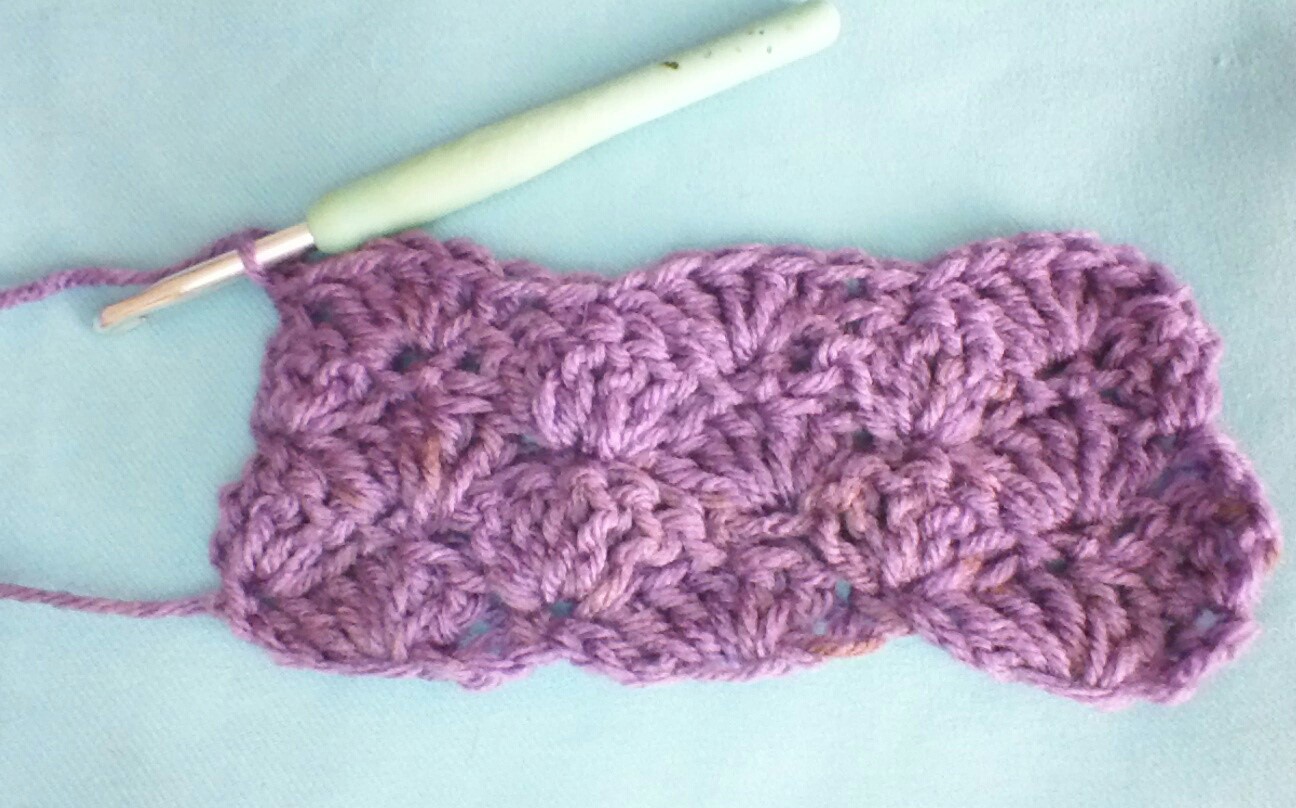
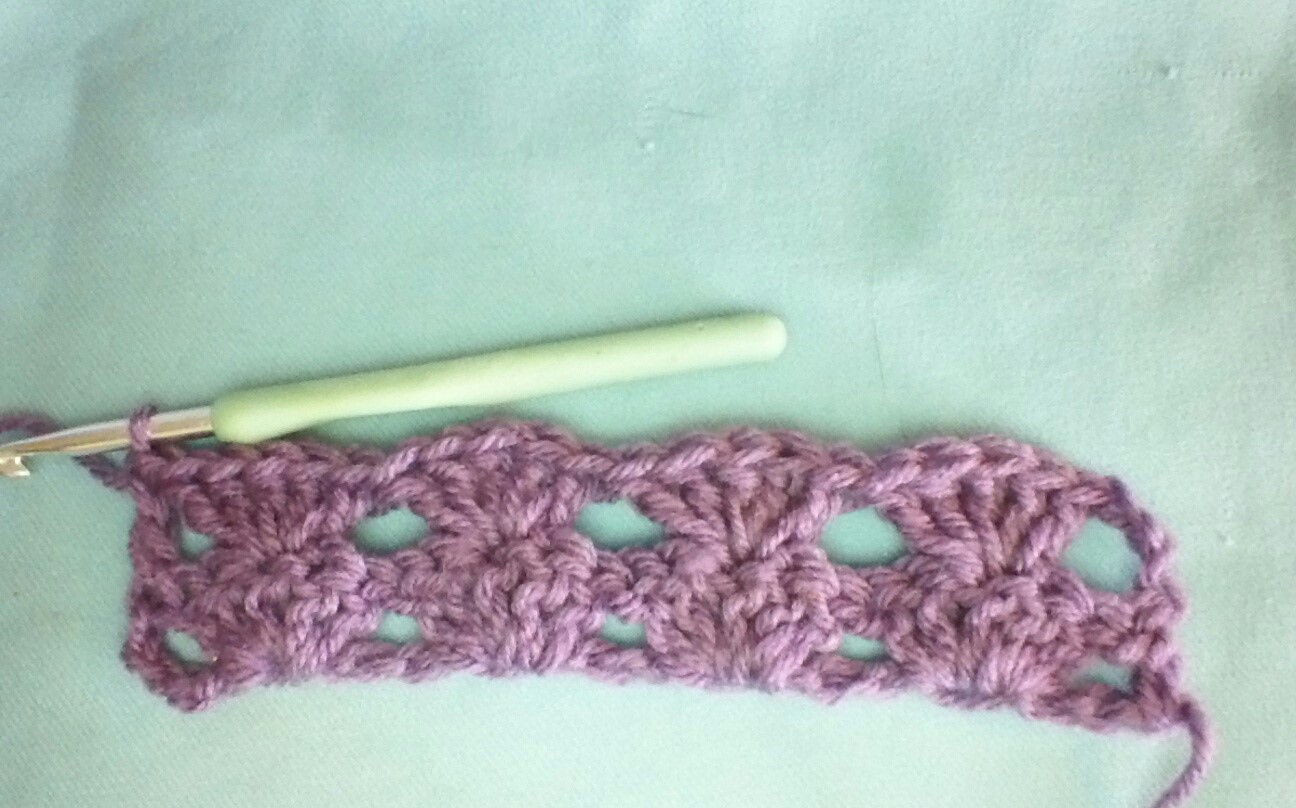
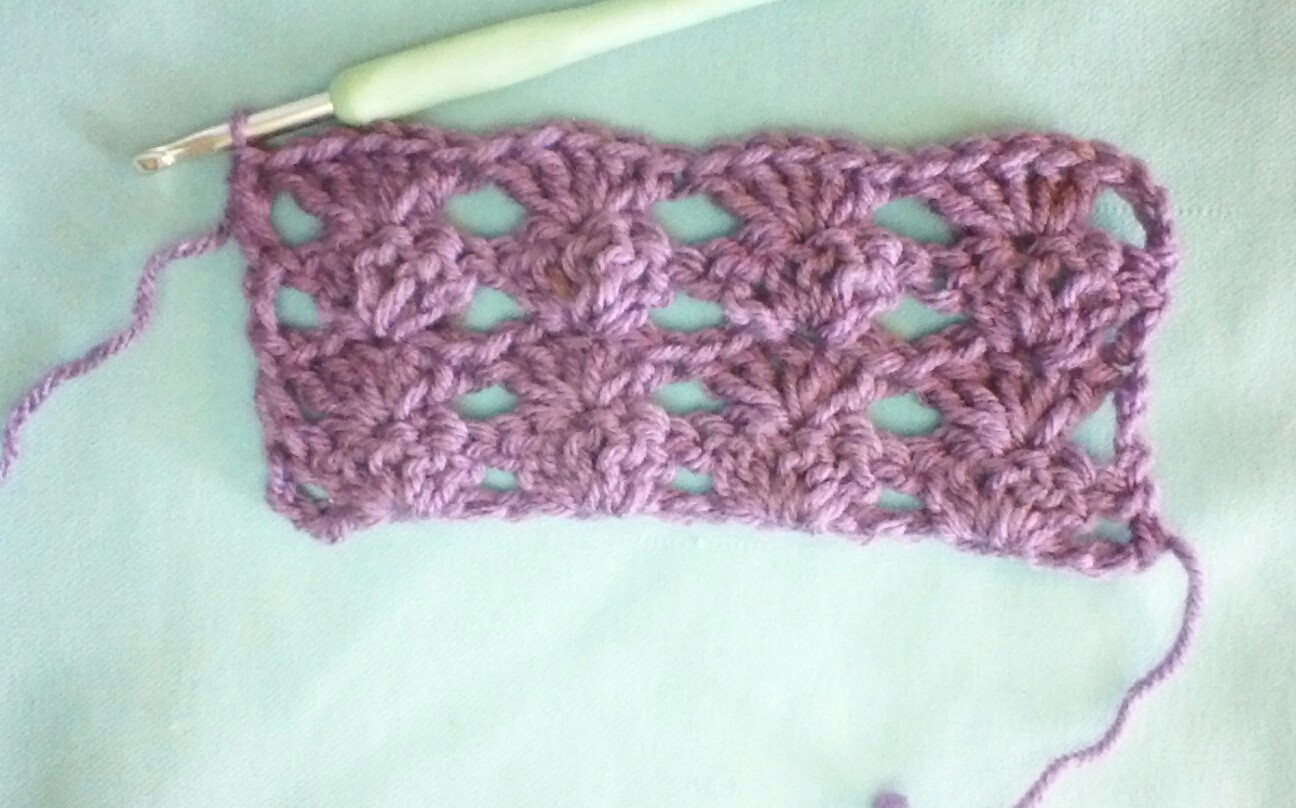
The solid shell crochet stitch creates a nice semi-dense fabric. The shells are offset meaning they don’t line up vertically but are worked between each other as the rows progress.
To begin crochet sets of 6 plus 5
Row 1: sc into the 2nd ch st *sk 2 sts, 5dc into next st, sk 2 sts, sc into next st* rep across to last 3 sts, sk 2 sts, dc into last st
Row 2: ch3, 2dc into 1st st *sc into 3rd dc of next shell, 5 dc into sc* rep across, 3dc into last st
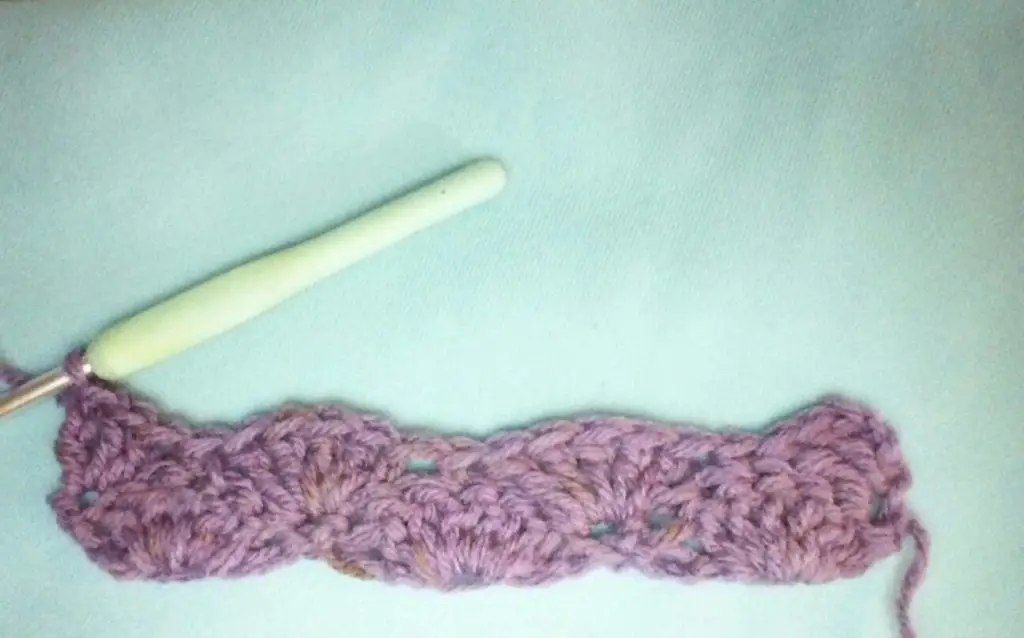
Row 3: ch1 *5dc into sc, sc into the 3rd dc of the next shell* rep across, sc into last st
Repeat Rows 2 and 3 until desired length is reached.
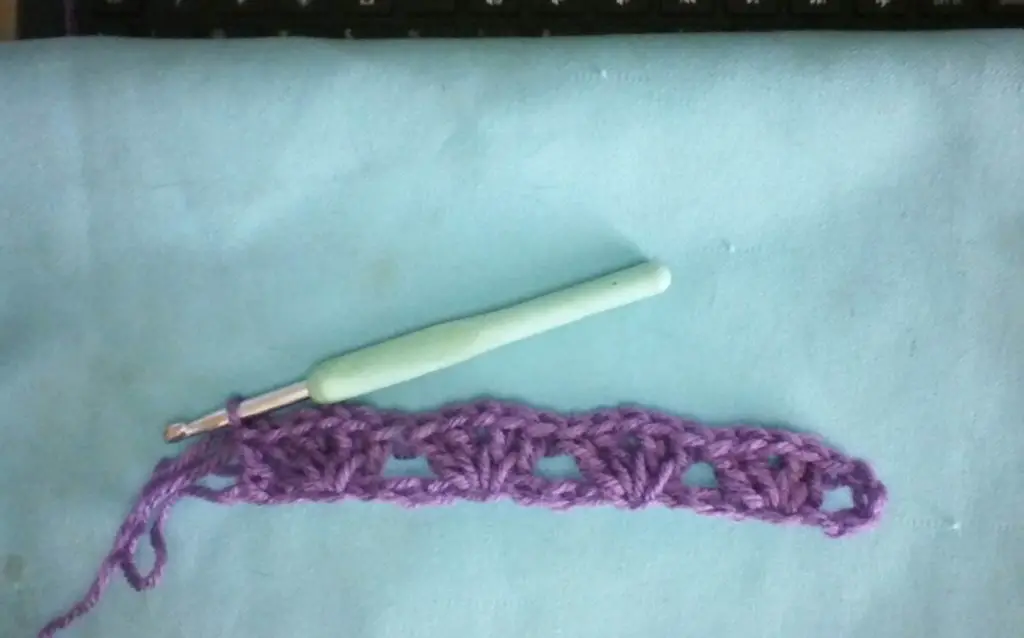
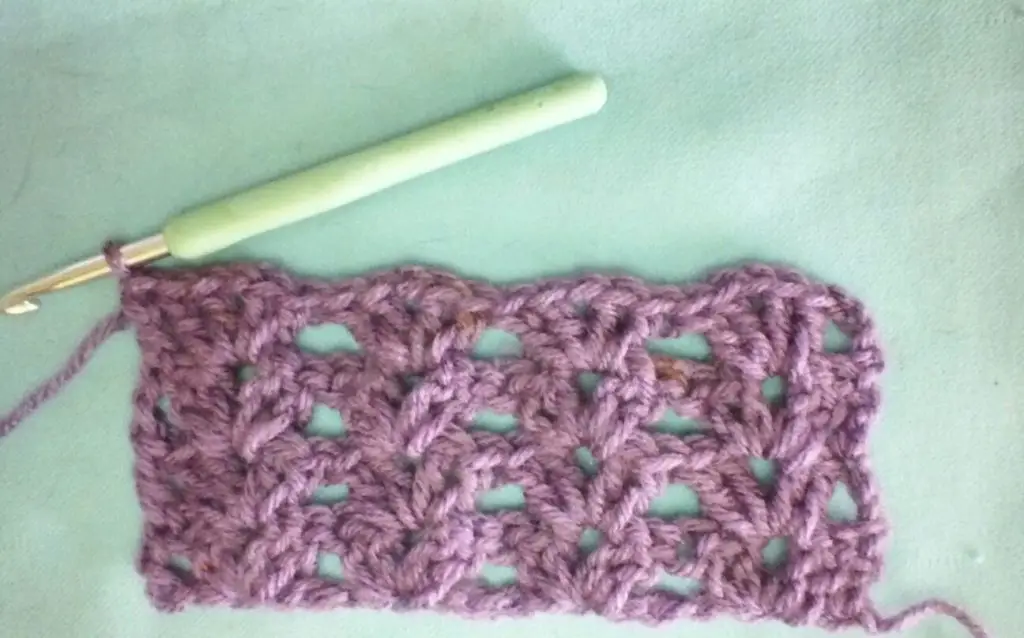
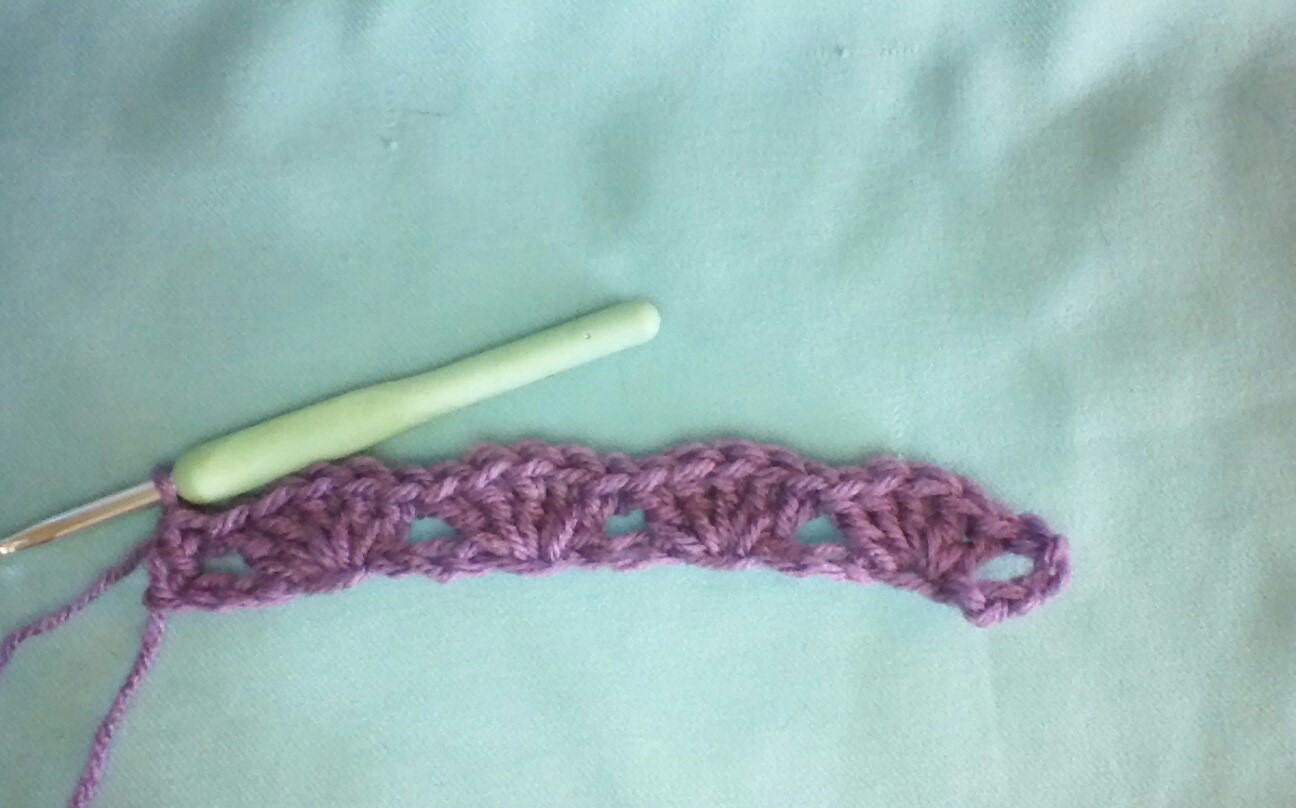
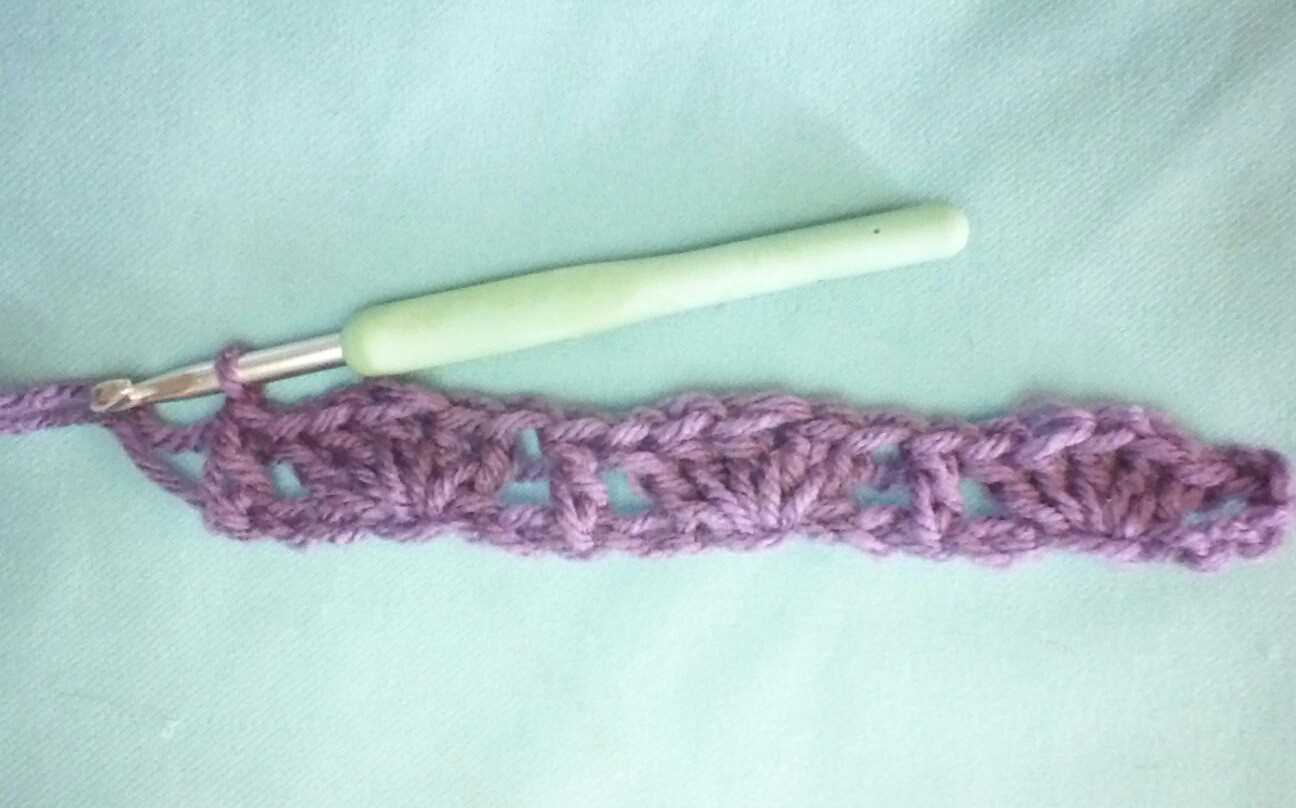
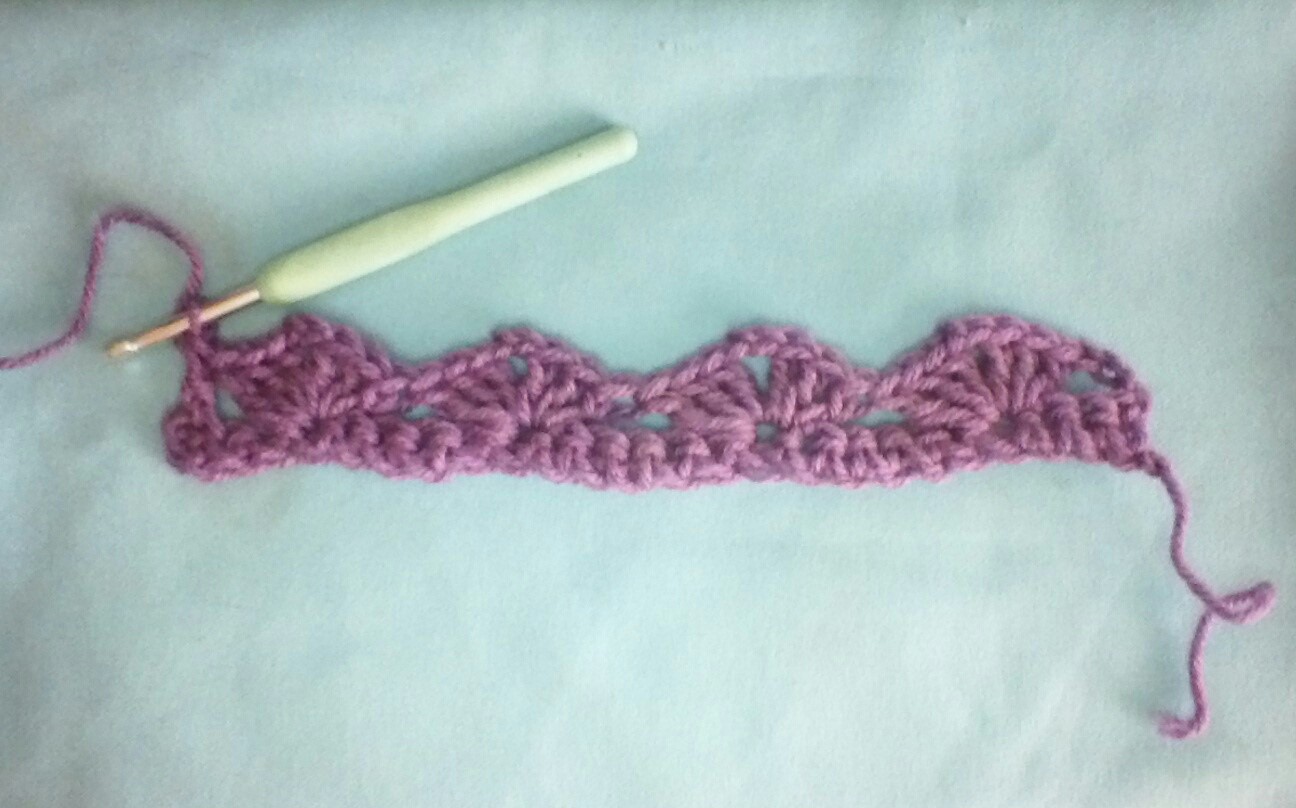
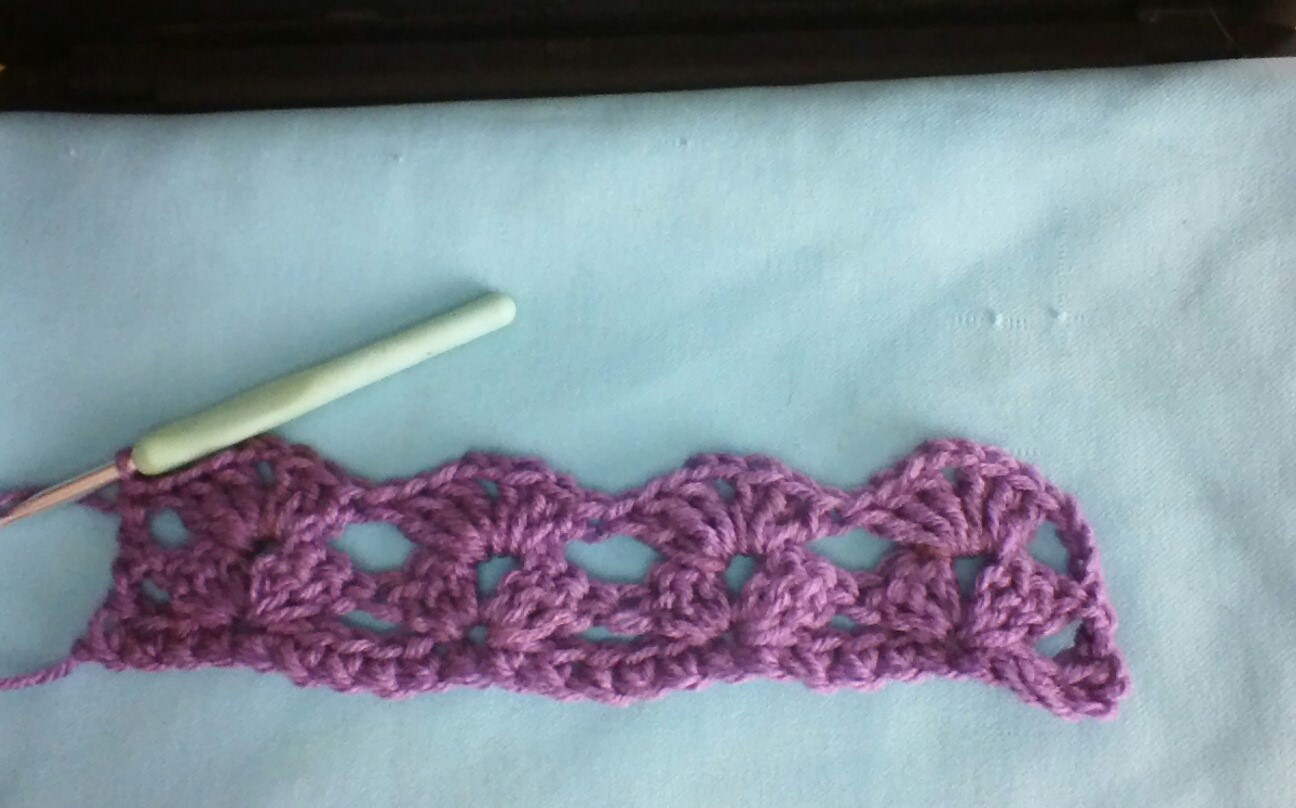
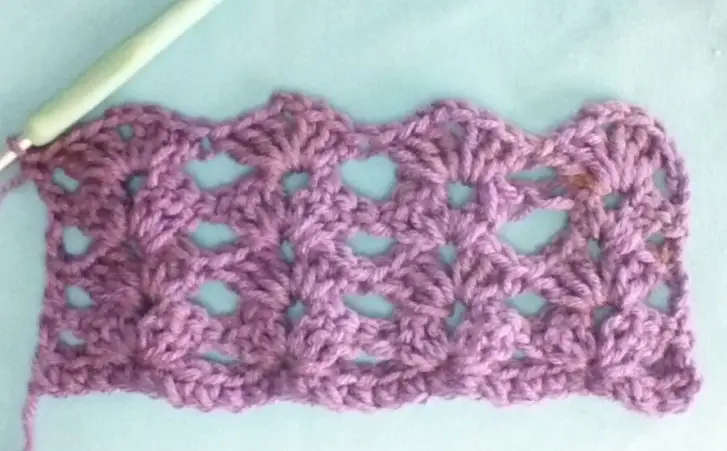
Iris Shell Crochet Stitch
This is a pretty shell variation that looks like shells and eyelets. Shells are worked into the chain 1 of the previous row, and Row 2 is repeated until the desired length is reached.
To begin crochet sets of 4 plus 3
Row 1: Into 5th ch work (2dc, ch2, 2dc) *sk3 sts (2dc, ch1, 2dc) into next st* rep across to last 2 sts, dc into last st.
Row 2: ch3, sk 2 sts *(2dc, ch1, 2dc) into each ch1 sp* to last 3 sts, sk 2 sts, dc into last st
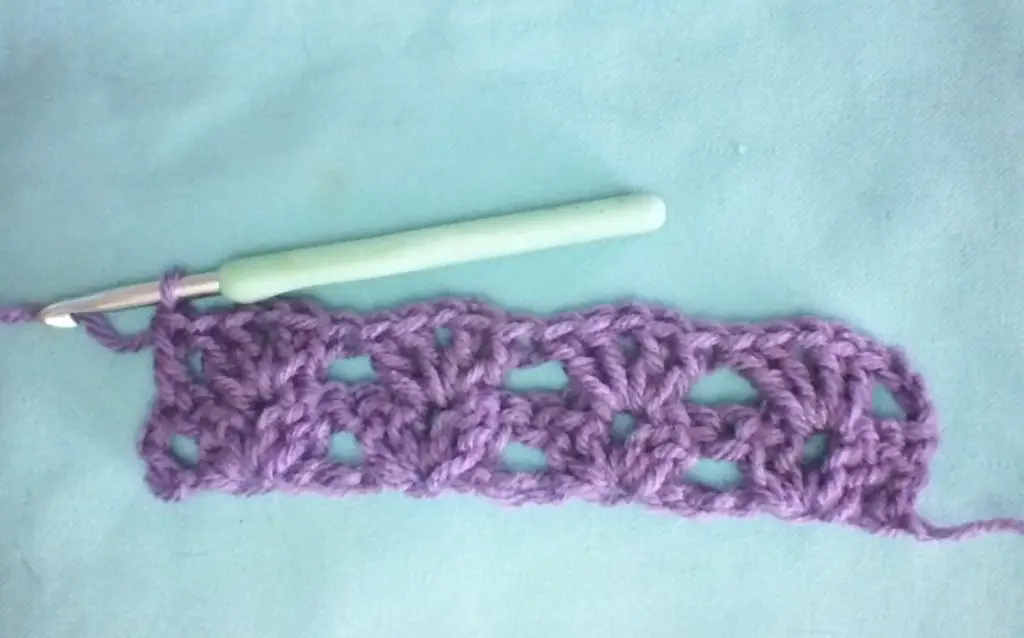
Repeat Row 2 to desired length
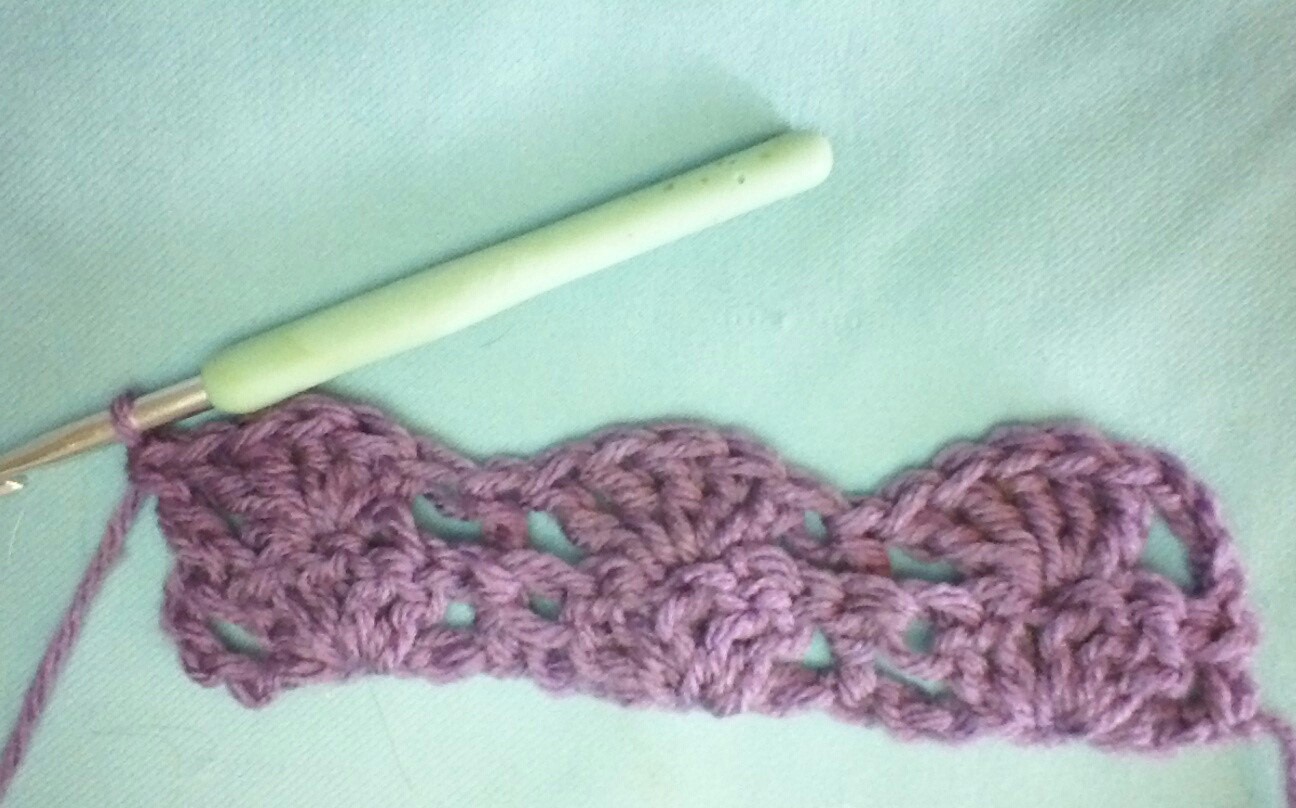
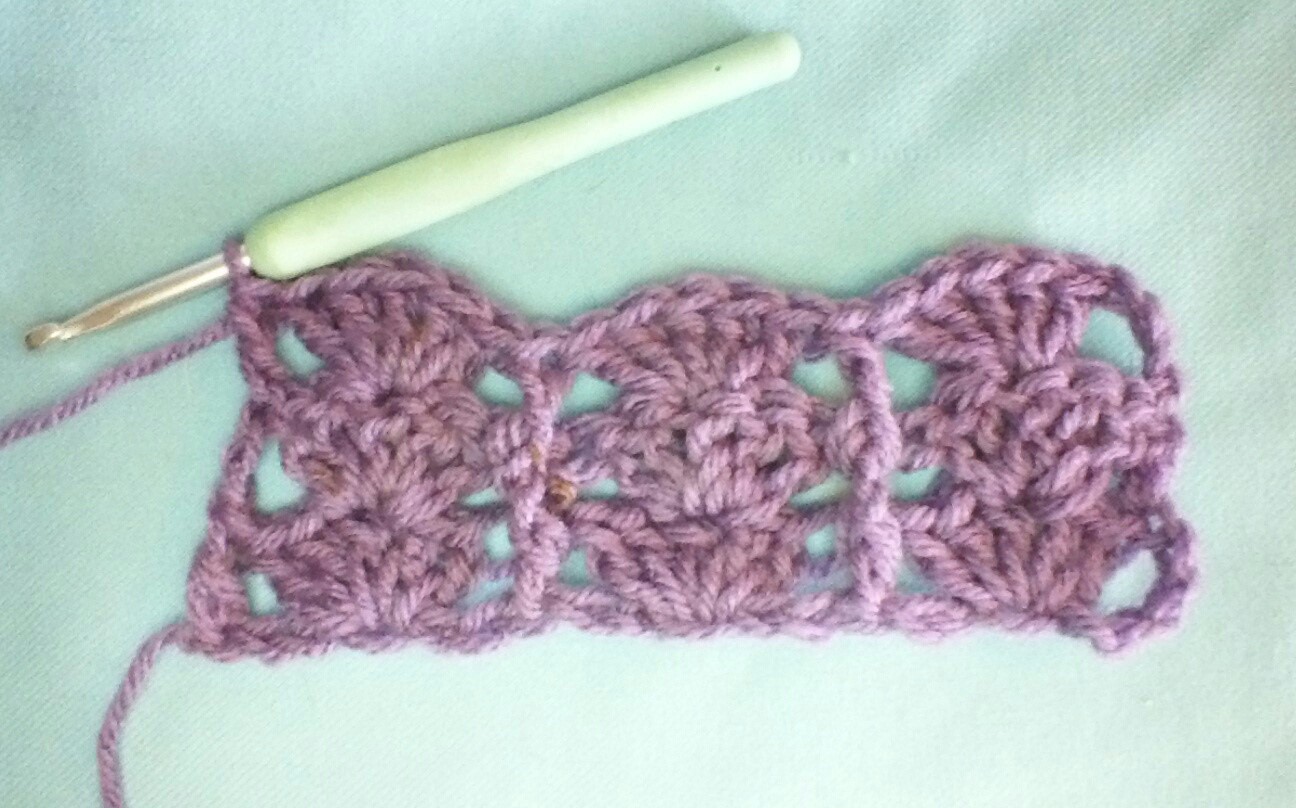
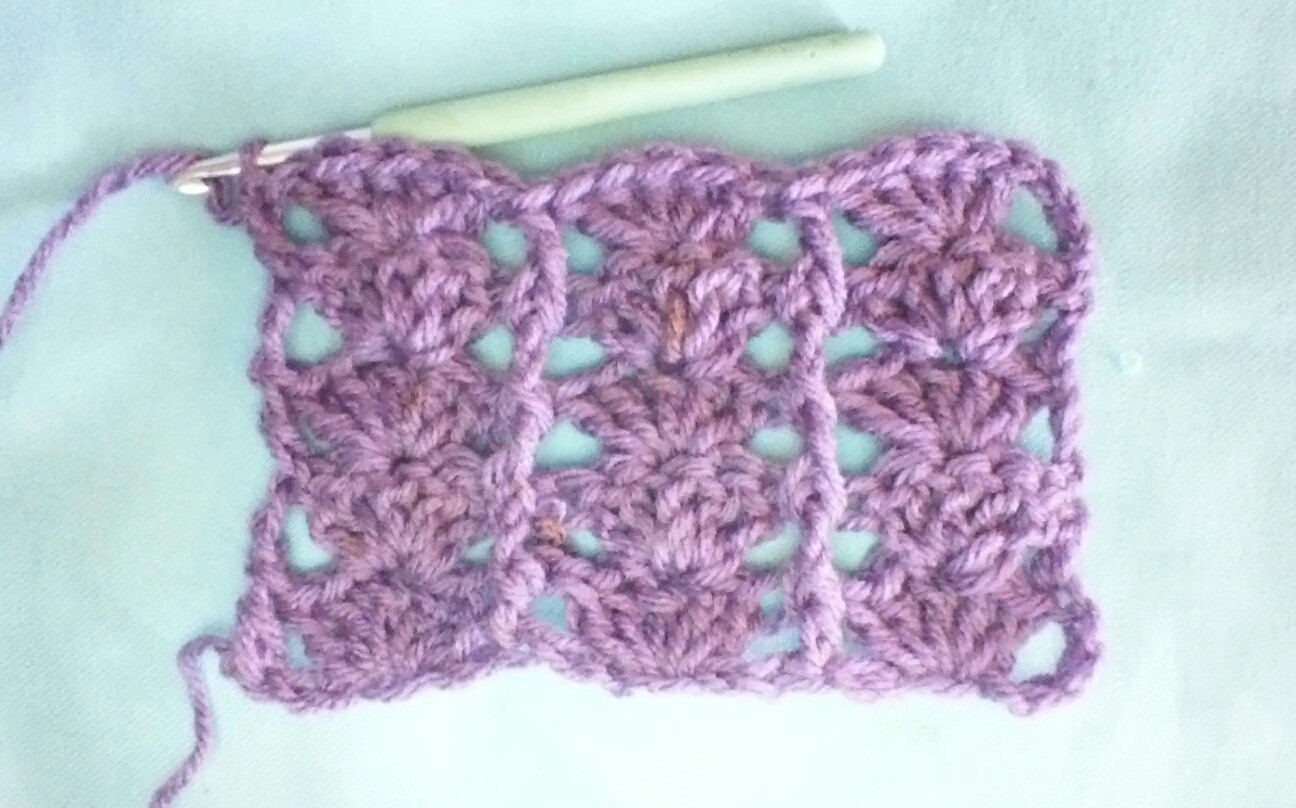
Stacked Shell Crochet Stitch
The stacked shell stitch is another pretty variation which the shells are worked into the 3rd double crochet of the previous row so that the shells stack upon each other. Row 2 is also repeated until you reach the desired length.
To begin chain sets of 5 plus 3
Row 1: 5dc into the 6th ch st *sk 3 sts, 5dc into the next st* rep to last 3 sts, dc into last st
Row 2: ch3, 5dc into the 3rd dc of each shell, rep across, dc into 3rd ch st
Repeat Row 2 until desired length is achieved.
Shells and Ladders Crochet Stitch
This pattern uses back and front post crochet stitches to form “ladders” between the shells.
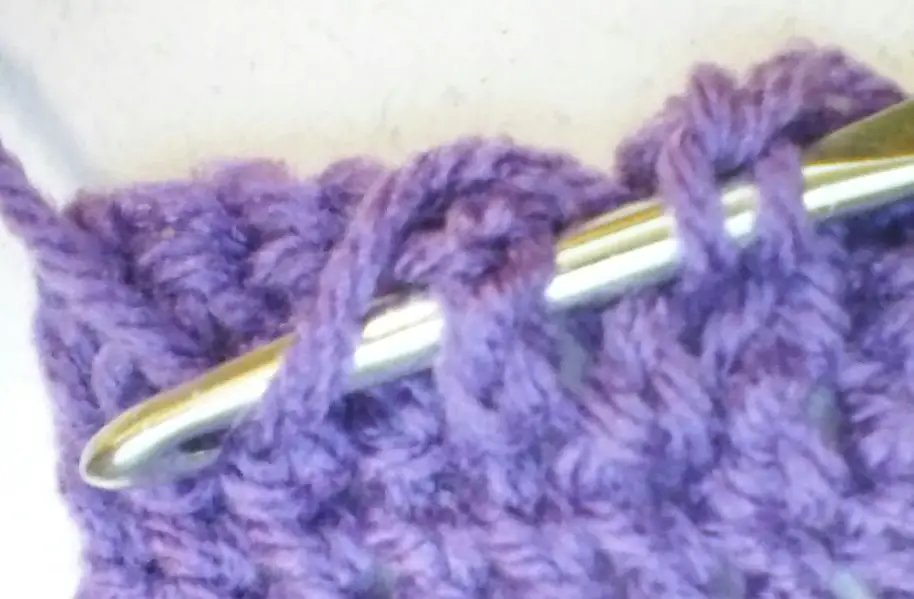
Bpdc – A back post crochet stitch is worked by yarn over, insert the hook from the back to the front around the post of the next stitch. Yarn over and pull the yarn up around the post. Yarn over and draw through the first 2 loops, yarn over and draw through the last 2 loops on the hook to complete the stitch.
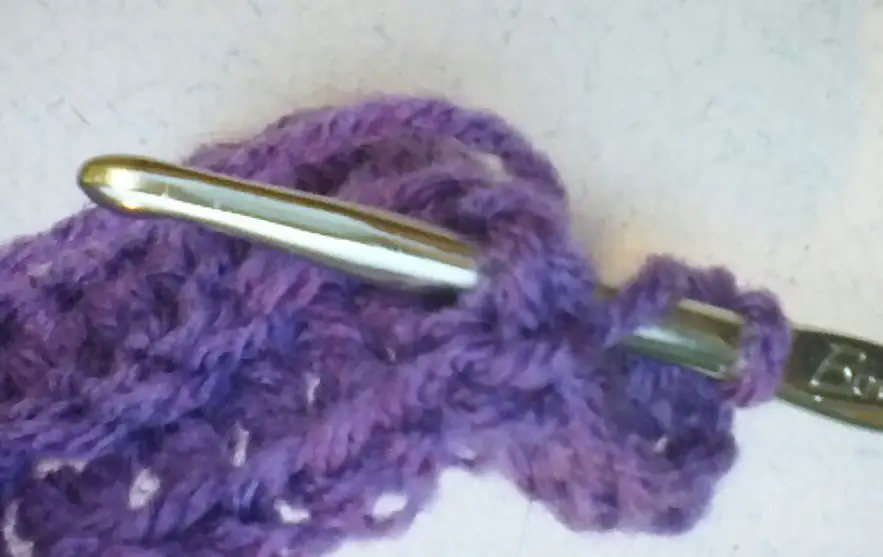
Fpdc – A front post crochet stitch is worked by yarn over, insert the hook around the post of the next stitch from the front to the back. Yarn over and pull the yarn up around the post. Yarn over and draw through the first 2 loops, yarn over and draw through the last 2 loops on the hook to complete the stitch.
To begin crochet sets of 4 plus 5
Row 1: 5dc into 6th ch *sk2 sts, dc into next st, sk 2 sts, 5dc into next st* rep across, sk 2 sts, dc into last st
Row 2: ch3, *5dc into the 3rd dc of the next shell, sk 2 sts, bpdc around the next st, sk 2 sts* rep across, dc into last st
Row 3: ch3, *5dc into the 3rd dc of the next shell, sk 2 sts, fpdc around the next st, sk 2 sts* rep across, dc into last st
Repeat Rows 2 and 3 to desired length.
Lacy Crochet Shell Stitch
This is another very pretty shell stitch variation. Large shells are used to create a lacy pattern perfect for afghans and blankets. The large shell is composed of 3 double crochet, chain 2, 3 double crochet all worked into one stitch. Once you have the first row of shells crocheted, the shells are then worked into the chain 2 spaces of the shell in the previous row.
Begin by chaining sets of 6 plus 3
Row 1: sc into 3rd ch, sc across
Row 2: ch3, shell (3dc, ch2, 3dc) into 4th st, work shell into each ch2 sp, dc into last st
Row 3: ch3, shell into each ch2 sp, dc into last 3rd ch
Repeat Row 3 until desired length is achieved.
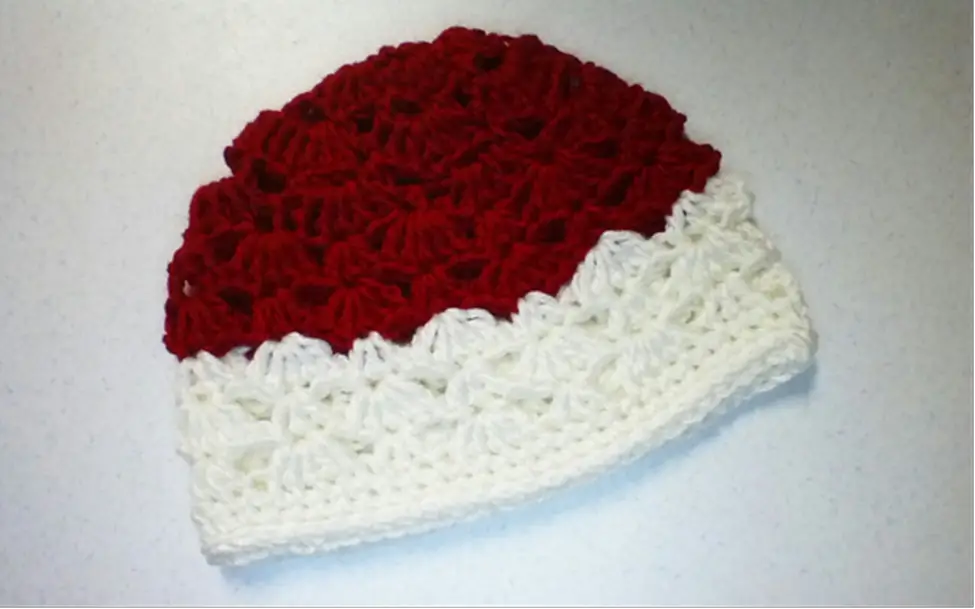
Free Pattern!
Shell Cloche Hat
Now that we’ve had fun with some shell variations I thought I’d include a free pattern. You’ll need two colors of medium weight yarn, a size I/9 5.5mm crochet hook, and a tapestry needle to weave in the tails. The sample was crocheted with cotton yarn, but any medium weight yarn will do.
With Color B create a magic circle and ch3, 11dc into circle, close and join to 3rd starting chain
Rnd 1: ch3, 2dc into same sp, sc, *3dc, sc* repeat round, join
Rnd 2: sl st into 2nd dc of 1st cluster, *ch3, sc into sc, ch3, sc into 3nd dc of cluster* repeat, join
Rnd 3: sl st into ch3 sp, ch3, 4dc into same ch3 sp, *sc into next ch3 sp, 5 dc cluster into next ch3 sp* repeat around ending with 5dc cluster into last ch3 sp, sc into sc, join into 3rd chain of turning chain.
Rnd 4: sl st into 3rd dc of 1st cluster, *ch3, sc into sc, ch3, sc into 3rd dc of next cluster* repeat around, join
Rnd 5: Repeat Rnd 3
Rnd 6: ch3, 4dc into same sp, *3dc into 3rd dc of next cluster, 5dc into sc* repeat around, join
Rnd 7: sl st into 3rd dc of 1st cluster, ch3, 2dc in same sp, *5dc into 2nd dc of 3dc cluster, 3dc into 3rd dc of 5dc cluster* repeat around, join and fasten off.
Rnd 8: Join Color A in 2nd dc of a 3dc cluster, ch3, 4dc into same st, *3dc into 5dc cluster, 5dc into 3dc cluster* repeat around, join
You can find the matching dress and jacket in the book Summer Shells and Star Stitch Dress Ensemble. Crochet a Cute Summer Set with a Matching Dress, Jacket, Hat, and Sandals, by Cynthia Welsh.
End Notes
Thanks again for stopping by today. I hope you have enjoyed learning a few of my favorite crochet shell stitch variations. Do you have a favorite? Please share with us in the comments. Also, if you have an idea for a future blog, or a skill you’d like to learn, please let me know I will do my best to include it very soon.
Until next time, take care and keep on hooking!


