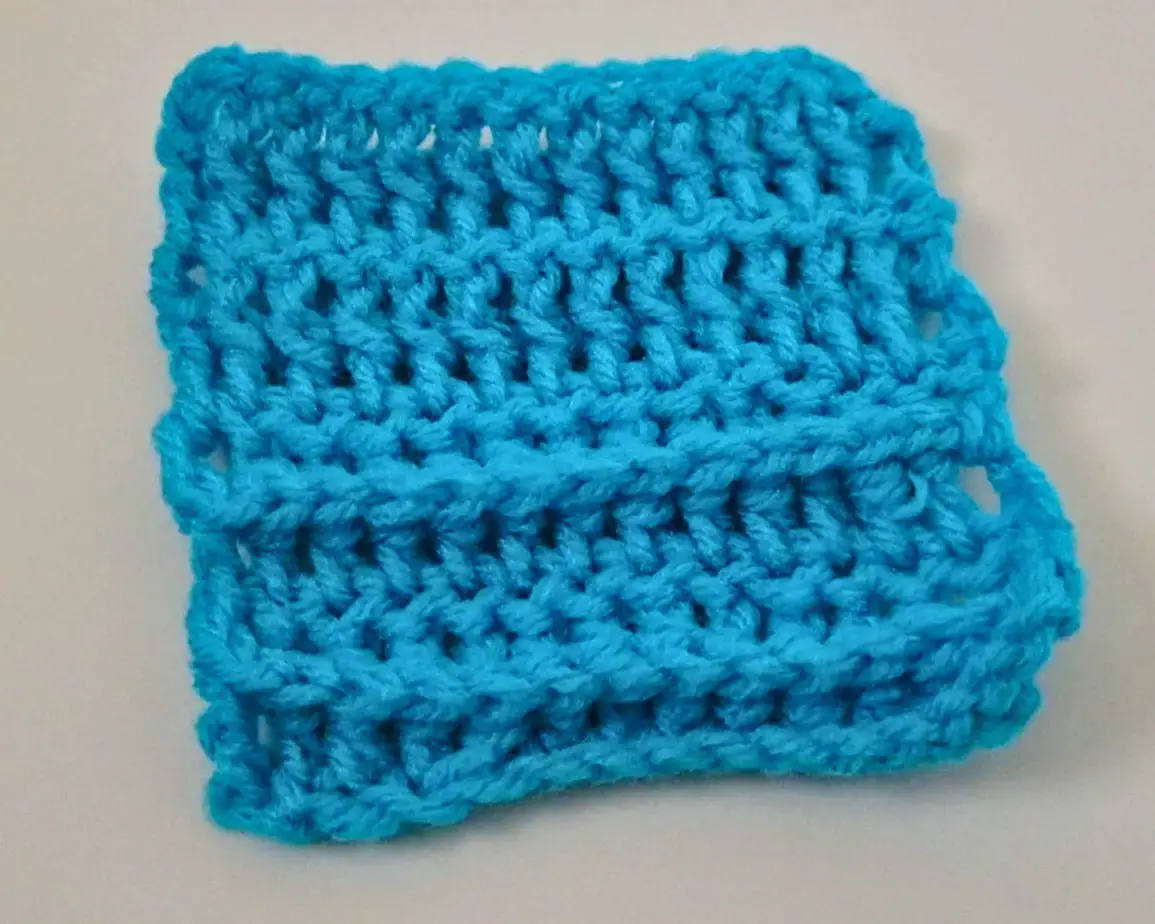
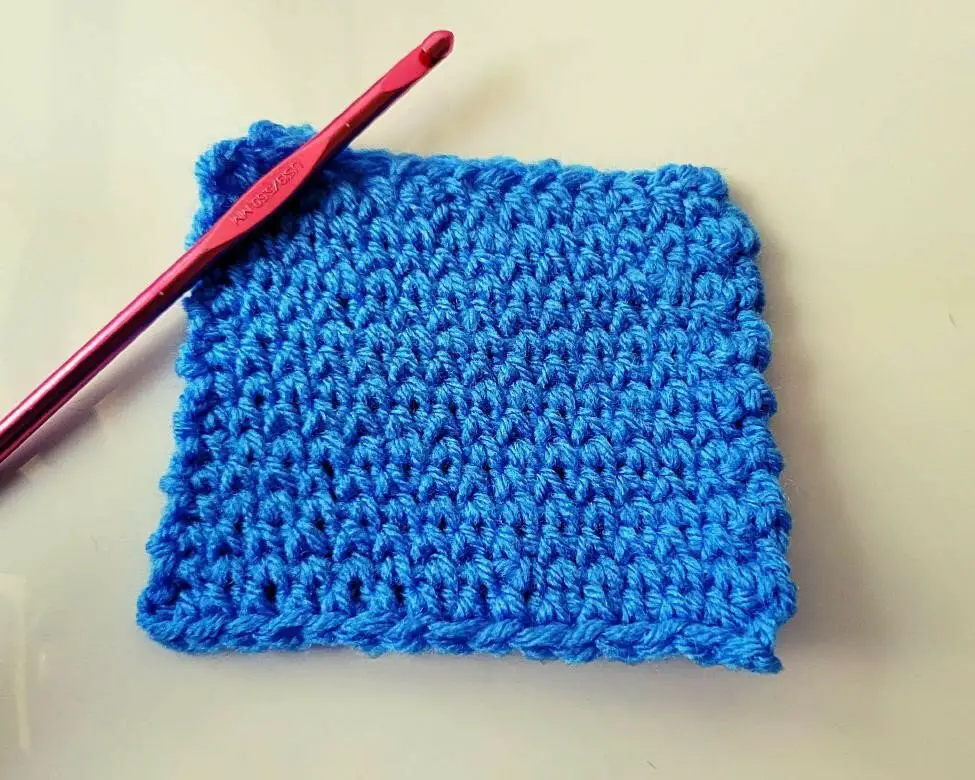
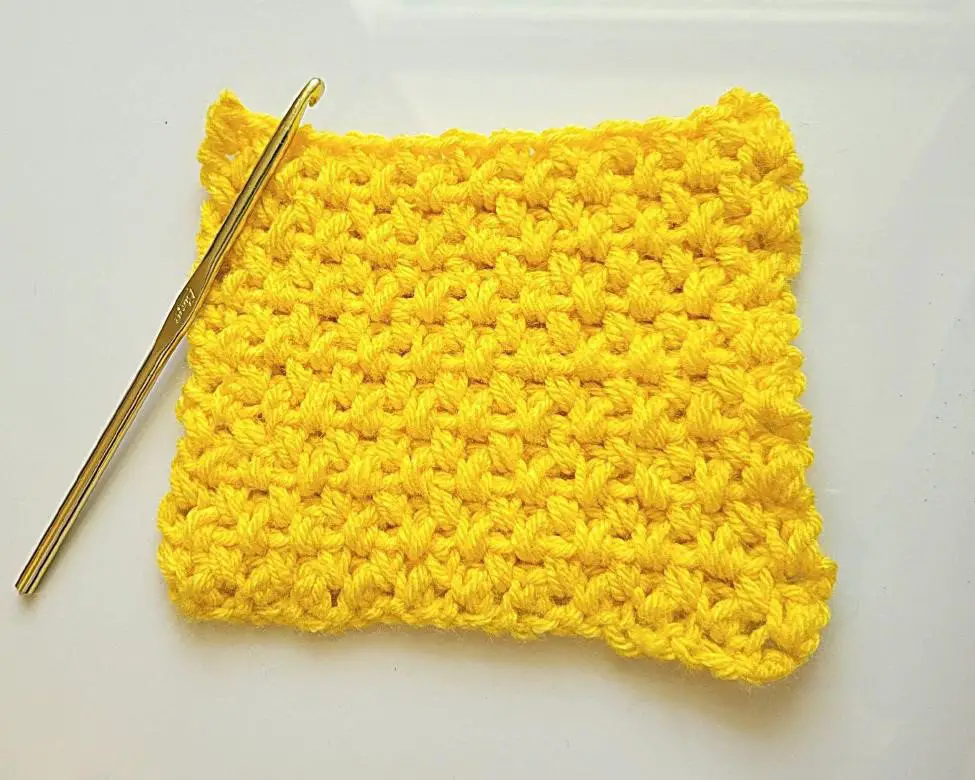
The Go-to Guide on How to Crochet the Catherine Wheel Stitch
Hello, and thanks for stopping by! Do you have your favorite stitches you like to crochet? I have a few. Today I thought I’d post a tutorial on the Catherine Wheel Stitch. This is a real yarn eater, but the finished crochet project is very pretty. You can use two colors for contrast or use as many colors as you like for a stunning finish.
The Catherine Wheel pattern is worked in two rows. We will use the following stitches:
Chain stitch – ch
Single crochet- sc
Double crochet – dc
Double crochet 7 together – dc7tog
If you need to learn how to crochet, check out my crochet tutorials.
Crochet Tutorial #1 – Basic Crochet Stitches
Crochet Tutorial #2 – Working with Color
Crochet Tutorial #3 – Intermediate Stitches and Techniques
Double crochet 7 together (dc7tog) is worked across 7 stitches. Yarn over and insert the hook into the next stitch. Yarn over and pull through the stitch, yarn over and pull the yarn through the first 2 loops on the hook. Do not complete the stitch. There are now 3 loops on the hook.
Yarn over and insert the hook into the next stitch. Yarn over and pull the yarn through the stitch, yarn over and pull through the first 2 loops on the hook. Stop, do not complete the hook. There are now 4 loops on the hook.
Repeat this step 5 more times until you have 8 loops on the hook. Yarn over and pull the yarn through all 8 loops at once.

You will end up with 8 loops on the hook.
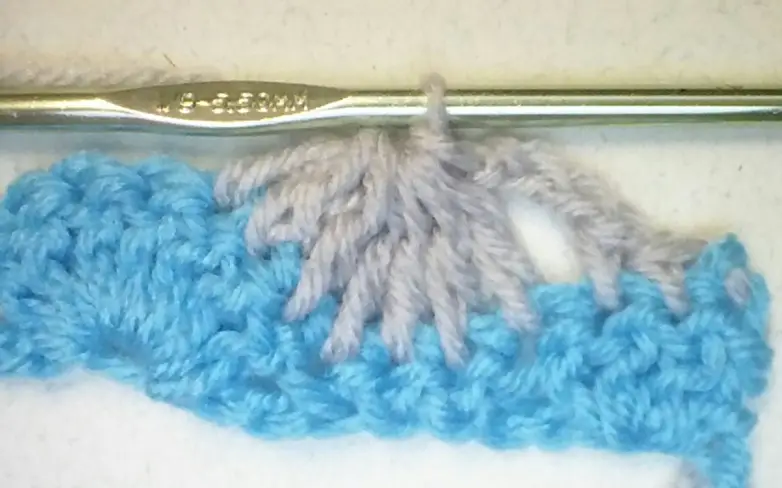
Completed dc7tog stitch
To begin chain sets of 10 plus 7 stitches. For this example I chained 37, three sets of 10 plus 7 in Color A.
Row 1: sk 1st ch, sc into 2nd ch *sk 3 ch sts, 7dc into the next st, sk 3 ch, sc into each of the next 3 sts* rep ending with 4 dc into the last ch, change to Color B
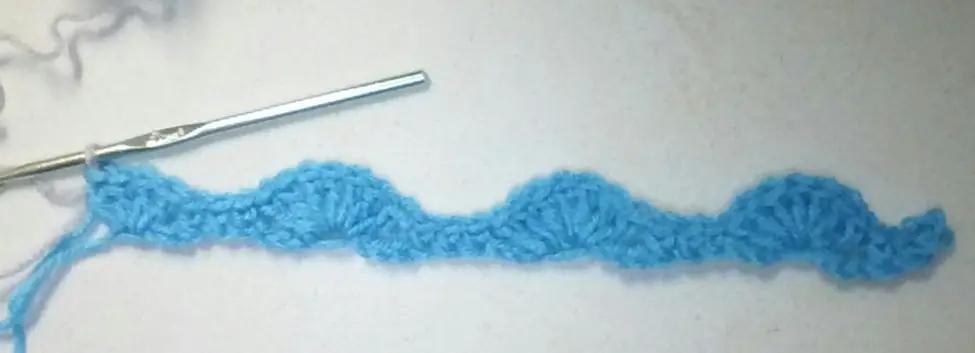
Row 2: With Color B ch1, sc in each of the next 2 sts *ch3, dc7tog, ch3, sc into each of the next 3 sts* rep to last 4 sts, ch3, dc4tog into last 4 sts, turn

Row 3: ch3, 3dc into 1st st (base of ch3) *sc into each of the next 3 sts, sk 3 ch sts, 7 dc into next st* rep to last 5 sts, sk 3 ch sts, sc into each of the next 2 sts, change to Color A

Repeat Rows 2 and 3 until you have the desired length.
Row 4: ch3, sk 1st st, dc3tog into next st *ch3, sc into each of the next 3 sts, dc7tog* rep to last 2 sts, ch3, sc into each of the next 2 sts, turn

Here is a very pretty Catherine Wheel crochet scarf. I really like the contrasting colors.

How to Calculate Your Starting Chain
When the pattern calls for sets of 10 plus 7 to begin the starting chain, what does that mean? It means the pattern is repeated over 10 stitches and you need 7 extra stitches at the beginning to get the pattern started. So how do you know how many stitches to chain for your project?
First, you need to know the gauge of the yarn and hook you are using. Crochet a four-inch square swatch and measure how many stitches are across the four inches. Let’s say we’re using a medium-weight yarn and a size I/9 hook.
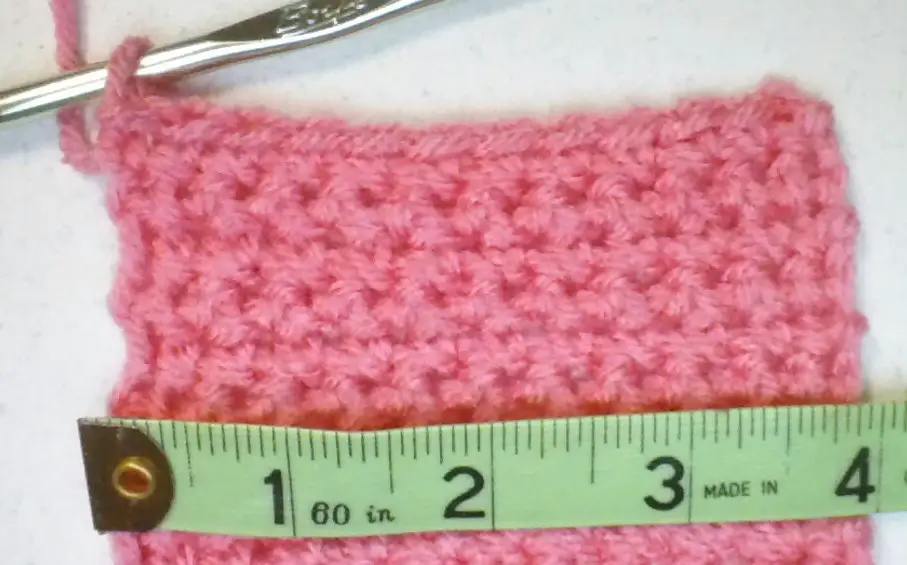
There are about 12 stitches across the four inches of crocheted fabric. This means there are 3 stitches per inch. Once you know this information, it is easy to calculate how many stitches you will need to begin your Catherine Wheel project.
Using the following chart of common afghan and throw sizes decide on the size of the project you want to crochet.

Let’s say you want to crochet an afghan for a double bed. The width is 60 inches. If there are 3 stitches per inch, this means you will need 180 stitches to make 60 inches. That is 60 X 3 = 180.
Since the pattern calls for sets of 10 you will need 18 sets plus 7 stitches for a total of 187 stitches to create the foundation chain for a 60-inch afghan.
You can also use the Catherine Wheel crochet pattern to create hats, bags, and lots of fun projects. Just remember to know the gauge of the yarn, how many stitches it takes per inch, and how many stitches you will need to get the width you want. Then divide that number by 10 and round up to make another set of stitches. Add 7 and you have your foundation chain.
Here is a really great video by Hopeful Honey, How to Crochet the Catherine Wheel (Starburst) Stitch.
End Notes
Thank you for stopping by! I hope this tutorial on the crochet Catherine Wheel pattern has helped you learn this fun and versatile stitch. Please feel free to ask me any questions you may have or leave a comment. I will do my best to get back to you as soon as I can. If you have any suggestions on future blogs, I’d love to hear them.
Until next time, take care, and keep on hooking!
If You Enjoyed this Article Please Share and Pin it. It is Greatly Appreciated. 🙂

